Ensuring that your RV or trailer’s black water tank is filled and maintained properly is critical for hygiene, functionality, and convenience during your travels. The black water tank holds waste from your toilet and must be managed correctly to avoid unpleasant odors, backups, and maintenance issues. In this guide, we will provide a comprehensive approach to filling and managing your trailer’s black water tank, ensuring that you can enjoy your adventures without the hassle.
Understanding the Black Water Tank
What Is a Black Water Tank?
A black water tank is designed to store human waste and toilet paper from your trailer’s toilet system. Different from the gray water tank, which collects wastewater from sinks and showers, the black water tank needs particular attention due to its content.
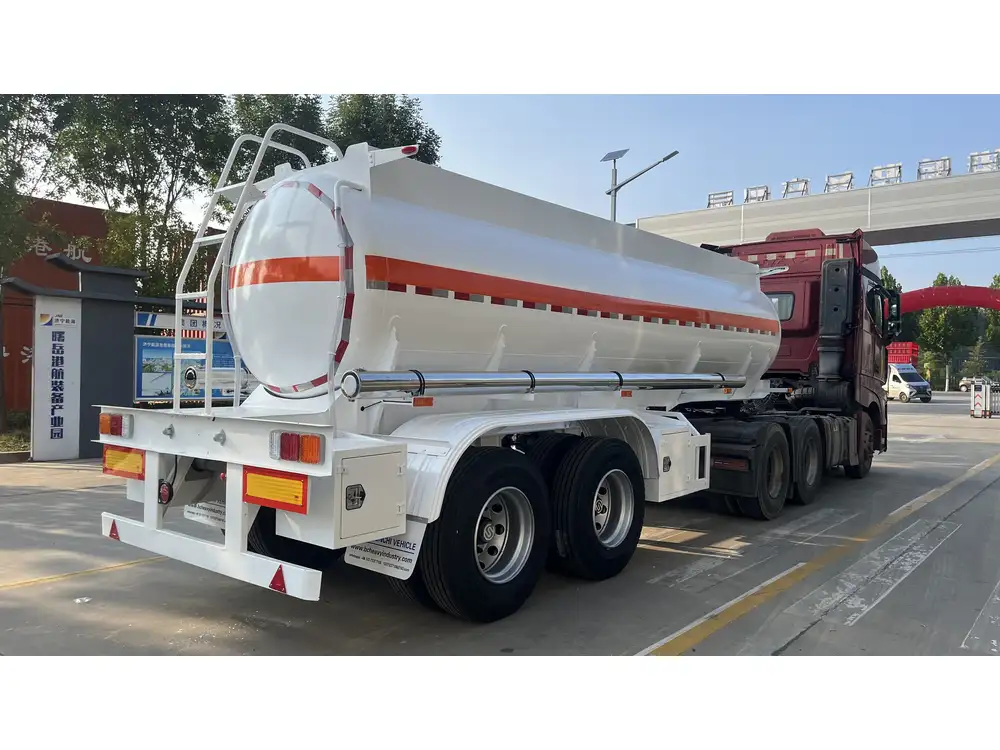
Structure and Capacity
Most trailers are equipped with black water tanks that range in size from 10 to 50 gallons, depending on the trailer type. The construction typically involves durable materials resistant to leaks and environmental effects.
| Tank Size | Typical Capacity (Gallons) | Ideal for |
|---|---|---|
| Small | 10 – 20 | Short trips, minimalist needs |
| Medium | 30 – 40 | Family trips, regular use |
| Large | 50+ | Full-time RV living |
Key Components of the Black Water System
- Toilet: The point where waste enters the black water tank.
- Black Water Tank: The main storage compartment.
- Dump Valve: Allows waste disposal to the sewage system.
- Vent Pipe: Maintains airflow and helps minimize odors.
Step-by-Step Guide on Filling Your Black Water Tank
1. Gathering Necessary Equipment
Before you start the filling process, ensure you have the following tools on hand:
- RV toilet chemicals
- Freshwater hose (dedicated for RV use)
- Black water tank monitor (if available)
- Waste disposal connections for emptying the tank
Safety Precautions
Always wear gloves during handling and ensure your equipment is clean to avoid contamination.
2. The Initial Preparation
Each time you embark on your journey, a thorough routine should be implemented:
Check Tank Levels: Make use of the tank level monitor, if equipped. Knowing your tank’s current level will help determine when and how much to fill.
Add Treatment Chemicals: Before adding water to your black tank, it’s advisable to add the appropriate RV toilet treatment, typically liquid or powder. This can help break down waste, control odors, and lubricate the tank.
3. Filling the Black Water Tank With Freshwater
This process, unlike typical filling, involves introducing fresh water into the black tank for optimal cleansing.
Method:
Connect the Freshwater Hose: Ensure this hose is designated specifically for filling purposes, free of contaminants from the outside environment.
Insert the Hose into the Toilet: Insert the hose directly into the toilet bowl. Gently fill the tank with fresh water while keeping an eye on the usage volume. The goal is to add about 2-3 gallons of water after every use of the toilet.
Monitor Water Levels: Be vigilant, looking for any indicators of overfilling. An underfilled tank can result in unpleasant odors, whereas an overfilled tank can lead to leaks or backups.
Note:
In some trailers, there may be a direct flushing mechanism specifically designed for the black water tank, using a separate water connection. Familiarize yourself with your trailer’s specific design to optimize the process.
4. Daily Maintenance Tips
Regular Flushing
Every time you use your black water tank, aim to flush it with additional water as mentioned earlier. This practice assists in preventing solid waste build-up.
Check Valves
Regularly inspect the dump valve for any leaks or blockages. A malfunctioning valve can lead to significant issues. Maintain movable parts with lubricant to ensure optimal performance.
Use the Right Additives
Choose additives designed specifically for RV black tanks. These chemicals reduce odors and maintain a balance that encourages waste breakdown.

5. Signs Your Tank Needs Attention
Monitoring tank performance is crucial. Here are some signs that your black water tank may require immediate attention:
Unpleasant Odors: A strong odor is an indication that waste is either building up or paving the way for leaks.
Backflow Issues: If waste begins to show signs of backflow into the toilet, this is a critical signal that the tank is too full or the plumbing system is blocked.
Slow Drain: If flushing the toilet leads to a slow drain, this is another sign that you may need to inspect your black water tank for blockages.
How to Empty the Black Water Tank
Once you’re ready to empty the black water tank, it can be an unpleasant task but is necessary.
1. Prepare for Disposal
Safety Gear: Ensure you have gloves and a mask if necessary, especially if you’re sensitive to odors.
Locate a Dumping Station: Plan your route to ensure you know where certified dumping stations are located. Many campgrounds, RV parks, and service stations offer this facility.
2. The Dumping Process
Connect the Sewer Hose: Attach one end to your dump valve and the other to the sewage inlet at the disposal station. Ensure that the connection is tight to prevent any leaks.
Open the Dump Valve: Allow the contents of your black water tank to flow into the sewage system.
Let It Drain Completely: It’s pivotal to let the tank fully empty, as any remains may contribute to foul odors and complications.
3. Rinse the Tank
Once the black water tank is empty, consider rinsing it with clean water. Some trailers have a built-in rinse system for this purpose.
4. Monitor Levels
Once your black water tank is emptied and rinsed, monitor it as before to ensure proper function.

Conclusion: Best Practices for Black Water Tank Maintenance
Maintaining a clean and efficiently working black water tank in your trailer enhances the traveling experience, reduces the risk of plumbing issues, and upholds hygiene standards.
Create a Routine: Regularly check your tank levels and perform the flushing and maintenance suggested above.
Utilize Technology: Make use of tank monitors and RV-specific products to streamline your maintenance activities.
| Best Practices | Tips |
|---|---|
| Regular Flushing | Flush after each use with 2-3 gallons of fresh water. |
| Careful Disposal | Ensure a fully empty tank for minimal residual waste. |
| Chemical Treatment | Choose RV-safe chemicals for the best outcome. |
Understanding how to properly fill and maintain your black water tank leads to a more enjoyable RV experience, avoiding unpleasant surprises along the way. With proper care, your dreaded black water responsibilities can transform into just another routine part of your travel adventures. Embrace the journey ahead, ensuring each stop is as pleasant as your travels deserve.


