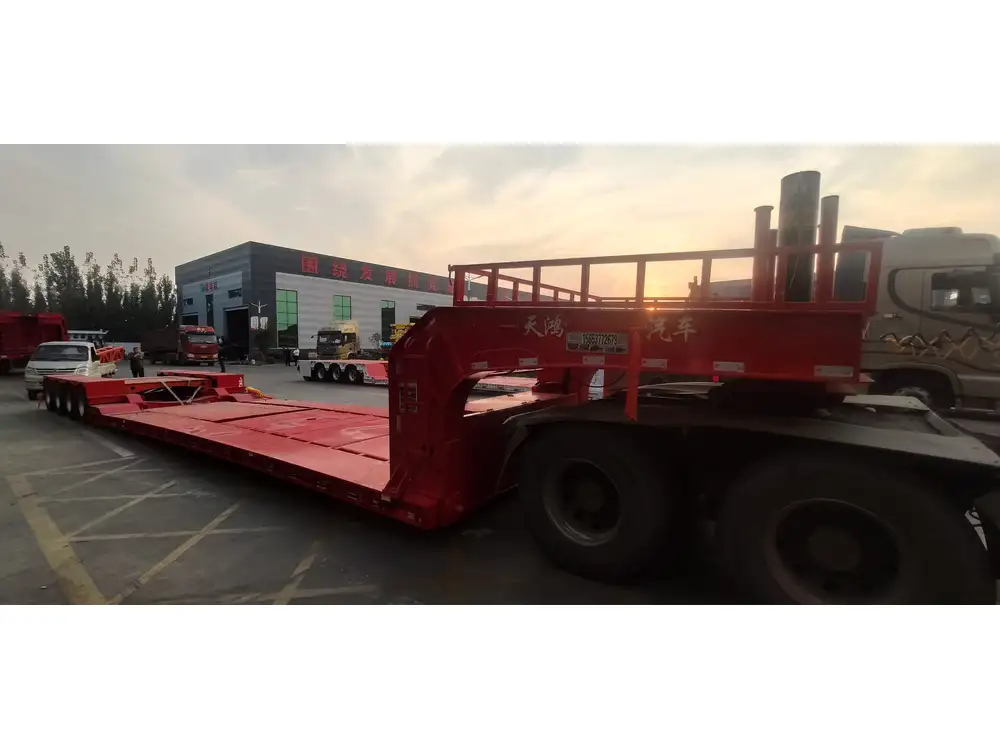
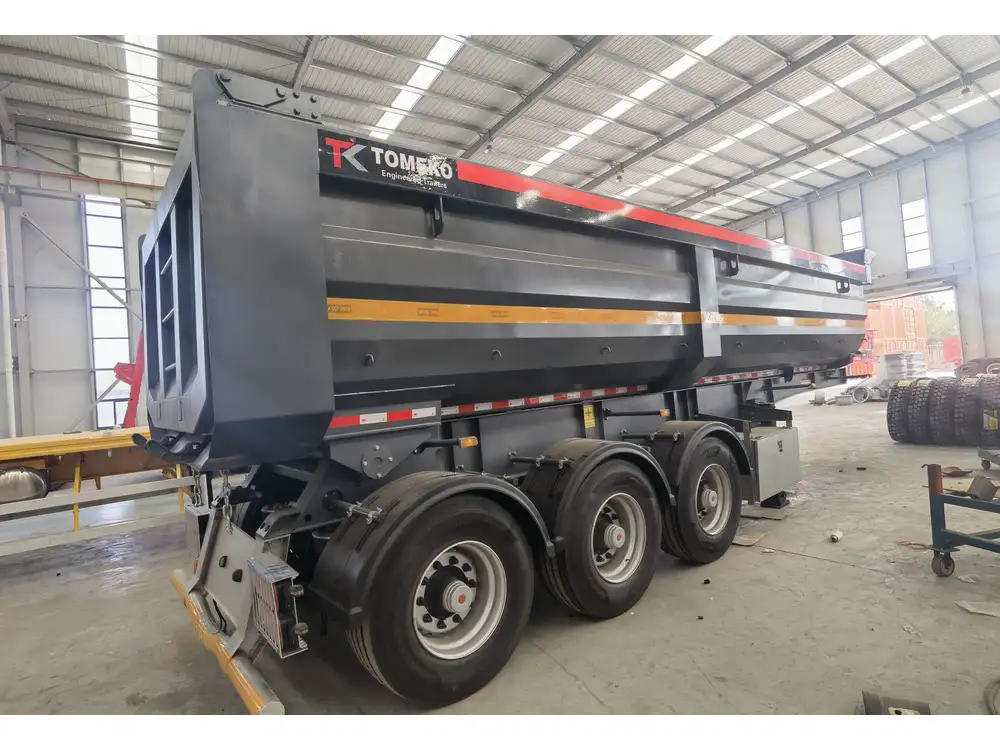
Aligning the axles on a semi-trailer is a critical maintenance task that not only ensures safe operation but also enhances durability and performance. Misalignment can lead to uneven tire wear, decreased fuel efficiency, and compromised safety on the road. This detailed guide is formulated to walk you through the processes of axle alignment, addressing common concerns and potential pitfalls with clarity and precision.
Understanding Semi-Trailer Axle Alignment
Before we delve into the alignment process, it is essential to grasp what axle alignment entails and its significance. The primary function of axle alignment is to ensure that all wheels align properly in relation to each other and the semi-trailer frame, which guarantees that the vehicle tracks straight.
Key Benefits of Proper Axle Alignment
- Reduced Tire Wear: Alignment helps in preventing uneven tire wear, extending the lifespan of your tires.
- Enhanced Fuel Efficiency: Proper alignment can enhance fuel efficiency, saving on gas expenditures.
- Improved Load Distribution: Correct axle alignment ensures even load distribution across the trailer, which is crucial for maintaining balance during transport.
- Increased Safety: Well-aligned axles improve vehicle handling and stability, thereby enhancing safety.

Tools and Materials Needed for Alignment
To successfully perform a semi-trailer axle alignment, you will require the following tools and materials:
| Tool/Material | Purpose |
|---|---|
| Alignment Bar | For measuring axle angles and positions |
| Tape Measure | To ensure precise measurements |
| Level | To check the levelness of the trailer |
| Wrench Set | For loosening and tightening bolts |
| Alignment Gauges | To measure toe-in and camber angles |
| Jack Stands | To safely lift the trailer |
| Chalk or Marking Paint | To mark wheel positions |
Step-by-Step Guide to Aligning Semi-Trailer Axles
Now that the fundamentals are clarified, let’s proceed with the detailed, step-by-step alignment instructions.
Step 1: Prepare the Semi-Trailer
- Park on a Level Surface: Ensure the semi-trailer is parked on a flat, level surface to prevent inaccuracies.
- Check Tire Pressure: Examine and adjust the tires to the manufacturer’s specifications. Properly inflated tires are essential for accurate measurements.
- Inspect the Suspension: Ensure that the suspension system is in good condition. Look for sagging or damaged components that could affect alignment.

Step 2: Measure Initial Alignment Angles
- Position the Alignment Bar: Place the alignment bar between the wheels on the semi-trailer. Ensure it is snug against both tires.
- Record Wheel Positions: Use a tape measure to record the distances from the alignment bar to the front and rear of each wheel.
- Mark Measurements: Use chalk to make small marks on the tires at the measurement points. This will help in tracking any shifts during adjustments.
Step 3: Adjusting the Axles
- Loosen the Bolts: Using a wrench, carefully loosen the bolts that secure the axle to the suspension.
- Adjust Axle Position: Depending on your measurements, shift the axle to correct alignment. This may involve either pushing or pulling the axle into the desired position.
- Check Measurements Again: Re-measure after each adjustment to verify if the position is now correct. The front and rear measurements should be equal or within the manufacturer’s specifications.
Step 4: Check and Adjust for Camber
- Use Alignment Gauges: Place alignment gauges near the axles to measure the camber angle. An ideal camber angle should typically be between 0° and 1°.
- Adjust Accordingly: If camber angles are off, make further adjustments by altering the mounting points or leveling the axle brackets.

Step 5: Final Measurements
- Double-Check All Measurements: With the adjustments made, recheck all measurements to ensure everything is within specifications.
- Tighten All Bolts: Once confirmed, securely tighten all bolts while ensuring the axles do not shift during the process.
Step 6: Test Drive
- Conduct a Test Drive: Before concluding the alignment process, perform a short test drive to assess the handling.
- Monitor Performance: Pay attention to steering response and tire wear patterns after the test drive.
Common Issues and Troubleshooting

Uneven Tire Wear
- Causes: Typically results from an improper alignment, leading to a wear pattern that appears feathered or is more pronounced on one edge.
- Solution: Reassess the alignment and make necessary adjustments.
Steering Pull
- Causes: This occurs when the trailer pulls to one side, often indicating misalignment.
- Solution: Measure toe angles and adjust accordingly until the steering is centered.
Vibration During Transit
- Causes: Can be assigned to misalignment, imbalanced wheels, or worn suspension components.
- Solution: Check for balance and inspect suspension parts, making repairs as necessary.

Conclusion
Aligning semi-trailer axles is an essential aspect of trailer maintenance that significantly impacts safety, efficiency, and tire longevity. Through meticulous measurement and adjustment, one can ensure that the semi-trailer operates smoothly on the road, saving money and enhancing safety.
Final Tips for Effective Axle Alignment
- Regular Checks: Perform axle alignment checks every 6 months or whenever you notice poor handling or significant tire wear.
- Professional Assistance: When in doubt or faced with complex alignment issues, consult a professional to ensure that your semi-trailer remains roadworthy.
- Maintenance Records: Keep records of all maintenance, including alignment adjustments, to track patterns and potential recurring issues.
By adhering to this comprehensive guide on how to align semi-trailer axles, manufacturers and operators alike can achieve superior performance, safety, and cost efficiency in their transportation operations.


