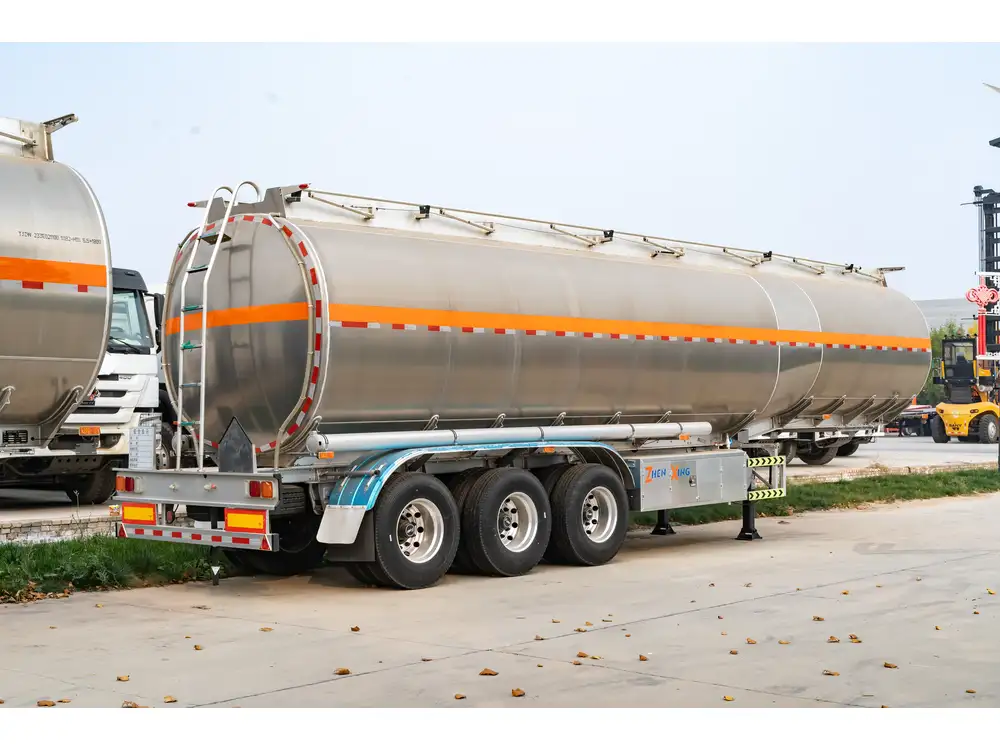
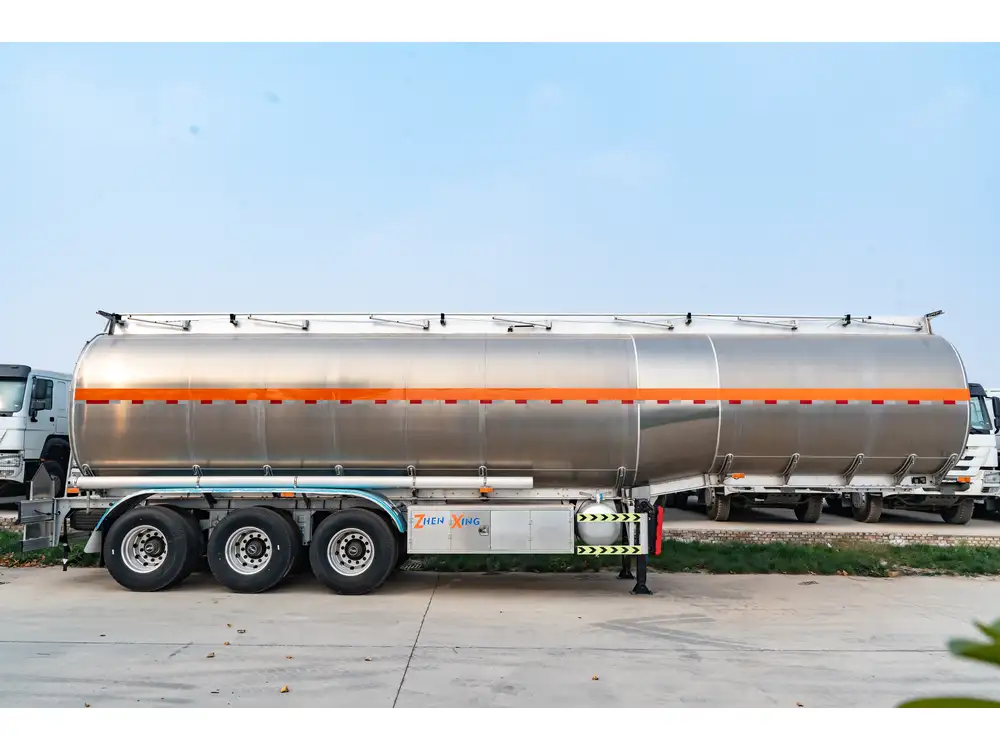
There is a growing need for efficient water treatment solutions, especially for those utilizing semi-trailers in various industries, from agriculture to construction. Failure to maintain clean water systems can lead to significant health risks, equipment damage, and financial loss. This article provides a detailed framework for effectively putting water treatment in a trailer water tank, encompassing various methodologies, treatments, and additional considerations to ensure robust water quality.
Understanding the Importance of Water Treatment
Health Implications
Water used in trailers often originates from natural sources or municipal supplies, which may contain pathogens, chemicals, or impurities. Adequate treatment is crucial to prevent waterborne illnesses that could impact human health. Regularly treated water not only protects your well-being but also ensures compliance with health regulations.

Equipment Longevity
A properly treated water supply reduces the risk of corrosion, scaling, and biological growth, prolonging the lifespan of your trailer’s plumbing and storage systems. Poor-quality water can lead to substantial maintenance costs and potential breakdowns.
Types of Water Treatment Methods
Water treatment can be categorized into several methods, each suited to different needs. Understanding these will guide the selection of the most appropriate method for your trailer’s water tank.
| Method | Description | Typical Use Cases |
|---|---|---|
| Filtration | Removes particulates and sediments from water. | Pre-treatment for sourcing water. |
| Chemical Treatment | Involves adding disinfectants (like chlorine). | Disinfection and broad-spectrum treatment. |
| UV Treatment | Uses ultraviolet light to kill microorganisms. | Ideal for chemical-sensitive applications. |
| Reverse Osmosis | Filters out contaminants using semi-permeable membranes. | For high-purity water needs. |
| Deionization | Removes mineral ions from water. | Critical for sensitive equipment. |
Preparing to Treat Water in Your Trailer Tank

Assess Your Water Quality
Before embarking on the treatment process, assess the water quality. Use methods such as:
Water Testing
- Conduct tests for pH level, chlorine, hardness, bacteria, and heavy metals.
- Use test kits available online or from local supply stores.
Identify Sources of Contamination
- Consider potential sources of contamination, including stagnant water, surrounding environmental conditions, and equipment failures.
Choose the Right Water Treatment Method
Based on the water quality assessment, choose a suitable treatment method. For instance, if your water testing indicates high levels of bacteria, chlorination or UV treatment might be optimal.
Gather Necessary Supplies
Collect the equipment and materials required for the chosen treatment method. Commonly required items include:
- Water treatment chemicals (e.g., chlorine, flocculants)
- Testing kits
- Filtration systems (if applicable)
- UV sterilization equipment

Step-by-Step Guide to Putting Water Treatment in a Trailer Water Tank
Step 1: Empty the Water Tank
- Fully drain the existing water to avoid cross-contamination during the treatment process.
- Inspect the interior of the tank for any debris, algae, or sediment.
Step 2: Clean the Water Tank
- Using a pressure washer or hose, thoroughly clean the inner surfaces to remove physical contaminants.
- Employ a mixture of water and a mild detergent or vinegar for stubborn stains, followed by rinsing thoroughly.

Step 3: Measure and Prepare Treatment Solution
- Based on the selected treatment method, measure the appropriate dosage of chemicals or prepare the filtration system.
- For example, when chlorine is chosen, a general guideline is to add 1-5 mg/L of chlorine to the water.
Step 4: Introduce Treatment into Water Tank
- Gradually add the prepared treatment solution directly into the tank.
- If using a chemical-based treatment, ensure proper mixing by filling the tank halfway with water before adding the chemicals. Then fill it completely while running a pump for even distribution.
Step 5: Allow Treatment to Work
- Allow the treatment to sit in the tank for a specific contact time. For instance, chlorine treatments typically require 30 minutes to an hour to ensure effective disinfection.
- During this time, prevent any water usage from the tank to maintain effectiveness.

Step 6: Flush and Finalize
- After the designated contact time, flush the tank with fresh water to remove residues from the treatment process.
- Finally, conduct another round of water quality testing to ensure all contaminants have been neutralized.
Step 7: Implement a Maintenance Schedule
To maintain optimal water quality, establish a maintenance schedule:
- Regular testing (monthly or quarterly)
- Periodic cleaning of the water tank (at least biannually)
- Monitor for unusual odors or discoloration in water
Common Challenges and Solutions

Challenge 1: Persistent Contaminants
Solution: If contaminants persist post-treatment, consider modifying the treatment solution. For example, increase the dosage or adjust the contact time, based on testing results.
Challenge 2: Equipment Failure
Solution: Always have backup equipment or alternate sources of water treatment available. Regular inspection of equipment will also mitigate unexpected failures.
Challenge 3: Regulatory Compliance
Solution: Stay informed about local health and safety regulations regarding water quality standards. Adapt your treatment protocols accordingly and keep records of testing and maintenance.

Additional Considerations
Water Storage Temperature
- Ensure that the temperature of the water stored in the trailer does not exceed recommended levels, as higher temperatures can promote bacterial growth.
The Role of pH
- The pH level is crucial in maintaining water quality and efficacy of treatments. Regularly monitor and adjust pH levels to keep them within a neutral range (approximately 6.5 to 7.5).

Eco-Friendly Options
For those concerned about environmental impact, consider eco-friendly water treatment solutions, such as using natural coagulants or investing in ozonation systems, which minimize chemical use.
Conclusion
Effectively putting water treatment in a trailer water tank is not merely a mechanical process; it requires a thorough understanding of the methods, challenges, and practices surrounding water safety. By following a well-structured approach, maintaining rigorous standards, and employing suitable treatments, you can ensure that your water supply remains clean, potable, and compliant with health regulations.
Implementing the strategies outlined in this guide will not only protect your health but also enhance the performance and longevity of your trailer’s systems. Stay proactive in your water treatment efforts, and you’ll enjoy the peace of mind that comes with knowing your water quality is safeguarded.


