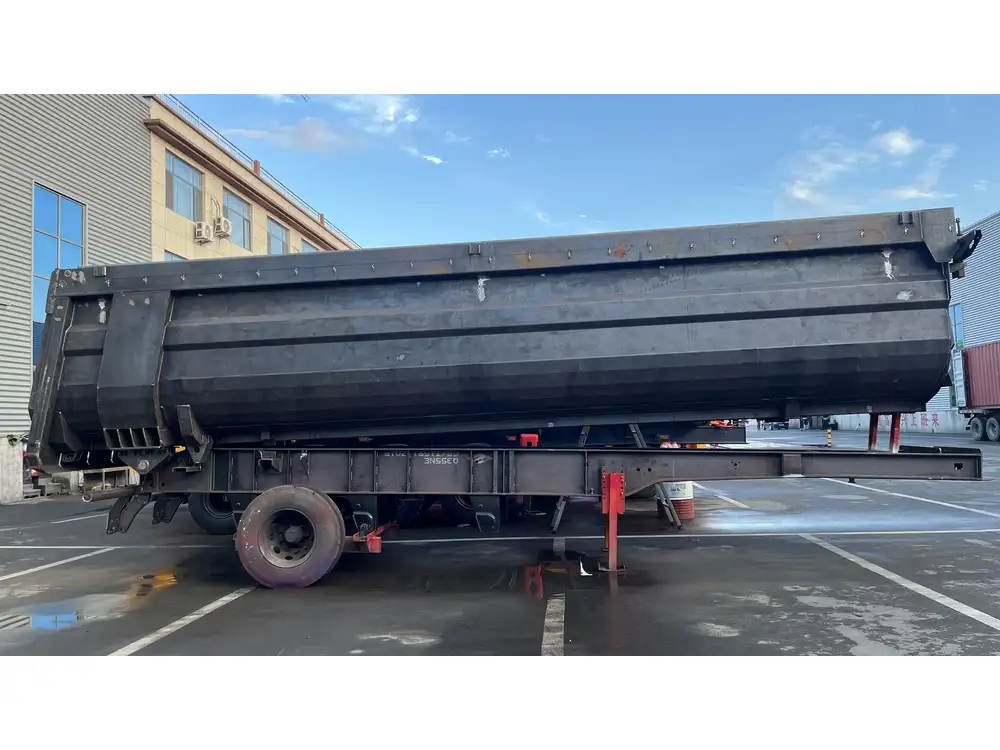
When it comes to the functionality of your dump trailer, wiring plays a crucial role, particularly when dealing with a Mophorn double action dump trailer motor. Understanding the intricacies behind wiring this motor can enhance its performance and longevity, ensuring efficient and reliable operations. This guide is designed to arm you with the necessary knowledge, tips, and techniques for a successful installation.
Table of Contents
- Understanding Your Mophorn Double Action Dump Trailer Motor
- Features and Specifications
- Importance of Proper Wiring
- Essential Tools and Materials
- Tools You’ll Need
- Materials Required
- Step-by-Step Wiring Instructions
- Preparing the Trailer
- Wiring the Motor
- Connecting to the Battery
- Safety Precautions
- Troubleshooting Common Wiring Issues
- Motor Does Not Operate
- Intermittent Functionality
- Conclusion
Understanding Your Mophorn Double Action Dump Trailer Motor

Features and Specifications
The Mophorn double action dump trailer motor is engineered for optimal lifting power, facilitating the movement of heavy loads with ease. It operates on a hydraulic system, which utilizes fluid dynamics to lift and lower the trailer bed. Key specifications include:
- Voltage: Typically operates on a 12V DC system.
- Power Output: Ranges between 2 to 6 horsepower, depending on the model.
- Hydraulic Compatibility: Works seamlessly with various hydraulic fluids.
Importance of Proper Wiring
Incorrect wiring can lead to insufficient power delivery, reduced efficiency, and potentially hazardous situations. Ensuring correct electrical connections safeguards against motor burnout and electrical fires. Additionally, proper wiring enhances operational reliability, allowing operators to focus on their tasks without frequent breakdowns.
Essential Tools and Materials

Tools You’ll Need
To successfully wire your Mophorn double action dump trailer motor, gather the following tools:
- Wire Strippers: For preparing connections.
- Crimping Tool: Essential for securing wire connections.
- Multimeter: To test voltage and ensure correct connections.
- Socket Wrench Set: Useful for securing the motor to the trailer.
- Screwdriver Set: Required for mounting and securing electrical connections.
Materials Required
Compile these materials before commencing the wiring process:
- Electrical Wire (AWG 10 or 12): Sufficient length to connect all components.
- Heat Shrink Tubing: To reinforce and protect wire connections.
- Battery Terminal Connectors: For secure battery connections.
- Fuse Holder and Fuses: To protect the motor from overloads.
Step-by-Step Wiring Instructions

Preparing the Trailer
- Ensure Safety: Disconnect the trailer from any towing vehicle to prevent accidental movements.
- Clean the Area: Remove any debris or corrosion from wiring locations to ensure strong electrical connections.
- Mount the Motor: Secure the motor to the trailer as per the manufacturer’s guidelines, using the socket wrench set for tight fastening.
Wiring the Motor
Identify Terminals: Jot down the positive (+) and negative (-) terminals on the motor. Typically, these are marked, but it’s prudent to verify with the manual.
Terminal Color Code Description Positive Red Connects to power source Negative Black Connects to ground Cut and Strip Wires: Measure out the required lengths of the electrical wire. Strip approximately 1/2 inch off each end of the wire using the wire strippers.
Connect Wires to Motor:
- Attach the red wire to the positive terminal. Crimp or solder the connection, and cover with heat shrink tubing.
- Attach the black wire to the negative terminal similarly.
Grounding the Motor: Make sure to attach the motor’s ground wire to an appropriate grounding point on the trailer frame to facilitate a return path for electrical current.
Connecting to the Battery
- Select the Battery Location: Identify and clean the battery terminals in your towing vehicle or trailer.
- Connect Positive Wire: Attach the free end of the red wire to the positive terminal of the battery. Use a battery terminal connector for a secure fit.
- Connect Negative Wire: Connect the black wire to the negative terminal of the battery. Ensure this is done last to prevent arcing.
- Install a Fuse: Place a fuse holder within 12 inches of the battery on the positive wire. Use an appropriate fuse to protect against overload.

Safety Precautions
Prioritizing safety during the wiring process is essential. Follow these guidelines:
- Wear Personal Protective Equipment (PPE): Safety goggles and insulated gloves can protect you from electrical shock.
- Work in a Well-Ventilated Area: Avoid inhaling fumes from any electrical components or battery chemicals.
- Double-Check Connections: Ensure connections are tight and that there are no exposed wires.
Troubleshooting Common Wiring Issues
Motor Does Not Operate
- Check Battery Voltage: Use a multimeter to ensure that the battery is providing sufficient voltage (ideally above 12V).
- Inspect Connections: Look for signs of corrosion or loose wires. Tighten and clean as necessary.
- Fuse Integrity: Verify that the fuse has not blown; replace if necessary.

Intermittent Functionality
- Wiring Check: Frequent disruptions may indicate loose or damaged wires. Inspect all connections for security.
- Motor Condition: A malfunctioning motor may require professional service or replacement.
- Grounding Issues: Ensure that the grounding is solid. A poor ground can lead to sporadic performance.
Conclusion
Wiring your Mophorn double action dump trailer motor can seem daunting, but with a systematic approach, the process becomes manageable and straightforward. By following the steps outlined in this guide, you can ensure that your motor functions optimally, improving the efficiency of your dump trailer operations. Proper wiring not only safeguards your equipment but also enhances overall performance, making for a more productive work environment. Embrace the challenge, and enjoy the benefits of a well-installed motor!


