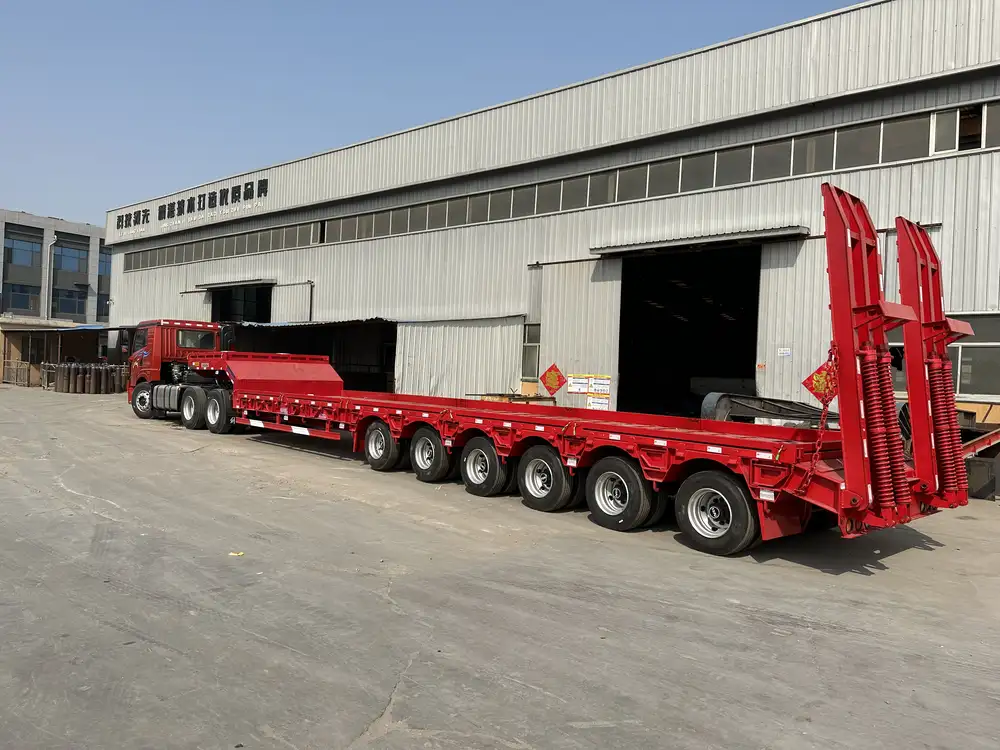
Creating a wooden twin flatbed trailer can be an incredibly rewarding endeavor. This guide aims to provide you with an extensive overview of everything you need to know, from selecting the right materials to constructing your trailer. With the right tools and plans, your DIY wooden flatbed trailer project will not only meet your hauling needs but also serve as a testament to your craftsmanship.
Understanding the Design: Why a Twin Flatbed Trailer?
Benefits of a Twin Flatbed Trailer
A twin flatbed trailer offers several advantages:
| Benefit | Description |
|---|---|
| Stability | The twin axle setup distributes weight evenly, enhancing stability on the road and reducing sway when loaded. |
| Increased Load Capacity | With a twin flatbed design, it can carry more weight compared to single axle trailers, making it ideal for larger items or construction materials. |
| Versatility | Can be used for various purposes, from transporting furniture to heavy equipment, making it a valuable asset for personal and professional needs. |

Components Overview
Understanding the essential components of a wooden twin flatbed trailer is crucial for successful construction. Here are the main parts you will work with:
- Frame: The skeleton of the trailer, constructed primarily of durable wood.
- Decking: The surface where cargo is placed, which can be made from plywood or solid planks.
- Axles: The critical components that support the trailer and allow it to roll.
- Wheels: Essential for mobility, proper selection is necessary for weight and size compatibility.
- Hitch: Connects the trailer to the towing vehicle, making sure it can pull effectively.
Selecting Your Materials
Ideal Wood Types for Trailers
Choosing the right type of wood is fundamental to ensuring durability and performance. Here are a few of the best options:
- Pressure-Treated Lumber: Resistant to decay and insect infestation, this is an excellent choice for the main frame and decking.
- Marine-Grade Plywood: Perfect for wet environments, this plywood is designed to withstand moisture, making it suitable for many outdoor uses.
- Hardwoods (like Oak or Maple): While more expensive, these options provide superior strength and wear resistance for the deck.

Tools Required
Before you begin your build, gather the following tools to ensure a smooth construction process:
- Circular saw
- Power drill with various bits
- Measuring tape
- Square
- Level
- Safety goggles
- Sanding blocks or electric sander
- Paintbrush for sealant application
Step-by-Step Construction Process
Step 1: Planning and Measuring
The first step is to create a detailed plan or blueprint for your trailer. Here’s a simple outline of what measurements to consider:
| Dimension | Measurement Considerations |
|---|---|
| Overall Length | Include the length of the tongue (hitch area) in your design. |
| Overall Width | Ensure it accommodates standard loads and adheres to road regulations. |
| Deck Height | Consider ground clearance based on the towing vehicle and terrain. |

Step 2: Build the Frame
- Cut Your Lumber: Using your circular saw, cut the pressure-treated lumber to the dimensions specified in your plan.
- Assemble the Frame: Start by laying out the main frame pieces in a rectangular shape. Use brackets and screws to secure the corners, ensuring everything is square.
- Add Cross Members: For increased stability, add cross members between the main frame members. This is where the decking will eventually sit.
Step 3: Install the Axles
- Position the Axles: Mark the positions on the frame where you will attach the axles, usually around one-third from the front.
- Secure the Axles: Use mounting brackets to attach the axles to the frame, making sure they are level and evenly spaced.
- Check Alignment: After securing, double-check the alignment of the axles to avoid issues while towing.
Step 4: Add the Decking
- Cut the Decking Material: If using plywood, cut it to fit snugly within your frame.
- Fasten the Decking: Use screws for secure attachment, ensuring that the decking is firmly in place and won’t shift under load.

Step 5: Attach the Wheels
- Mount the Wheels: Attach the wheels to the axle hubs, ensuring that the lug nuts are tightened securely.
- Check for Free Movement: Spin the wheels to ensure they rotate freely without obstruction.
Step 6: Install the Hitch
- Select an Appropriate Hitch: Choose a hitch that matches the towing capacity of your trailer as well as your vehicle.
- Attach the Hitch: Secure it at the front of the trailer frame, making sure it is strong and stable.
Step 7: Finishing Touches
- Sand All Surfaces: Use sanding blocks to smooth out any rough edges or surfaces, reducing the risks of splinters.
- Apply Sealant: Protect your wood by applying a weather-resistant sealant, particularly if the trailer will be exposed to the elements.
- Add Reflectors and Lights: For visibility and safety during night use, install necessary reflectors and lighting based on local regulations.

Safety Considerations
Safety should always be a priority when constructing and using your DIY trailer:
- Ensure that all joints and connections are tight and secure.
- Regularly inspect the trailer for signs of wear or damage.
- Make sure the load is balanced and secure before towing to avoid accidents.
- Familiarize yourself with the towing capacity of your vehicle and adhere to regulations regarding trailer weights.
Common Issues and Their Solutions
Problem 1: Weight Distribution
Issue: An unbalanced load can cause sway and instability while towing. Solution: Ensure that heavier items are distributed evenly across the trailer and not concentrated on one side.

Problem 2: Trailer Sway
Issue: Excessive sway while towing can lead to dangerous driving conditions. Solution: Make sure your hitch is properly adjusted and consider installing a sway bar if necessary.
Problem 3: Wooden Decay
Issue: Exposure to moisture can lead to wood decay and structural issues. Solution: Regularly check for signs of rot and reapply sealant as needed.
Maintenance Tips for Longevity
- Regular Inspections: Make it a habit to inspect your trailer regularly for wear and tear.
- Clean the Deck: Keep your decking clear of debris, as dirt and moisture can accelerate decay.
- Re-seal as Needed: Based on your usage, reapply sealant every couple of years or as necessary.

Conclusion
Building a do-it-yourself wooden twin flatbed trailer is not only a practical solution for your hauling needs but also a personal project that can enhance your skills. By following this comprehensive guide, you ensure a solid foundation for your trailer as well as safety and longevity. Whether you’re transporting goods for a project or embarking on a weekend adventure, your new trailer will become an indispensable part of your toolkit. Follow these detailed steps, maintain your trailer regularly, and enjoy the fruits of your labor!


