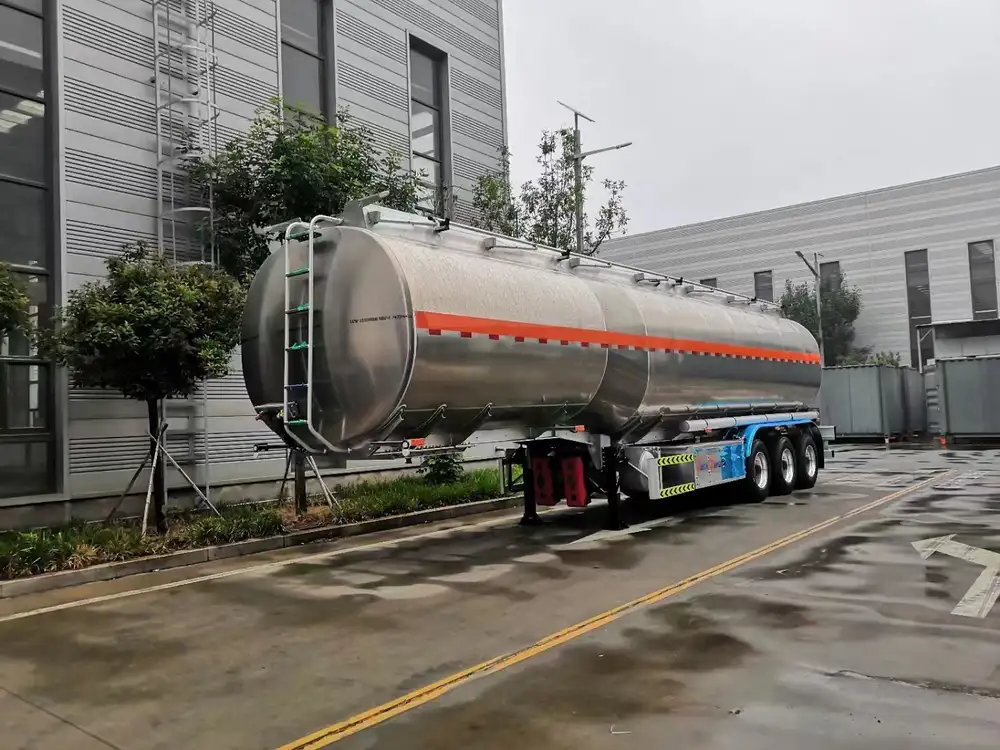
Maintaining a clean and safe water supply is essential for any trailer, be it for recreational vehicles (RVs), construction purposes, or other uses. The importance of disinfecting trailer water tanks cannot be overstated; unclean water can harbor harmful bacteria, sediment, and other contaminants. In this guide, we will delve deep into the best practices for disinfecting trailer water tanks, addressing potential concerns, and providing you with step-by-step instructions to ensure your water supply remains safe and pristine.
Understanding the Need for Disinfection
Before we proceed to the practical steps, it’s crucial to understand why disinfecting your trailer water tank is necessary:
- Health Risks: Contaminated water can lead to serious health issues, including gastrointestinal diseases.
- To Improve Taste and Odor: Stagnant water can develop an unpleasant taste and smell, rendering it unpalatable.
- Preventing Bacterial Growth: Warm environments can promote the growth of harmful microorganisms such as E. coli, Salmonella, and Legionella.
When Should You Disinfect Your Trailer Water Tank?
You should regularly disinfect your trailer water tank under these circumstances:
| Scenario | Frequency |
|---|---|
| First use of a new tank | Before initial filling |
| Extended inactivity | At least every 6 months |
| After using contaminated water | Immediately |
| After repairs or modifications | Post-renovation |

Step-by-Step Guide to Disinfecting Trailer Water Tanks
Step 1: Gather Your Supplies
Before you get started, gather the following essential items:
- Clean, non-toxic bleach (sodium hypochlorite); aim for a concentration of 5-6%
- Water source (preferably potable water)
- Measuring cup
- Clean cloth or sponge
- Adjustable wrench (if necessary)
- Hose for filling the tank
- Personal protective equipment (gloves and goggles)
Step 2: Empty the Tank
Begin by ensuring that your trailer water tank is completely empty. Drain any existing water, sediment, or debris from the tank by locating the drain valve, which is typically found at the lowest point of the tank.

Step 3: Clean the Tank Interior
Using a sponge or cloth and a mixture of mild soap and water, scrub the inside of the tank thoroughly. Pay particular attention to corners and crevices where residues may accumulate. Make sure to rinse it adequately with clean water.
Step 4: Preparing the Disinfecting Solution
To effectively disinfect your trailer water tank, you’ll need to prepare a proper bleach solution. The general guideline is to use 1/8 cup (approximately 30 ml) of unscented liquid household bleach per gallon of tank capacity.
| Tank Capacity (Gallons) | Required Bleach (cups) |
|---|---|
| 10 | 1/8 |
| 25 | 1/3 |
| 50 | 1/2 |
| 100 | 1 |
Step 5: Adding the Disinfecting Solution to the Tank
Pour the bleach solution into the empty tank. Following this, connect the water source hose and fill the tank with potable water, maintaining a cautious approach to avoid splashing.

Step 6: Agitating and Spreading
Once filled, thoroughly agitate the tank. This can be done by opening all faucets connected to the tank. Let the water run for a few minutes to ensure the bleach solution reaches every nook and cranny of the plumbing system.
Step 7: Let the Solution Sit
Allow the disinfecting solution to sit in the tank for a period of 2 to 4 hours. This timeframe is critical to ensure the solution effectively kills off any harmful bacteria and pathogens.
Step 8: Flushing the Tank
After the designated contact time has elapsed, drain the tank completely. Following this, thoroughly flush the tank with clean water multiple times to remove all traces of the bleach solution.

Step 9: Testing Water Quality
Before reusing your trailer water tank, it’s prudent to test the water quality. Conduct a taste test after filling it with fresh water again. The water should not have any noticeable bleach smell. If it does, continue to flush until the smell dissipates.
Step 10: Regular Maintenance
To maintain hygiene and water quality, adhere to a regular cleaning and disinfection schedule. Seasonal checks and pre-use inspections can help avoid larger issues in the long run.
Additional Concerns

What About Tank Materials?
Different materials (plastic, stainless steel, or fiberglass) may influence the effectiveness of disinfection methods. Always refer to the manufacturer’s guidelines regarding compatible cleaning agents to avoid damage.
Handling Contaminated Water
In scenarios where your tank has been exposed to contaminated water (from a natural source like a lake or river), thorough disinfection is imperative. Make sure to evaluate the source of water and ensure ongoing testing to prevent future contamination.
| Contaminated Water Source | Required Action |
|---|---|
| Lake or river water | Extensive treatment needed |
| Municipal water | Regular maintenance |
| Rainwater collection | Initial thorough cleansing |
Conclusion
Disinfecting your trailer water tank is not merely a hygiene practice—it is a fundamental necessity. By adhering to the steps outlined in this guide, you can safeguard your health and the quality of your water supply. Frequent checks and proper maintenance will ensure a safe and pleasant experience, whether you’re embarking on a road trip or simply using your trailer for temporary housing.
In summary, let’s remember:
- Regularly Inspect and Clean: Consistency will protect you from harmful contaminants.
- Be Proactive: Disinfect before initial use and after extended inactivity.
- Stay Informed: Keep abreast of the best practices and recommendations according to your specific trailer type and usage.

Quick Reference Checklist for Disinfecting Trailer Water Tanks
- [ ] Gather supplies (bleach, cleaning tools, safety gear)
- [ ] Empty and clean tank
- [ ] Prepare bleach solution per tank capacity
- [ ] Fill the tank with the solution
- [ ] Allow it to sit for 2-4 hours
- [ ] Flush and test water quality
- [ ] Maintain a regular disinfection schedule
By following these thorough recommendations, you ensure that your trailer water tanks are not only disinfected but also safe and ready for use at any time.


