Changing a semi-trailer tire is an essential skill for drivers and fleet managers alike. It ensures that your vehicles remain operational, reducing downtime and maximizing efficiency in transportation. Here’s a comprehensive guide that walks you through the entire process of changing a semi-trailer tire, ensuring both safety and effectiveness.
Understanding the Importance of Tire Maintenance
Before diving into the steps necessary for changing a semi-trailer tire, it’s crucial to understand the significance of proper tire maintenance. Tires are the only contact point between your semi-trailer and the road, making them vital for safety, fuel efficiency, and overall performance.
Key Reasons for Regular Tire Maintenance
- Improved Safety: Worn or damaged tires can lead to blowouts, increasing the risk of accidents.
- Enhanced Performance: Properly maintained tires improve handling and braking, ensuring a smoother ride.
- Increased Longevity: Routine checks can significantly extend tire life, translating to cost savings.
- Better Fuel Economy: Under-inflated or misaligned tires can lead to reduced fuel efficiency.

Necessary Tools for Tire Change
To ensure a smooth tire change process, it’s essential to have the right tools on hand. Here’s a comprehensive list of the tools you will need:
| Tool | Purpose |
|---|---|
| Wheel Chocks | To prevent the trailer from rolling |
| Jack | To lift the trailer off the ground |
| Lug Wrench | To remove and tighten lug nuts |
| Tire Pressure Gauge | To check the pressure of the spare tire |
| Gloves | For hand protection during the process |
| Safety Vest | To ensure visibility if working on the road |
| Portable Air Pump | To inflate a flat tire if necessary |
Step-by-Step Instructions to Change a Semi-Trailer Tire
Step 1: Prepare the Work Area
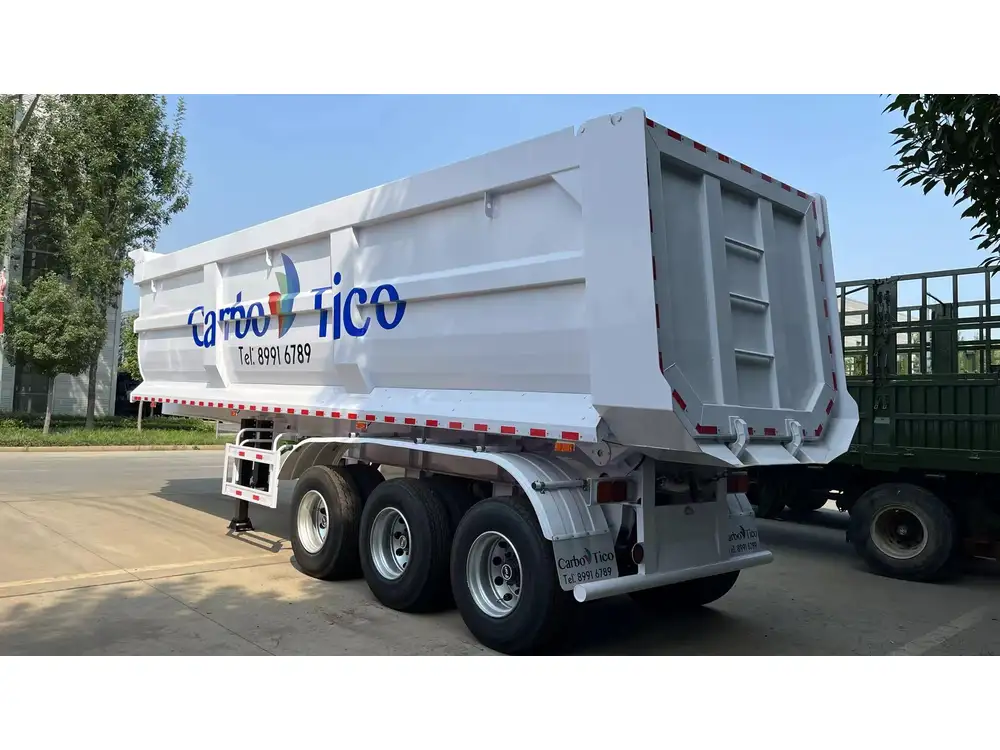
The first step involves preparing the environment for the tire change. Ensuring you’re in a safe location is imperative. If possible, find a flat and stable area away from traffic. If you’re on the roadside, turn on your hazard lights and set up warning triangles to alert other drivers.
Step 2: Secure the Trailer
2.1 Use Wheel Chocks
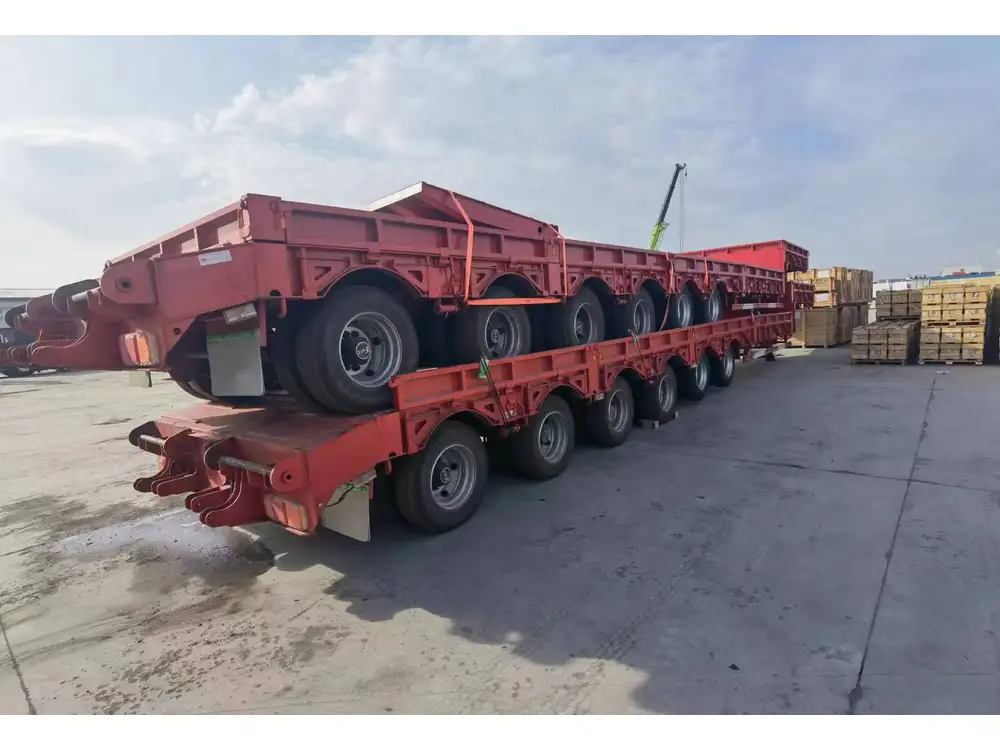
Position wheel chocks behind the trailer’s wheels to prevent it from rolling. This is the most crucial safety measure before lifting the vehicle.
2.2 Engage the Parking Brake
Engage the parking brake to ensure stability. This precaution will lessen the risk of the trailer moving unexpectedly during the tire change.
Step 3: Lift the Trailer
3.1 Position the Jack
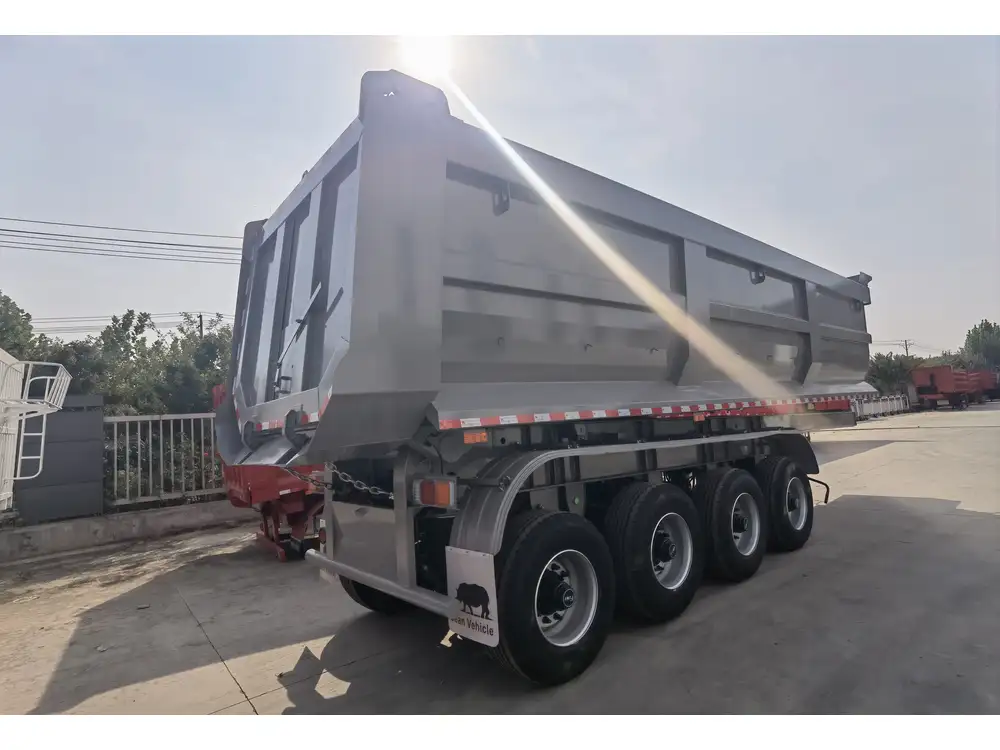
Locate the proper lifting point on the trailer frame. It’s important to consult the user manual for your specific semi-trailer model to find the correct lifting point.
3.2 Jack the Trailer Up
Using the jack, lift the trailer until the tire is off the ground. Ensure that you are on level ground and that the jack is stable before proceeding to the next step.
Step 4: Remove the Flat Tire
4.1 Loosen the Lug Nuts
Before fully removing the flat tire, slightly loosen the lug nuts using the lug wrench. Always turn the wrench counter-clockwise. It may be beneficial to crack them loose while the tire is still on the ground as this can prevent it from spinning.
4.2 Remove Lug Nuts
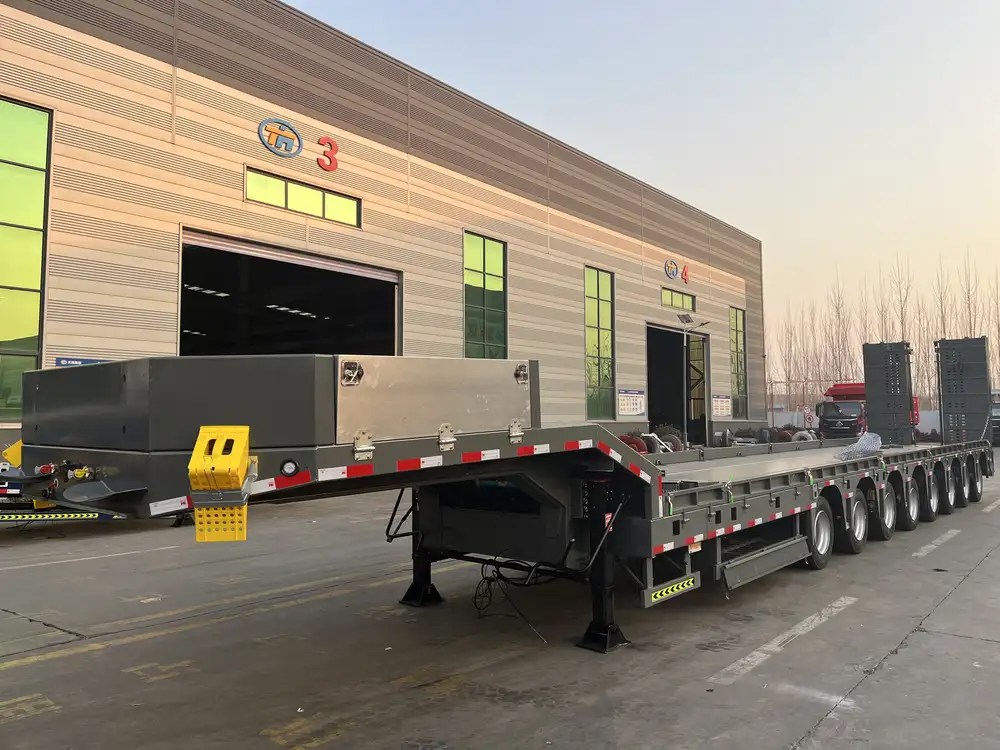
Once they’re loosened, remove the lug nuts entirely. Avoid losing them by placing them in a container or on a clean surface.
4.3 Take Off the Tire
Carefully remove the flat tire from the hub. You may need to wiggle it slightly to break the seal if it’s stuck.
Step 5: Install the Spare Tire
5.1 Align the Spare Tire
Take the spare tire and align it with the hub. Ensure that the holes of the wheel meet the studs on the axle.

5.2 Hand Tighten Lug Nuts
Begin by hand-tightening the lug nuts onto the studs to keep the tire in place. This initial tightening ensures that the tire is securely positioned before raising it back to full height.
Step 6: Lower the Trailer
6.1 Lift the Trailer Gently
Lower the jack slowly while making sure that the tire is firm against the ground. This helps to ensure that the lug nuts are properly seated.

6.2 Tighten the Lug Nuts
Once the trailer is back on the ground, use the lug wrench to fully tighten the lug nuts in a star pattern. This method ensures an even distribution of pressure across the tire, reducing the chance of warping.
Step 7: Final Preparations
7.1 Check Tire Pressure
Using a tire pressure gauge, check the inflation of the spare tire. It should meet the manufacturer’s recommendations located on the tire sidewall.
7.2 Store Equipment
Once finished, ensure all tools are stored properly. Replace the flat tire in your storage space or repair it as needed.
Post-Change Maintenance
Following a tire change, regular checks and maintenance are essential to ensure the longevity and safety of your tires. Here are some maintenance tips:
| Maintenance Action | Description |
|---|---|
| Regular Inflation Checks | Use a pressure gauge monthly to maintain pressure. |
| Visual Inspections | Inspect tires for cracks, wear, and debris weekly. |
| Rotation | Rotate tires every 5,000 to 7,500 miles as per guidelines. |
| Alignment Checks | Check wheel alignment every 10,000 miles to avoid uneven wear. |
Common Tire-Related Issues and Solutions
Tire Blowouts
Symptoms
- Loud bang or hissing noise
- Vehicle pulling to one side
- Vibration or bouncing
Solutions
- Slow down gradually and steer safely to the side of the road.
- Assess the damage and change the tire if safe to do so.
Uneven Wear Patterns
Symptoms
- One side of the tire shows significantly more wear than the other.
Solutions
- Check alignment and ensure proper inflation.
- Rotate tires as necessary.
Low Tire Pressure
Symptoms
- Frequent low tire pressure warnings
- Observable tire bulging
Solutions
- Inflate to the manufacturer’s recommended level immediately.
- Check for leaks or punctures.

Cracks and Blisters
Symptoms
- Visible cracks on tire surface
- Blisters or bulges appear on the sidewalls
Solutions
- Replace with a new tire to prevent blowouts.

Regular Spot Checks
Implement regular spot checks on your semi-trailer tires, focusing on:
- Tread depth to meet legal limits.
- Cracks or damages indicating structural issues.
- Visual confirmation of proper inflation.
Conclusion
Changing a semi-trailer tire may seem daunting, but with the right tools, knowledge, and safety measures, it can be manageable and straightforward. Regular maintenance, proper tire checks, and prompt attention to issues can save you both time and money while ensuring the safety and efficiency of your fleet operations. By adhering to these detailed procedures, you ensure that when the time comes to change a tire, you’re armed with the knowledge and tools to handle the task proficiently.
When it comes to semi-trailer operations, remember that a little preparation can make a significant difference. By mastering the skill of changing a tire, you not only enhance your operational efficiency but also ensure that your vehicles remain on the road, minimizing costly downtime.


