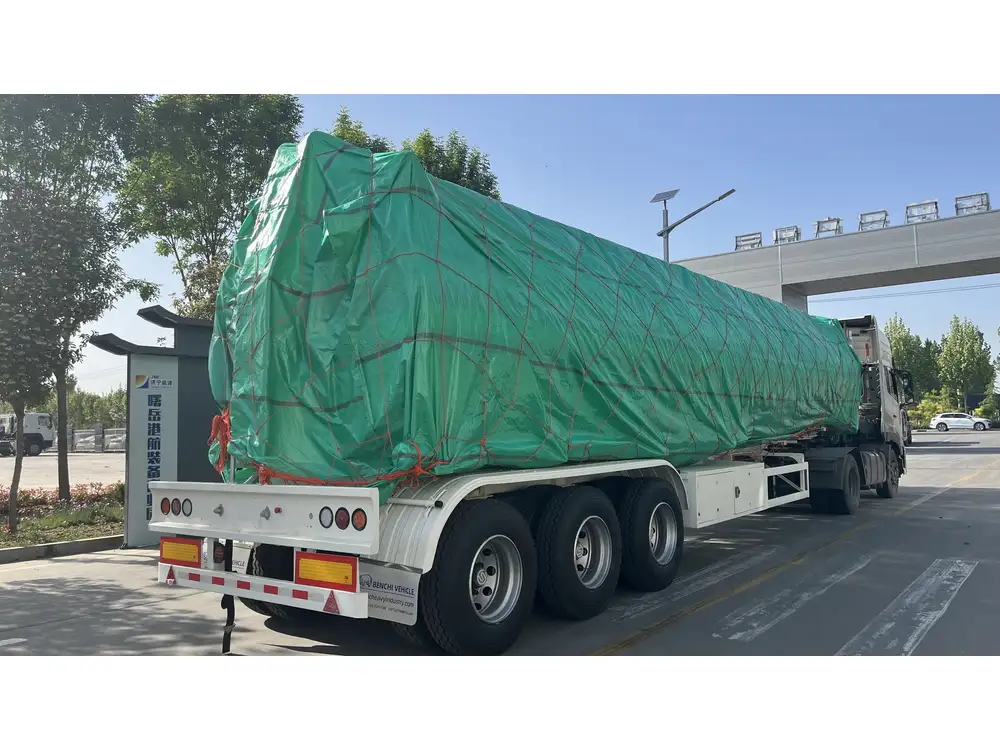
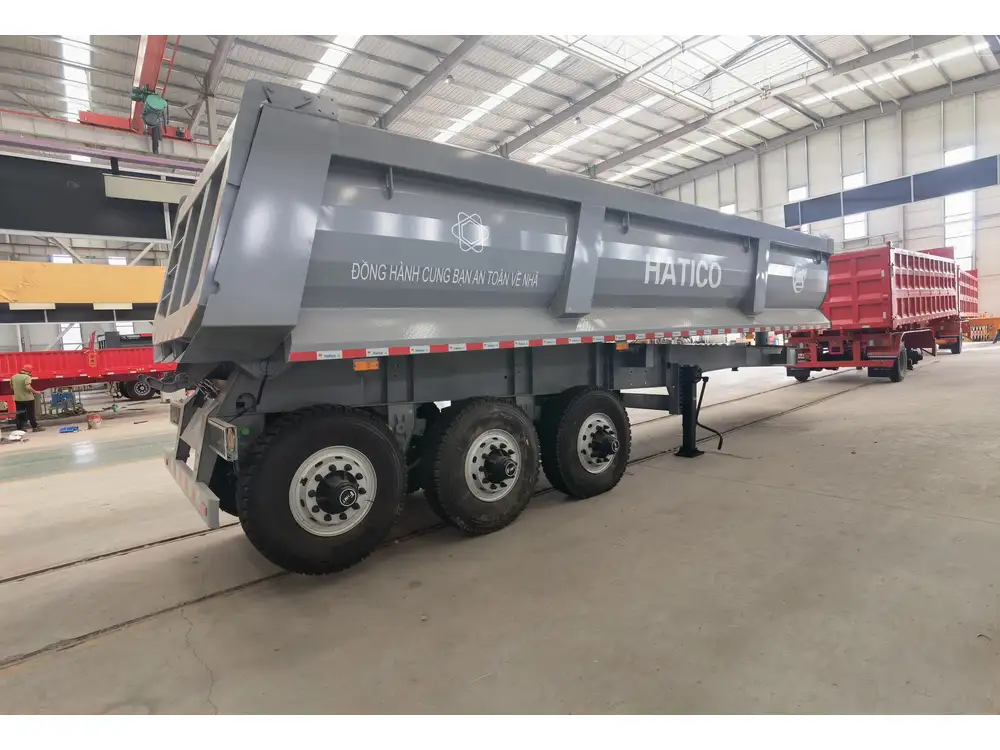
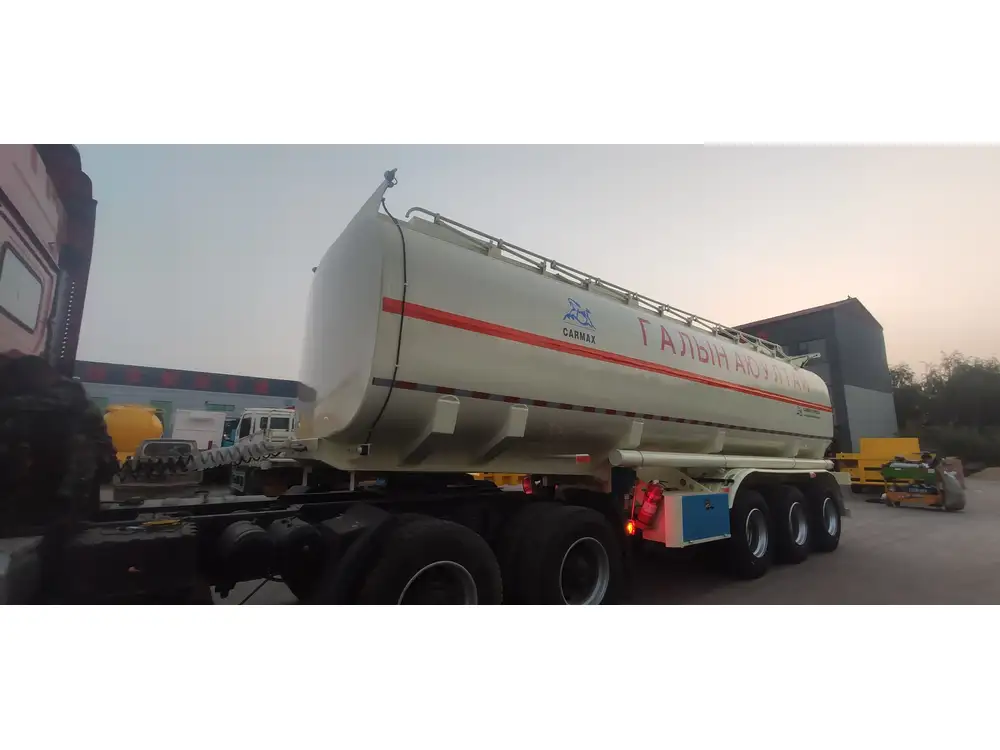
Translucent roofs have become a popular feature in the semi-trailer industry, offering not only aesthetic appeal but functional benefits such as increased natural light and energy efficiency. This guide aims to provide a detailed approach to gluing a translucent roof on a semi-trailer, ensuring durability, longevity, and optimal functionality.
Understanding Translucent Roof Materials
Types of Translucent Roofs
Polycarbonate Sheets
- High impact resistance
- UV protection
- Lightweight yet durable
Acrylic Sheets
- Excellent clarity
- UV resistance
- More prone to scratching compared to polycarbonate
Fiberglass Panels
- Offers a good balance of weight and strength
- Good thermal insulation properties

Comparison of Materials
| Material | Durability | Weight | Cost | UV Resistance | Clarity |
|---|---|---|---|---|---|
| Polycarbonate | High | Lightweight | Moderate | High | Good |
| Acrylic | Moderate | Lightweight | Lower | High | Excellent |
| Fiberglass | High | Moderate | Moderate | Moderate | Fair |
Preparing for Installation
Tools and Materials Required
To successfully glue a translucent roof onto a semi-trailer, consider acquiring the following tools and materials:
Tools:
- Measuring tape
- Utility knife
- Jigsaw or circular saw
- Caulking gun
- Safety goggles and gloves
- Ladder (if necessary for height)
Materials:
- Translucent roofing sheets (polycarbonate, acrylic, or fiberglass)
- Weather-resistant adhesive (such as silicone or polyurethane-based adhesive)
- Primer (if required by the adhesive)
- Sealant for edges

Step-by-Step Preparation Process
Measure the Roof Area:
- Accurate measurements are crucial. Measure the length and width of the section where the translucent roof will be installed.
Select the Appropriate Material:
- Based on the measured dimensions, choose the type of translucent sheet that suits your needs best.
Cut the Translucent Sheet:
- Using a utility knife or a saw, carefully cut the sheet to fit the designated area. Ensure the cuts are straight and clean to avoid leakage or structural failure.
Transform the Surface:
- Clean the area on the trailer where the roofing will be adhered. Remove any dirt, debris, or old adhesive residues. The surface should be smooth and dry for optimal adhesion.
The Gluing Process
Applying the Adhesive
Select the Right Adhesive:
- Choose a weather-resistant adhesive that provides a solid bond for exterior applications. Polyurethane adhesives are often recommended due to their strong bond and flexibility.
Priming the Surface (If Required):
- Some adhesives may require a primer for optimal bond strength. If so, carefully apply the primer according to the manufacturer’s instructions and allow it to cure completely.
Evenly Apply the Adhesive:
- Using a caulking gun, apply a uniform bead of adhesive along the perimeter of the roof and in a grid pattern across the surface for maximum coverage.

Positioning the Translucent Sheet
Carefully Align the Sheet:
- Lift the translucent sheet onto the trailer, ensuring that it is properly aligned with the edges.
Press and Secure:
- Firmly press down on the sheet while ensuring it remains aligned, allowing the adhesive to spread evenly beneath it.
Weight for Bonding:
- Place weights or blocks atop the translucent sheet if necessary, ensuring even pressure while the adhesive cures.
Sealing the Edges
Apply Sealant to the Edges:
- Once the adhesive has cured, apply a weather-resistant sealant along the edges where the sheet meets the trailer. This will help prevent water ingress and contribute to the longevity of the installation.
Allow for Proper Curing Time:
- Refer to the adhesive and sealant instructions for the recommended curing time before exposing the roof to stress or weather.
Maintenance of the Translucent Roof

Regular Inspections
Regular inspections are vital for ensuring the longevity of the translucent roof. Check for signs of wear, adhesion failure, or sealant degradation.
Cleaning the Roof
Dust and Debris Removal:
- Use a soft cloth or sponge to remove dust and debris without scratching the surface.
Cleaning Solution:
- Use a mild soap solution—avoid abrasive cleaners that could damage the roofing material.
Drying:
- Allow the roof to air dry after cleaning, ensuring no water spots remain that could lead to corrosion or mildew.
Common Issues and Troubleshooting

Adhesive Failure
If the roof begins to lift or detach:
- Check the compatibility of the adhesive used.
- Ensure the surface was adequately prepared before application.
Leaks
Signs of leaking typically indicate either improper sealing or adhesive failure.
- Inspect the edges for gaps.
- Reapply sealant if necessary.
Yellowing of Material
Over time, certain materials—especially acrylic—may yellow due to UV exposure.
- Consider adding a UV protective coating or replacing the sheet if discoloration is significant.

Conclusion
The installation of a translucent roof on a semi-trailer can be highly beneficial, enhancing both aesthetic appeal and functionality. By following the comprehensive steps outlined in this guide—from preparation and adhesive application to maintenance practices—users can ensure a secure and enduring fit. With informed material choices and diligent care, semi-trailer manufacturers and owners can enjoy the advantages of translucent roofs for many years to come.


