
Building a tipper trailer requires a blend of engineering precision, practical skills, and an understanding of the various components and functions involved. In this detailed guide, we delve into the intricacies of constructing a tipper trailer, ensuring we address common questions and hurdles faced by manufacturers and DIY enthusiasts alike.
Understanding Tipper Trailers
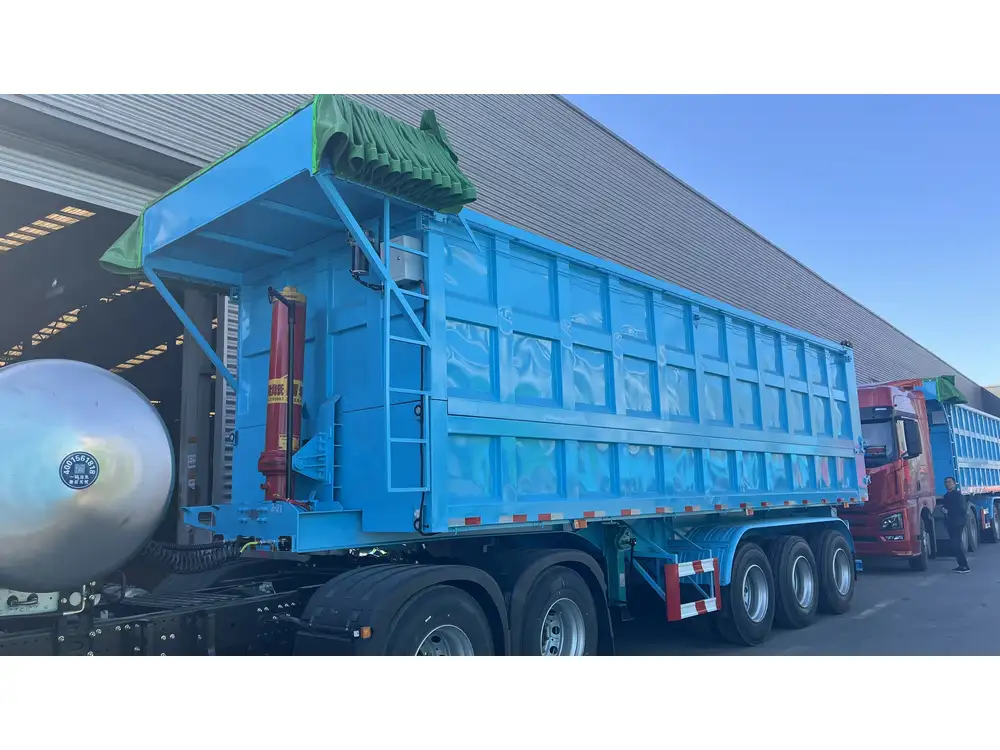
Tipper trailers are specialized vehicles designed to carry bulk materials that are unloaded by tipping them off the trailer bed. Primarily used in the construction and agricultural industries, these trailers offer versatility, efficiency, and durability.
Types of Tipper Trailers
- Rear Tipping Trailers: Most common, unload material by tipping the rear portion.
- Side Tipping Trailers: Tip material from the side, ideal for specific types of loads.
- Bottom Dump Trailers: Unload through the bottom, providing a high flow rate.

Key Components of a Tipper Trailer
Understanding the essential components is critical for anyone looking to build a tipper trailer. Key elements include:
| Component | Description |
|---|---|
| Chassis | The frame supporting the trailer’s structure. |
| Axles | Sturdy rods connected to wheels, providing mobility. |
| Hydraulic System | Mechanism for lifting and tilting the trailer body. |
| Bed | The flat surface where materials are carried. |
| Ramps | Optional feature for easier loading and unloading. |
| Suspension System | Absorbs shocks from the road and enhances stability. |
Step-by-Step Guide to Building a Tipper Trailer
Step 1: Planning and Design
Before diving into the build, a thorough plan is crucial.
- Determine the Purpose: Will it be used for construction debris, agricultural goods, or another purpose?
- Select Dimensions: The length, width, and height of the trailer should be determined based on typical loads.
- Design Software: Utilize CAD software for detailed design layouts, ensuring precision in measurements.

Step 2: Gathering Materials and Tools
A successful build hinges on utilizing high-quality materials and tools. Here’s a checklist:
Essential Materials
- Steel Plates: For the chassis and bed.
- Hydraulic Cylinder: To facilitate tipping.
- Axles: Choose based on the weight capacity required.
- Wheels and Tires: Must be robust and suitable for the intended terrain.
Tools Required
| Tool | Purpose |
|---|---|
| Welder | For joining metal components. |
| Angle Grinder | To cut and shape metal parts as needed. |
| Hydraulic Pump | Generates the hydraulic pressure needed for tipping. |
| Torque Wrench | Ensures proper tightening of bolts for safety. |
| Drill | For making holes in metal and fastening components. |
Step 3: Constructing the Chassis
- Cut Steel Plates: Begin by cutting the steel plates to size for the chassis. Aim for a sturdy yet lightweight structure.
- Weld the Frame: Assemble the frame by welding corners securely. Ensure that all joints are reinforced.
- Install Suspension: Attach the necessary suspension components, allowing for greater stability while in transit.
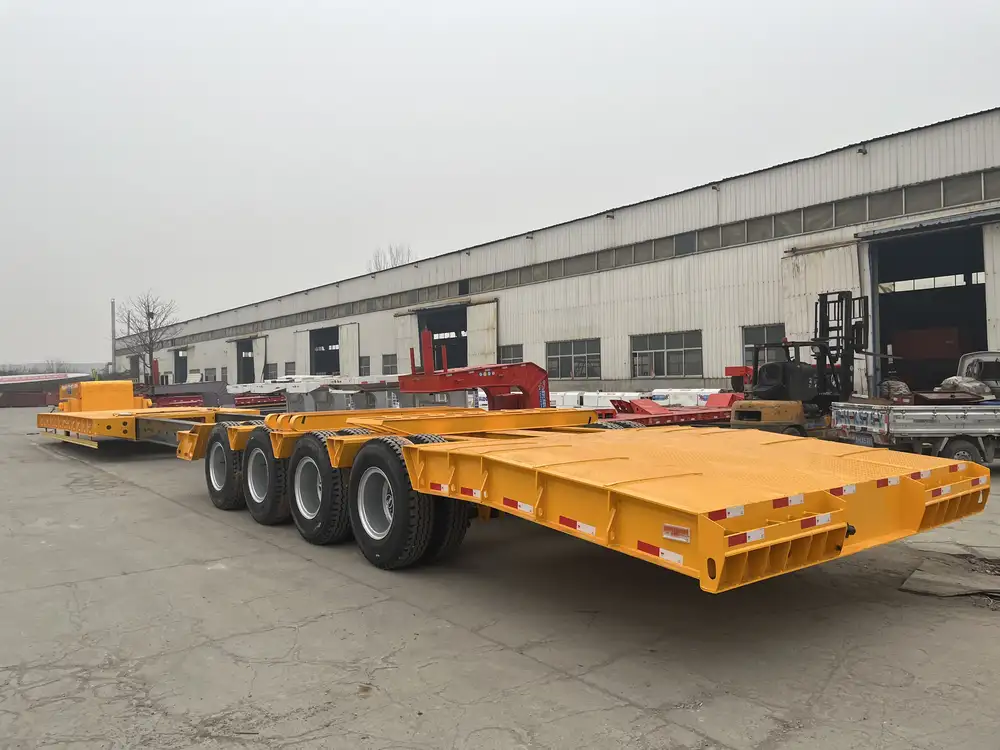
Step 4: Adding the Axles and Wheels
- Position the Axles: Decide the placement based on the trailer’s weight distribution. Typically, axles are situated near the rear to balance the load.
- Mount the Wheels: Securely attach the wheels to the axles. Ensure that all bolts are appropriately tightened.
Step 5: Building the Bed
- Frame the Bed: Create a robust frame for the bed using steel beams.
- Attach Steel Sheets: Weld steel sheets to the frame, creating a solid surface for carrying materials.
- Install Ramps: If applicable, install ramps that can be flipped down for easy loading.

Step 6: Incorporating the Hydraulic System
- Choose Hydraulic Components: The system typically consists of a pump, cylinder, and hoses. Ensure all components are compatible.
- Install the Pump: Position the hydraulic pump in a location that allows easy access for maintenance.
- Connect the Cylinder: Attach the hydraulic cylinder to the bed of the trailer, ensuring it is secured adequately to withstand the forces exerted during tipping.
Step 7: Safety Features and Wiring
- Add Safety Chains: Attach chains to the trailer for additional security when in motion.
- Wire the Hydraulic System: Ensure all electrical components are properly wired for efficiency and safety.
- Install Lights and Reflectors: Ensure visibility during transport, adhering to local regulations.
Testing and Maintenance

Pre-Use Checks
Before using the trailer, conduct thorough inspections:
- Hydraulic fluid levels
- All joints and welds for integrity
- Tire pressure and condition
Maintenance Tips
- Regularly Check Hydraulic Systems: Look for leaks or damages in hoses and cylinders.
- Inspect for Rust: Conduct periodic rust checks and apply protective coatings where necessary.
- Rotate Tires: Preserve tire life by rotating them regularly.
Troubleshooting Common Issues

Hydraulic System Doesn’t Function
Potential Causes:
- Low hydraulic fluid levels
- Blocked hoses
Solutions:
- Check fluid levels and refill if necessary.
- Inspect hoses for kinks or blockages.
Uneven Tipping
Possible Reasons:
- Unbalanced load distribution.
- Misaligned hydraulic cylinder.
Fixes:
- Redistribute the load evenly.
- Adjust or recalibrate the hydraulic cylinder to ensure proper alignment.
Benefits of a Custom-Built Tipper Trailer
- Tailored to Your Needs: A custom approach allows the trailer to meet specific industry requirements.
- Cost-Effective: Building your own can often reduce costs compared to purchasing a manufactured option.
- Enhanced Features: Include additional features tailored to your style, such as more efficient hydraulic systems or increased bed strength.
Environmentally Friendly Considerations
In the era of sustainability, making environmentally conscious choices during the building process is essential.
- Material Sourcing: Utilize recycled materials where possible to reduce environmental impact.
- Energy Efficiency: Consider integrating energy-efficient hydraulic systems to minimize power consumption.
Conclusion
Constructing a tipper trailer can be both an enriching and practical undertaking. By meticulously following the steps outlined in this guide, not only can you create a highly functional vehicle tailored to your unique needs, but you can also enhance your skills in metalwork and engineering. This project not only serves immediate transport needs but can also pave the way for a deeper understanding of vehicular mechanics, offering long-term benefits both personally and professionally.
By taking this comprehensive approach toward building your tipper trailer, you position yourself to not only meet but exceed the expectations of your intended applications. Embrace the adventure of creation, and let your tipper trailer be the embodiment of your dedication to craftsmanship and innovation.

