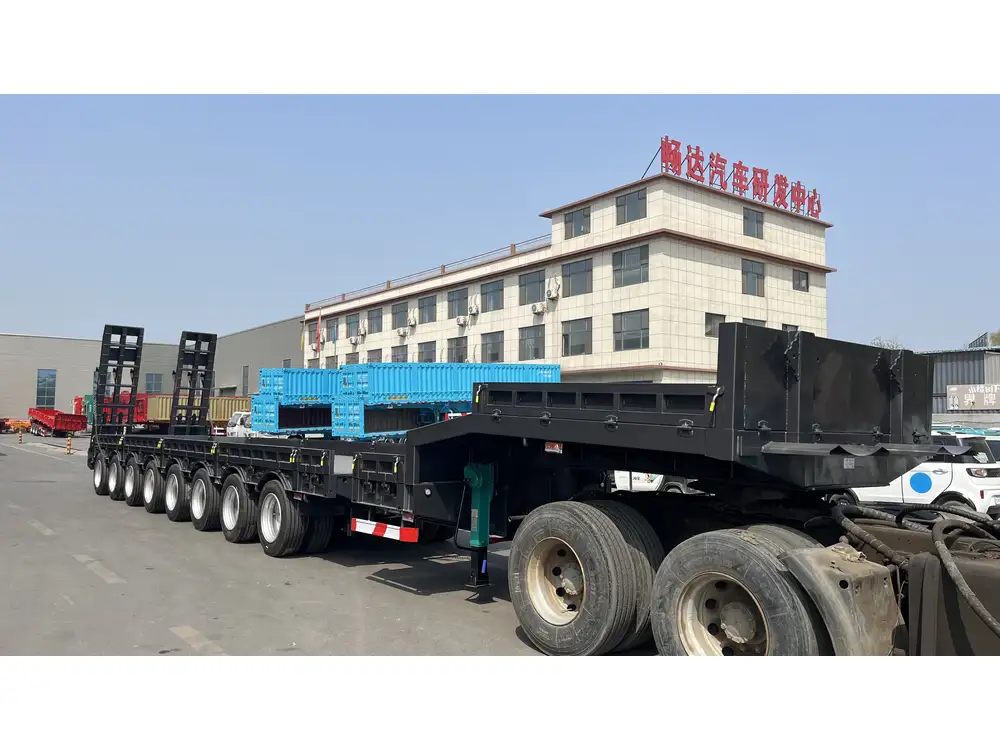
Wiring a 4 pin semi-trailer requires meticulous attention to detail as well as a deep understanding of the various functions each wire serves. Proper wiring ensures that brake lights, turn signals, and taillights function correctly and enhance overall safety on the road. This article serves as an extensive resource, providing in-depth instructions on wiring a 4 pin semi-trailer, tips for maintaining wiring systems, and essential troubleshooting techniques.
Understanding the 4 Pin Semi-Trailer Wiring Diagram
Before diving into the wiring process, it’s crucial to understand the specific functions of each pin in a 4 pin wiring setup:
| Pin Number | Wire Color | Function |
|---|---|---|
| 1 | Brown | Tail/Running Lights |
| 2 | Yellow | Left Turn Signal/Brake |
| 3 | Green | Right Turn Signal/Brake |
| 4 | White | Ground |
Breakdown of Functions
Tail/Running Lights (Brown Wire):
- This wire connects to the vehicle’s tail and running lights, ensuring visibility during nighttime or adverse weather conditions.
Left Turn Signal/Brake (Yellow Wire):
- The left turn signal and brake lights share the same circuit. This intersection requires careful wiring to avoid confusion between signaling and braking.
Right Turn Signal/Brake (Green Wire):
- Functionally identical to the yellow wire, this wire controls the right turn signal and brake lights.
Ground (White Wire):
- The grounding wire is critical for preventing electrical faults. It completes the circuit back to the towing vehicle and ensures all lights operate efficiently.
Understanding this diagram is fundamental to achieving a flawless wiring installation.

Tools and Materials Required
Before you start wiring, gather the necessary tools and materials to ensure a smooth process. Here’s a helpful checklist:
Tools
- Wire strippers
- Crimping tool
- Electrical tape
- Heat shrink tubing
- Wire connectors
- Multimeter (for testing continuity)
- Zip ties (for securing wires)
Materials
- 4 pin trailer wiring harness
- Additional wire (preferably 16 or 18 gauge)
- Connectors (spade or butt connectors)
- Solder (optional for stronger connections)

Step-by-Step Wiring Guide for a 4 Pin Semi-Trailer
Step 1: Prepare the Wires
- Inspect the Wiring Harness: Start by inspecting the existing wiring harness on your semi-trailer. Look for any signs of wear or corrosion.
- Strip the Wires: Use wire strippers to remove about 1/2 inch of insulation from the end of each wire. Be careful not to cut into the wire strands.
Step 2: Connect the Wires
- Identifying Connections: Match the wires from your trailer harness to the appropriate pin functions outlined in the previous section.
- Connecting Wires:
- For the brown wire, connect it to the running lights. This is crucial for visibility.
- Connect the yellow wire to the left signal light and brake light. Ensure that the connection is solid and insulated.
- The green wire must link with the right signal and brake light. Confirm it is properly isolated from other connections.
- Lastly, attach the white wire to a clean, bare metal surface on the trailer frame. This is your grounding connection.

Step 3: Ensure Secure Connections
- Using Connectors: To ensure a solid connection, utilize either butt connectors or crimp connectors. For added durability, consider soldering the connections.
- Insulate Connections: After securing the wires, wrap each connection with electrical tape or slide on heat shrink tubing and use a heat gun to activate the adhesive.
Step 4: Test the Wiring
- Power Up: Connect the trailer to the towing vehicle and turn on the vehicle’s running lights.
- Verification: Use a multimeter to verify each wire’s function. Test the left and right turn signals as well as the brake lights to confirm they are operational.
- Check Grounding: Ensure the ground connection is secure by testing with the multimeter. A poor ground can cause erratic lighting or complete failure.
Troubleshooting Common Wiring Issues

1. Lights Not Functioning
- Check Ground Connections: Ensure the white wire is tightly connected to a rust-free metal surface.
- Inspect the Bulbs: A blown bulb can lead to non-functioning lights. Replace any that are not illuminated even after verifying wiring connections.
2. Dim or Flickering Lights
- Corrosion Check: Inspect connections for corrosion which can impede electrical flow.
- Wire Gauge: Ensure you’re using the appropriate wire gauge. Inadequately sized wires can cause voltage drops.
3. Mixed Signal Issues
- Wire Cross Connections: Examine for any cross wires; incorrect wiring can cause brake lights to flash with turn signals.
- Running Light Interference: Confirm that the tail light functions correctly without interference from the turn signal circuitry.

Maintenance Tips for Semi-Trailer Wiring Systems
To ensure longevity and optimal performance of your semi-trailer wiring system:
Regular Inspections
Conduct routine checks of your wiring harness, particularly before long hauls. Look for fraying wires, damage, or corrosion.
Use Protective Sleeving
Consider employing loom or protective sleeving around your wiring. This will safeguard wires from the elements and physical damage during transit.

Water Resistance Measures
Seal connectors with dielectric grease to prevent moisture ingress and corrosion, especially if your operations involve wet or humid environments.
Document Wiring Changes
Maintain a record of modifications or repairs made to the wiring system. This documentation can be invaluable for troubleshooting and ensuring consistency in your wiring setup.
Conclusion
Wiring a 4 pin semi-trailer is a manageable task that, when executed correctly, enhances the safety and reliability of your hauling operations. Armed with the comprehensive understanding of pin functions, a well-prepared toolkit, and a careful approach, you’ll be equipped to carry out this essential task with confidence. Implementing maintenance tips post-installation ensures that your wiring remains in impeccable condition through various conditions and activities.
By empowering yourself with this knowledge, we believe you will navigate intricate wiring tasks more effectively, reducing risks and enhancing overall trailer functionality. This article serves as your indispensable guide to achieving excellence in semi-trailer wiring.


