When it comes to managing heavy-duty transportation, semi-trailers play a crucial role. In situations where maintenance or specific road conditions necessitate disabling one brake on a semi-trailer, a solid understanding of the brake system, safety measures, and procedural steps is imperative. This guide provides comprehensive insights into the methodology of disabling one brake on a semi-trailer, enhancing your operational awareness and safety.
Understanding Semi-Trailer Brake Systems
Types of Brake Systems
- Air Brake Systems: The most common type for semi-trailers, utilizing compressed air to actuate the brakes.
- Hydraulic Brake Systems: Predominantly found in smaller vehicles, relying on fluid pressure for braking.
- Electric Brake Systems: Typically used in special applications, employing electrical current to engage the brakes.
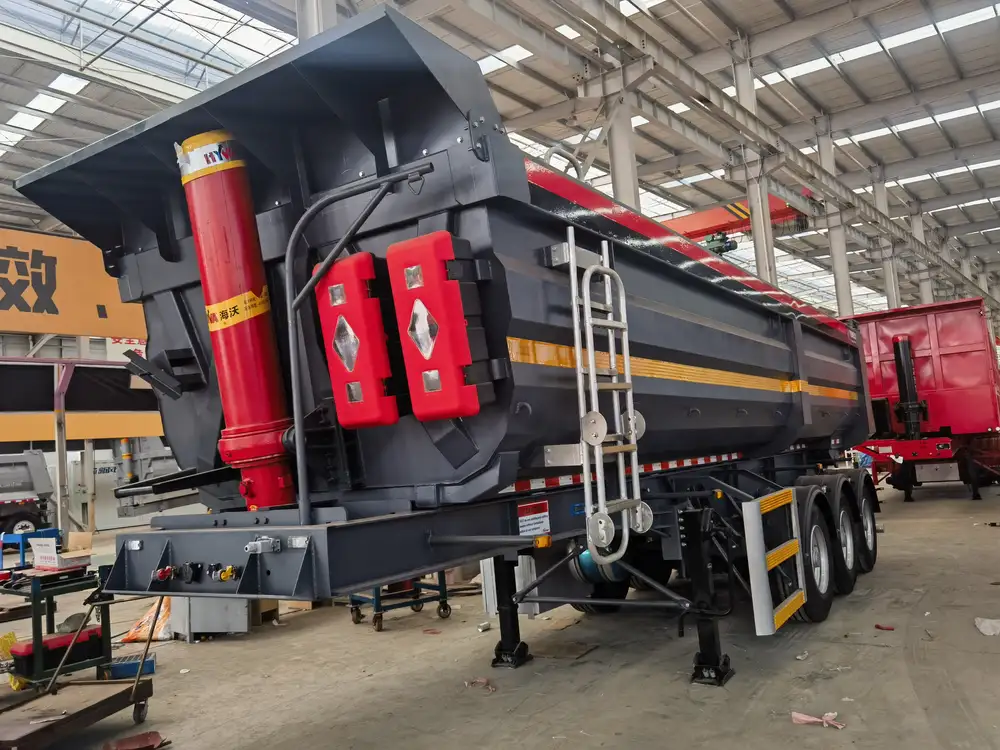
Components of Semi-Trailer Air Brake Systems
| Component | Function |
|---|---|
| Air Compressor | Pressurizes air for the braking system. |
| Brake Chamber | Converts air pressure to mechanical force. |
| Slack Adjuster | Adjusts brake shoe engagement for optimal performance. |
| Brake Shoes | Friction components that engage with the drum. |
| Air Lines | Transports compressed air throughout the system. |
Note: Understanding these components is key to safely disabling one brake, as improper handling can lead to failures or safety hazards.
Professional Recommendations for Disabling One Brake
Before attempting to disable a brake, ensure all safety protocols are followed, and consult your semi-trailer’s manual, as different manufacturers may have unique specifications.
Safety Precautions
- Use Proper Personal Protective Equipment (PPE): Safety goggles, gloves, and steel-toed boots are essential.
- Secure the Trailer: Make sure the trailer is on a flat, stable surface and engage wheel chocks.
- Depressurize the System: Before working on the brakes, relieve the pressure from the air system to avoid accidental engagement.
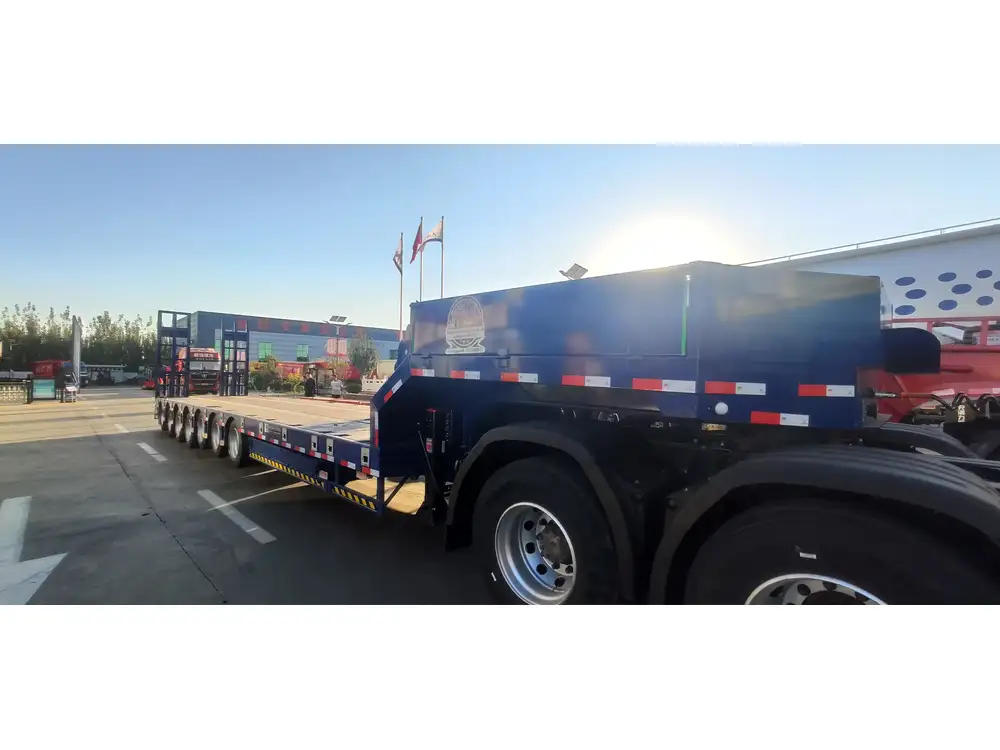
Step-by-Step Process to Disable One Brake
Step 1: Identify the Brake to be Disabled
- Assess each wheel assembly to determine which brake should be disabled. Take into account load distribution and specific operational needs.
Step 2: Gather Necessary Tools
| Tool | Purpose |
|---|---|
| Wrenches or Sockets | For removing brake components. |
| Air Line Wrench | Specifically designed for air brake systems. |
| Brake Line Plug | Required to seal the air line once disconnected. |
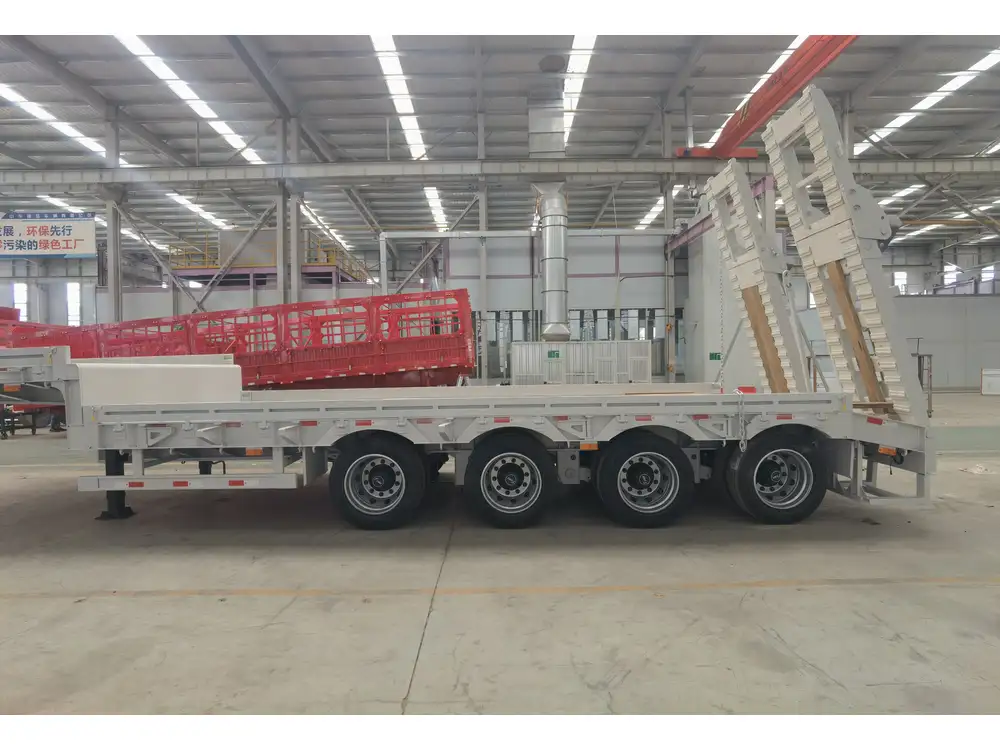
Step 3: Disconnect the Brake Line
- Locate the Brake Line: Follow the air line connected to the brake chamber.
- Use the Air Line Wrench: Carefully remove the fitting to disconnect the air supply.
- Plug the Line: Immediately insert a brake line plug to prevent air leakage, ensuring no air escapes into the rest of the system.
Step 4: Adjust the Slack Adjuster
Adjust the slack adjuster to prevent the brake shoes from engaging. This step ensures that while the brake is physically disabled, it does not inadvertently re-engage due to slack in the system.
Step 5: Perform Safety Checks
- Check Pressure: Make sure that the air pressure is stable and not leaking.
- Test Other Brakes: Before operation, activate other brakes to ensure the remaining brakes function correctly.
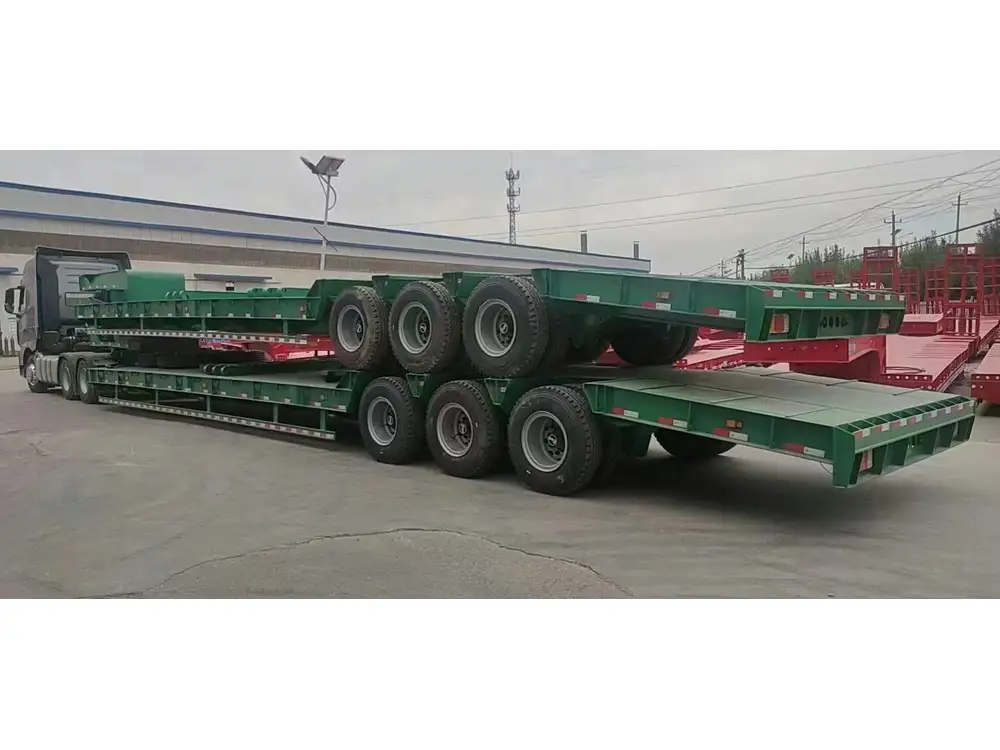
Step 6: Document the Changes
Keep a record of changes made to the brake system. Noting the disabled brake helps maintenance crews identify issues and ensures that the trailer is ready for further inspection and use.
Implications of Disabling a Brake
Potential Risks
- Decreased Stopping Power: Disabling a brake could lead to decreased stopping capabilities, particularly in emergencies.
- Uneven Wear: Over time, the remaining brakes may wear unevenly due to increased load.
- Legal Considerations: Some jurisdictions may have specific regulations regarding undisciplined brake systems.
Maintenance Considerations
Disabling a brake should not be a long-term solution. Plan for a complete inspection and repair of the brake system. Regular maintenance checks ensure that all components function optimally, keeping safety at the forefront.
Re-enabling the Brake System
Step 1: Remove the Brake Line Plug
- Unscrew the Plug: Carefully remove the line plug from the disassembled brake line.
- Reconnect the Brake Line: Reattach the air line securely, ensuring all fittings are taut and leak-proof.
Step 2: Test the System
- Repressurize the System: Start the air compressor and allow the system to build air pressure.
- Engage the Brake: Check the brake functionality by manually engaging it and assessing response.
Step 3: Perform a Final Inspection
Once everything is reassembled and operational:
- Inspect for Leaks: Ensure that there are no air leaks in the system.
- Test Drive: Conduct a short, controlled test drive to assess the brake functionality under real-world conditions.
When to Consult a Professional
While this guide provides detailed steps on disabling one brake on a semi-trailer, there are scenarios where professional assistance is crucial:
- Unfamiliarity with Brake Systems: If you’re unsure about any part of the process, it’s safer to consult a qualified mechanic.
- Complex Problems: If additional issues arise during inspection, such as worn components or irregular wear patterns, professional evaluation is recommended.
- Regulatory Compliance: Understanding local regulations surrounding brake functions is key to ensuring compliance and safety.
Conclusion
Disabling one brake on a semi-trailer is a task that requires careful deliberation, precise execution, and thorough knowledge of the brake system. By following the guidelines outlined above, you can effectively manage this process while maintaining safety and compliance. Always prioritize regular maintenance and promptly address potential issues to keep your operation running smoothly.
Useful Resources
- Brake System Maintenance Guides: Reference manuals from semi-trailer manufacturers.
- Local Regulations on Vehicle Safety: Familiarize yourself with the laws governing vehicle modifications in your jurisdiction.
This structured approach not only improves operational efficacy but also ensures adherence to safety protocols, making a significant difference in heavy-duty transport management.


