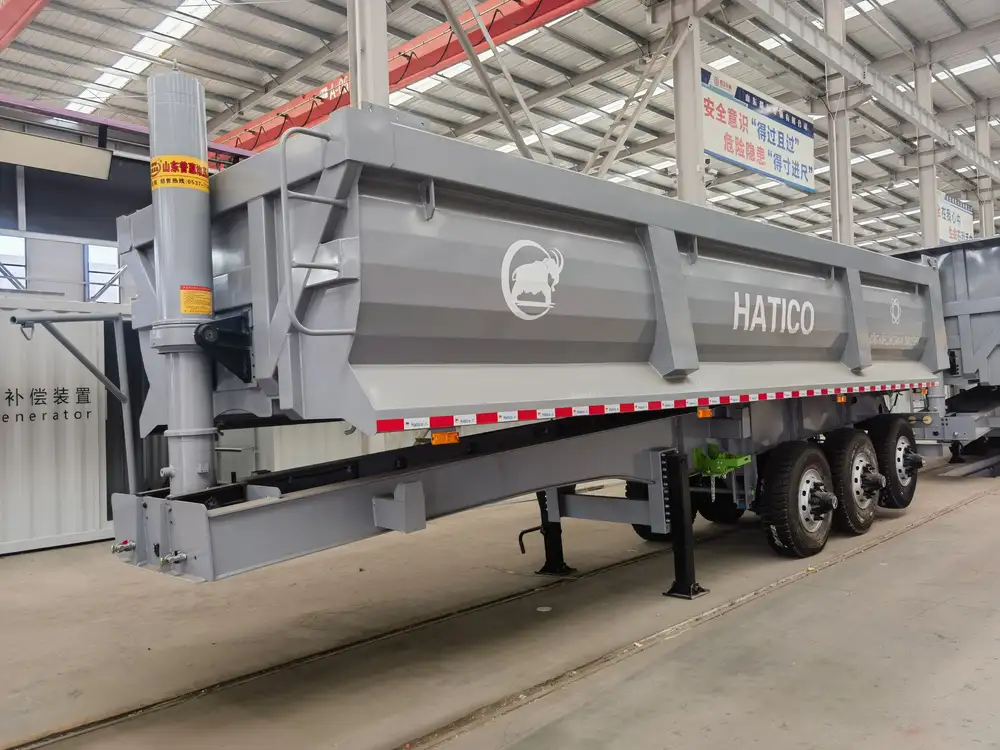
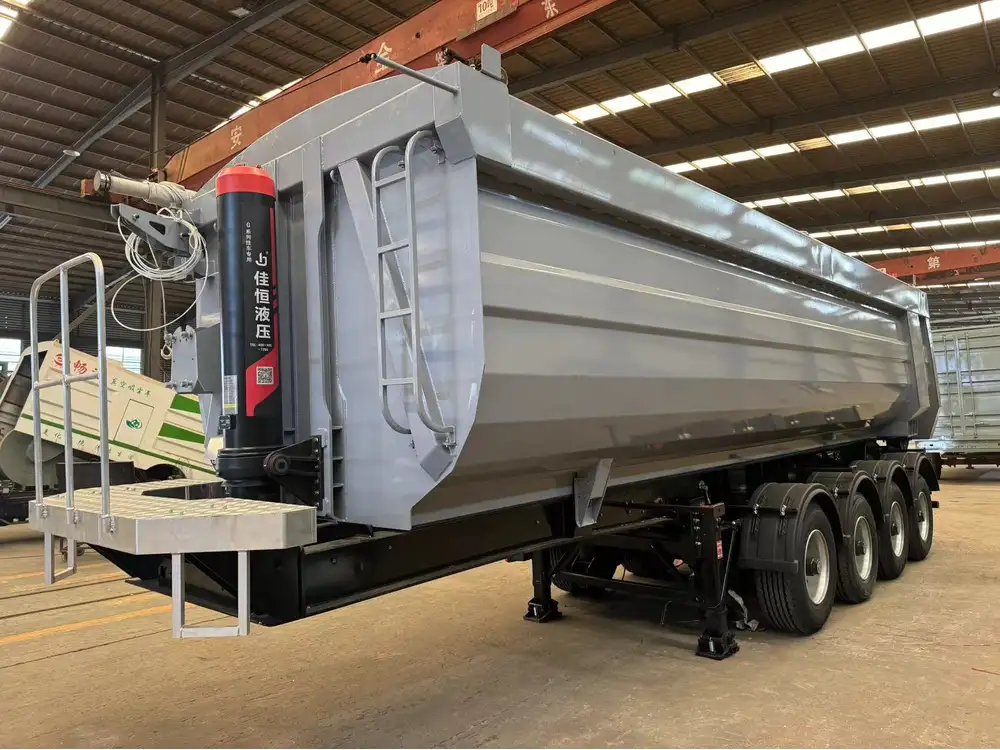
When it comes to the durability and reliability of a semi-trailer, ensuring the integrity of the roof is paramount. A well-maintained roof not only protects cargo from the elements but also extends the lifespan of the trailer itself. In this guide, we will delve deep into the meticulous process of patching a semi-trailer roof, providing you with invaluable insights and step-by-step instructions. With the right approach, tools, and materials, you can ensure that your semi-trailer remains roadworthy for years to come.
Understanding the Common Issues with Semi-Trailer Roofs
1. Identifying Roof Damage
Common damage to semi-trailer roofs may include:
- Punctures and tears: Often resulting from overhanging branches or equipment shifting during transit.
- Cracks: Age, wear, and UV exposure can lead to cracks in the roofing material.
- Joint Separation: Where materials meet, such as seams, may become loose, allowing water intrusion.
- Rust and Corrosion: Particularly in metal roofs, rust can compromise structural integrity.

2. Consequences of Neglect
Failing to address roof issues promptly can lead to:
- Water Damage: Leaks can adversely affect cargo, leading to significant financial losses.
- Structural Damage: Over time, moisture can weaken the trailer’s frame.
- Decreased Resale Value: Damage can significantly diminish a trailer’s market price.
Tools and Materials Required
Before embarking on the patching process, ensure you have the following tools and materials readily available:
| Tools | Materials |
|---|---|
| Utility Knife | Roofing Patch (Rubber or Vinyl) |
| Roller or Brush | Roofing Adhesive |
| Tape Measure | Sealant (Silicone-based) |
| Putty Knife | Primer (for metal roofs) |
| Ladder | Reinforcement Fabric (if needed) |
| Safety Gear (Gloves, Goggles) | Clean Rags |
Step-by-Step Process for Patching a Semi-Trailer Roof

Step 1: Safety First
Ensure safety by wearing protective gear. Use a sturdy ladder to reach the roof and always consider the trailer’s stability. If possible, have another person assist you while you work.
Step 2: Inspect and Clean the Area
- Examine the Roof: Thoroughly inspect the roof for damage, focusing on areas where water might have pooled.
- Clean the Surface: Remove any debris, dirt, or old patches. A clean surface promotes better adhesion.
- Use a utility knife to scrape off loose materials, rust, or peeling paint.
- For stubborn dirt, a pressure washer may be beneficial.
Step 3: Assess the Damage
- Determine the Type of Damage: Identify whether it’s a small puncture, crack, or extensive damage requiring reinforcement.
- Plan the Patch: Depending on the type of damage, decide on the size of the patch. As a rule of thumb, patches should extend at least 2 inches beyond the damage.

Step 4: Prepare the Patch
- Cut the Patch Material: Using your utility knife, cut a piece of the roofing patch material. Ensure it’s appropriately sized for the area to be repaired.
- Reinforcement (if needed): For larger holes, consider using reinforcement fabric beneath the patch. This provides additional support and durability.
Step 5: Apply Adhesive
- Choose the Right Adhesive: Consult the adhesive manufacturer’s recommendations to ensure compatibility with your roofing material.
- Application: Apply an even coat of roofing adhesive over the area surrounding the damage.
- Use a roller for large areas and a brush for edges.
Step 6: Secure the Patch
- Lay Down the Patch: Place the patch over the adhesive, ensuring it covers the entire damaged area by the necessary margin.
- Press Firmly: Use a putty knife or your fingers to press the patch securely into place, ensuring there are no air bubbles.

Step 7: Seal the Edges
- Apply Sealant: To prevent water from seeping underneath, apply a silicone-based sealant around the edges of the patch.
- Smooth the Sealant: Smooth with a gloved finger or a putty knife, ensuring a complete seal.
Step 8: Finishing Touches
- Let the Patch Cure: Follow the adhesive and sealant instructions regarding curing times before exposing the patch to water or load.
- Inspect the Repair: After the curing period, inspect the patch for adherence and completeness.
Maintenance Tips Post-Patching

Regular Inspections
- Conduct bi-annual inspections to identify any new damage early. Check for:
- Cracks and signs of peeling in the patched area.
- Areas affected by weather elements.
Cleaning and Upkeep
- Regularly clean the roof to avoid build-up of debris that can cause wear over time.
Protective Coatings
- Consider applying a protective coating every few years to enhance durability and resistance to UV rays.

FAQs About Patching Semi-Trailer Roofs
Q1: How long does a patch last on a semi-trailer roof?
A properly applied patch can last several years, particularly when followed by regular maintenance. Factors influencing longevity include material quality and environmental conditions.
Q2: What type of roofing material is best for a semi-trailer?
Options include rubber, aluminum, and fiberglass. Rubber offers excellent waterproofing, while aluminum is resistant to corrosion.

Q3: Can I use duct tape for temporary fixes?
While duct tape can serve as a temporary solution, it is essential to replace it with a proper patch as soon as possible to avoid deeper damage.
Q4: When should I call a professional?
If the damage is extensive or beyond a simple fix, it may be prudent to contact a professional or technician who specializes in trailer repairs.
Conclusion
Patching a semi-trailer roof is crucial not just for maintaining the integrity of the trailer but also for ensuring your cargo reaches its destination safely. By following the steps outlined in this guide, you elevate the operational efficiency of your semi-trailer fleet while minimizing potential losses from leaks and damage. Regular maintenance, timely inspections, and proper patching techniques will ensure that your semi-trailer remains a reliable asset for your operations. Invest in your fleet today, and it will pay dividends in the long run.


