
Converting a standard trailer into a dump trailer is a rewarding endeavor for those needing additional functionality. By modifying your trailer, you can enhance its versatility, allowing easy loading and unloading of materials, which is particularly beneficial for construction, landscaping, and agriculture. This article provides an in-depth approach to transforming your trailer into a dump trailer, covering essential tools, parts, and installation processes.
Understanding the Basics of Dump Trailers
What is a Dump Trailer?
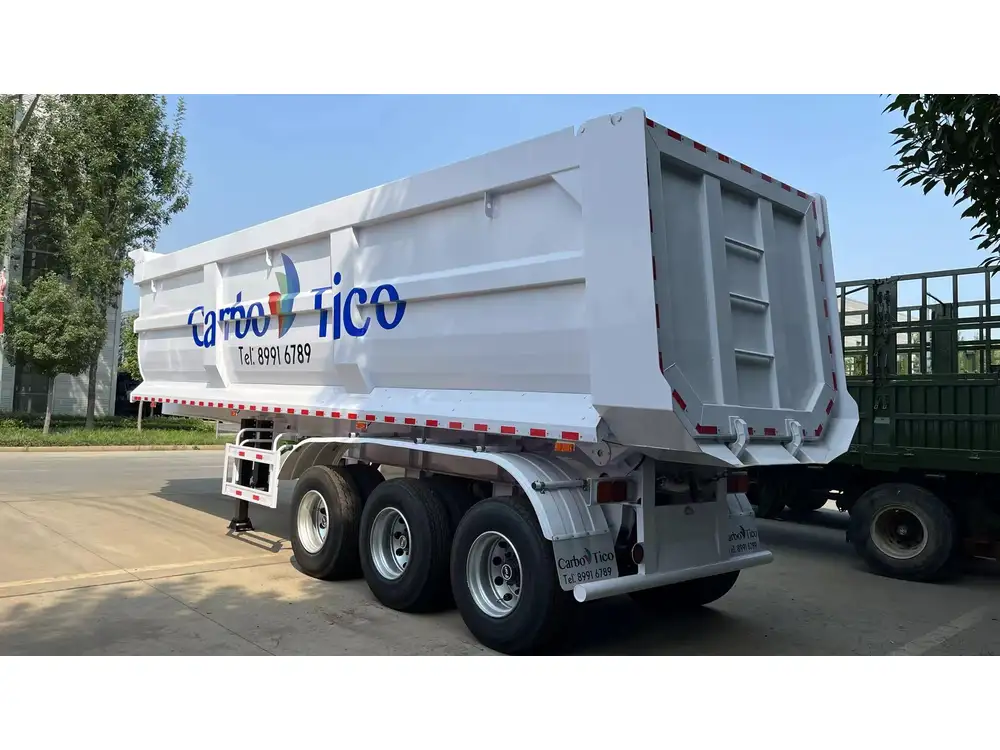
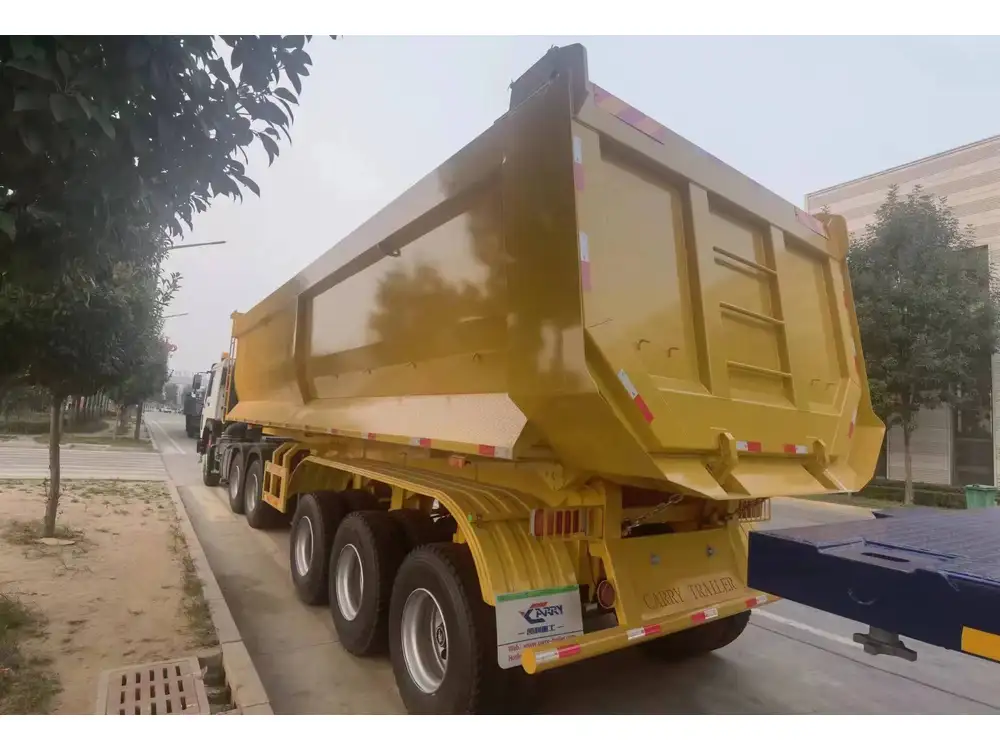
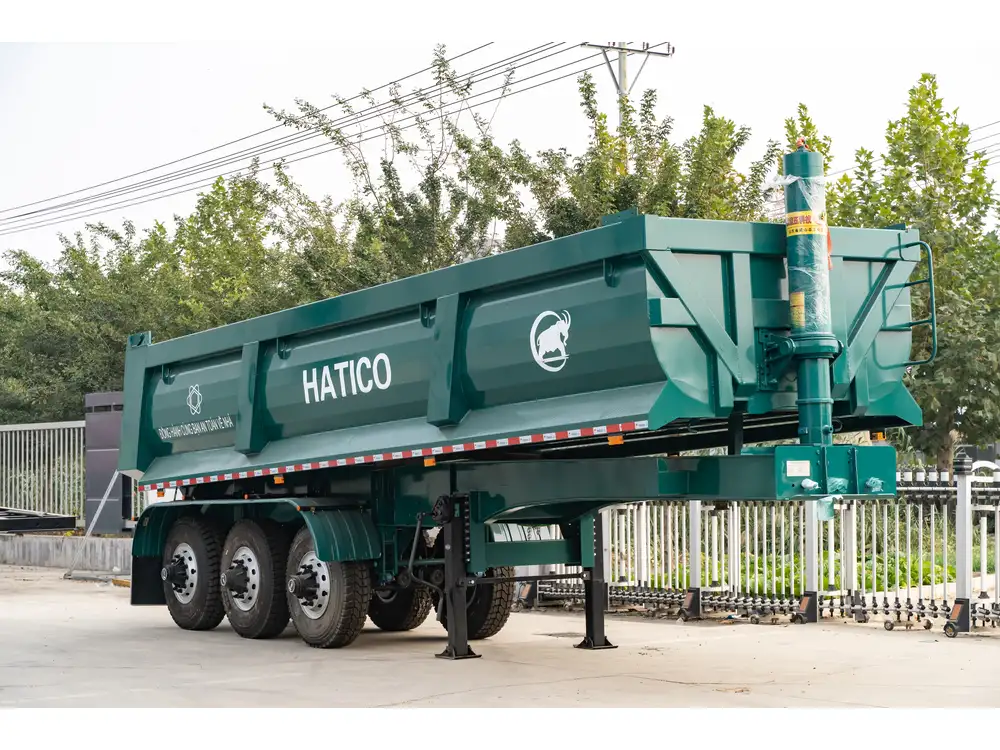
A dump trailer is specifically designed to transport bulk materials and dispose of them easily. Unlike standard trailers that require manual unloading, dump trailers are equipped with hydraulic lifts that allow users to pivot and tilt the trailer bed, facilitating efficient unloading.
Key Features of Dump Trailers:
| Feature | Description |
|---|---|
| Hydraulic System | Mechanism that lifts the trailer bed. |
| Durable Construction | Heavy-duty materials that withstand impacts and loads. |
| Variable Capacity | Options ranging from small to large haul capacities. |
Benefits of Dump Trailers
- Efficiency: Speed up the loading and unloading processes, saving valuable time.
- Versatility: Capable of hauling a variety of materials including soil, gravel, and debris.
- Ease of Use: Simplified operation with hydraulic systems, reducing physical strain.
Assessing Compatibility: Is Your Trailer Suitable for Conversion?
Before embarking on the conversion project, it’s essential to evaluate whether your existing trailer can accommodate the necessary modifications. Factors to consider include:
- Trailer Size: Larger trailers generally have more capacity for a dump feature.
- Weight Rating: Ensure your trailer’s Gross Vehicle Weight Rating (GVWR) can support additional mechanical components without compromising safety.
- Frame Strength: The trailer’s frame must be robust enough to support a hydraulic system and resist stress during operation.

Key Components Needed for Conversion
To successfully convert your trailer into a dump trailer, gather the following components:
- Hydraulic Pump: This component powers the lift mechanism. A 12V electric pump is typically preferred for ease of installation and operation.
- Hydraulic Cylinders: These are responsible for raising and lowering the trailer bed.
- Hydraulic Hoses: Essential for connecting the pump to the cylinders, ensure they are rated for high pressure.
- Trailer Bed: Modify or replace the current bed to support dumping capabilities.
- Control Switch: An easy-to-use button or lever that engages the hydraulic pump.
- Wiring and Electrical Components: Necessary to connect the pump to the trailer’s battery.
Suggested Hydraulic System Options
| System Type | Advantages | Disadvantages |
|---|---|---|
| Electric Hydraulic | Easy to install, powered by vehicle’s battery | May require more service for high volume |
| Manual Hydraulic | Cost-effective, no electrical components | Labor-intensive, slower operation |
| Pneumatic Systems | Lower maintenance, powerful lifting | Requires air compressor, complex install |
Step-by-Step Conversion Process
Step 1: Gather Tools and Materials
Prior to diving into the conversion, organize your tools and materials:
- Wrenches and socket sets
- Drill and drill bits
- Hydraulic fluid
- Safety goggles and gloves
- Measuring tape
Step 2: Prepare the Trailer
- Remove the Existing Bed: Detach the current trailer bed using a socket wrench. Be cautious of any attached wiring.
- Inspect the Frame: Ensure the frame is free from rust and damage, reinforcing as necessary.
Step 3: Install the Hydraulic System
- Mount the Hydraulic Pump: Securely fasten the hydraulic pump to the trailer frame, ensuring it’s properly aligned for operation.
- Attach Hydraulic Cylinders:
- Position the cylinders at the rear of the trailer bed.
- Secure them using bolts, ensuring they are perpendicular to the trailer frame.
- Connect Hydraulic Hoses: Following manufacturer specifications, connect the hoses from the pump to the cylinders while ensuring there are no kinks or leaks.

Step 4: Modify the Trailer Bed
Create a Hinge Mechanism:
- Attach the front of the trailer bed onto a hinged pivot point.
- Ensure it allows smooth movement without obstruction.
Reinforce the Payload Area:
- Add additional cross braces or supports to the underside of the trailer bed to distribute weight evenly during dumping.
Step 5: Install Control Switch
- Position the Control Switch: Mount the switch in a convenient location, either inside the tow vehicle or on the trailer itself.
- Wire the Switch to the Pump: Follow wiring diagrams to connect the switch to the hydraulic pump, ensuring a secure connection to the battery.
Step 6: Test the System
- Fill with Load: Gradually fill the trailer with a manageable load.
- Engage Hydraulic System: Activate the control switch and observe the trailer’s lifting function. Ensure it raises and lowers smoothly.
Safety Precautions During Operation
Ensuring safety during the operation of your newly converted dump trailer is paramount. Always adhere to the following precautions:
- Check Hydraulic Fluid Levels: Low fluid levels can impair lifting capabilities.
- Inspect Equipment Regularly: Before each use, check for signs of wear, leaks, and loose connections.
- Understand Weight Limits: Never exceed your trailer’s rated capacity to prevent accidents.
Maintaining Your Dump Trailer
A dump trailer requires regular maintenance to ensure optimal functionality. Key maintenance practices include:
- Hydraulic System Check: Routinely inspect and refill hydraulic fluid as needed.
- Tire Maintenance: Monitor tire pressure and wear, replacing tires when needed.
- Frame Inspection: Periodically check for rust and structural integrity, repainting as necessary to prevent corrosion.
Troubleshooting Common Issues
While operating your dump trailer, you might encounter issues. Here’s how to resolve common problems:
| Issue | Potential Causes | Solutions |
|---|---|---|
| Hydraulic system won’t lift | Low fluid levels, faulty pump | Check fluid levels, replace or repair the pump |
| Uneven lifting | Misaligned cylinders | Adjust cylinder positioning and mounting |
| Leaking hydraulic fluid | Damaged hoses or seals | Replace worn-out hoses or seals |

Conclusion
Transforming your standard trailer into a dump trailer opens a realm of opportunities, enhancing its versatility for various jobs and industries. By understanding the required components, following a structured installation process, and practicing regular maintenance, you’ll ensure longevity and reliability from your dump trailer. Whether for professional or personal use, this conversion will prove to be a valuable asset.
By following this comprehensive guide on converting a trailer into a dump trailer, you can effectively meet your hauling needs while enhancing the functionality of your existing equipment. Take the plunge into this conversion adventure, and enjoy the benefits of increased efficiency and versatility!

