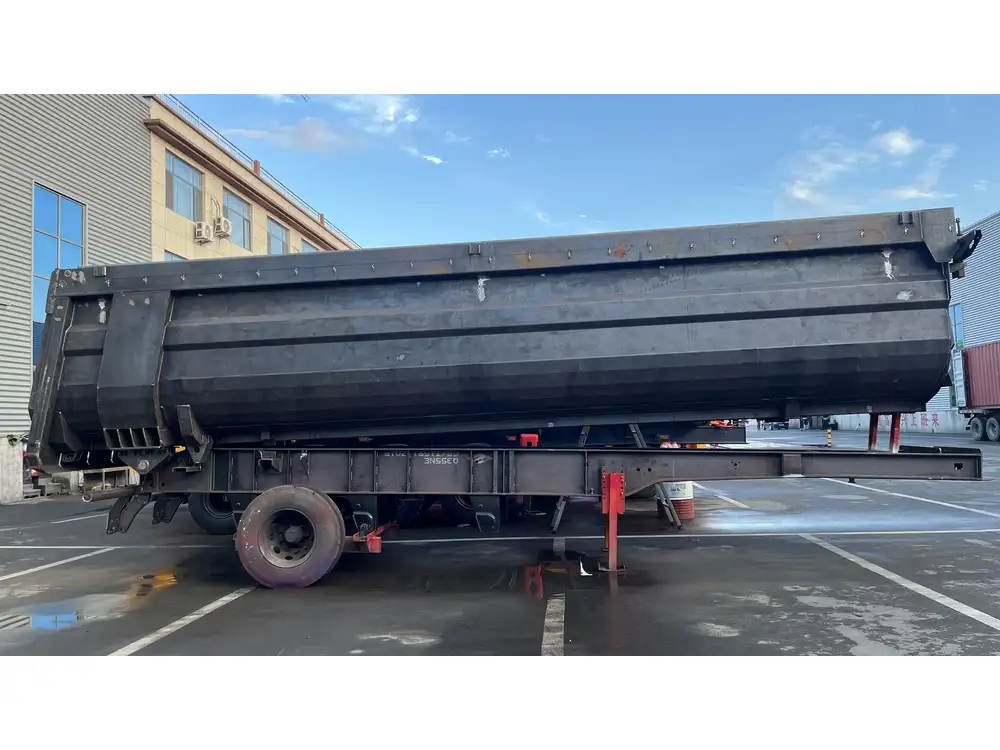
Maintaining the integrity of your semi-trailer’s braking system is not only crucial for compliance with regulatory standards but also paramount for ensuring safety on the roads. Proper brake function can mean the difference between a safe journey and a potential catastrophe. In this guide, we delve into the multifaceted process of checking trailer brakes, providing a structured, step-by-step approach, tools needed, and tips for routine maintenance.
Importance of Trailer Brake Maintenance
1. Safety First
Brake failures are one of the leading causes of road accidents involving heavy vehicles. A properly functioning brake system ensures that drivers have maximum stopping power to avoid hazards. Regular maintenance can significantly reduce the risk of brake-related incidents.

2. Legal Compliance
Regulatory bodies like the Federal Motor Carrier Safety Administration (FMCSA) stipulate rigorous safety standards for commercial vehicles. Understanding how to check trailer brakes can aid in adhering to these legal requirements, minimizing liability risks for fleet operators.
Tools Required for Checking Trailer Brakes
To perform a thorough inspection of your semi-trailer brakes, gather the following tools:
| Tool | Purpose |
|---|---|
| Wrench Set | For securing and loosening bolt connections. |
| Brake Adjustment Tool | To ensure brakes are correctly calibrated. |
| Torque Wrench | For applying the correct torque specified by the manufacturer. |
| Brake Fluid Tester | To check the quality of brake fluid. |
| Inspection Mirror | To see hard-to-reach areas. |
| Flashlight | For illuminating dark spaces during inspection. |
| Safety Gear | Gloves and goggles for personal safety. |
Step-by-Step Procedure for Checking Trailer Brakes
Following a systematic approach can help identify issues early and maintain optimal performance. Here’s how to check your trailer brakes effectively.

Step 1: Visual Inspection of Brake Components
Inspect Brake Assemblies:
- Drums and Discs: Look for signs of wear or scoring on the surface.
- Shoes and Pads: Check for thickness. If pads are less than 1/4 inch, it’s time for a replacement.
- Springs and Cables: Look for rust, fractures, or any deformation.
Check for Leaks:
- Inspect the brake lines and hoses for any signs of brake fluid leaks. A wet spot usually indicates a problem.
Step 2: Test the Brake Actuator
Brakes on a semi-trailer often use a hydraulic system. To check its functionality, follow these steps:
Remove the Storage Cap: Locate the actuator cap and proceed to check the fluid level.
Inspect the Condition of Brake Fluid:
- Use your brake fluid tester.
- If the fluid is dark or contains particulates, it might need a change.
Actuate the Brakes:
- Manually activate the brakes by applying pressure.
- Observe for any irregular movement or noises.
Step 3: Brake Adjustment
Proper adjustment is key for effective braking:
- Perform Manual Adjustments:
- Use the brake adjustment tool to check for proper clearance between the pads and drum or disc.
- Follow the manufacturer’s specifications for adjustments to prevent excessive wear and improve performance.
| Adjustment Type | Frequency |
|---|---|
| Automatic Adjustments | Check every 5,000 miles |
| Manual Adjustments | Inspect monthly |

Step 4: Road Test
After conducting your checks and making any necessary adjustments, a road test is essential:
- Controlled Environment: Start in a safe area, ideally a parking lot.
- Conduct Brake Tests: Accelerate to approximately 30 mph and gently apply the brakes. Note any irregular behavior (such as uneven stopping or pulling to one side).
- Listen for Any Noise: A grinding or squeaking sound could indicate issues that need immediate addressing.
Step 5: Consult Professional Assistance
If you encounter significant problems during your inspection or are unsure about the state of your brake system, it is prudent to consult with a professional mechanic who specializes in commercial trucks. Their expert insight could save you time and enhance safety.
Common Problems and Solutions
Understanding potential problems can help you mitigate risks associated with brake failure. Here’s a summary of common brake issues and appropriate solutions.
| Problem | Possible Causes | Solutions |
|---|---|---|
| Uneven Brake Wear | Misalignment or Overloading | Realign or redistribute cargo. Replace worn parts. |
| Brake Fade | Overheating or Contaminated Fluid | Let the brakes cool down; replace fluid if necessary. |
| Noisy Brakes | Worn Brake Pads | Replace pads immediately. Check other components for wear. |
| Poor Fluid Quality | Contaminated or Old Brake Fluid | Replace fluid; check system for leaks. |

FAQs about Trailer Brake Maintenance
What are the signs of wearing brakes?
Some critical indicators include squealing or grinding sounds, a decrease in braking efficiency, and unusual vibrations during braking.
How often should trailer brakes be checked?
It is advisable to perform a thorough inspection every 5,000 miles, with visual checks before each trip.

What type of brake fluid is recommended for semi-trailers?
Always refer to the manufacturer’s specifications, but many semi-trailers operate using DOT 3 or DOT 4 brake fluids.
Can I perform maintenance on trailer brakes myself?
Yes, with the right tools and knowledge, minor checks and adjustments can be performed. However, consult a professional for complex issues.
Conclusion
Successfully navigating the complexities of semi-trailer brake inspections is essential for safe operational standards. Through regular maintenance, visual inspections, adjustments, and road testing, you can ensure your trailer’s braking system is functioning optimally. Adherence to a detailed checklist can help eliminate unforeseen complications on the road while enhancing safety for both the driver and fellow motorists.
By understanding the methodical nature of brake maintenance and being proactive in addressing issues, you will empower yourself with the knowledge necessary to keep your semi-trailer and its braking system in top shape. Secure your journey today with stringent brake checks, reliable practices, and uninterrupted confidence on the road.


