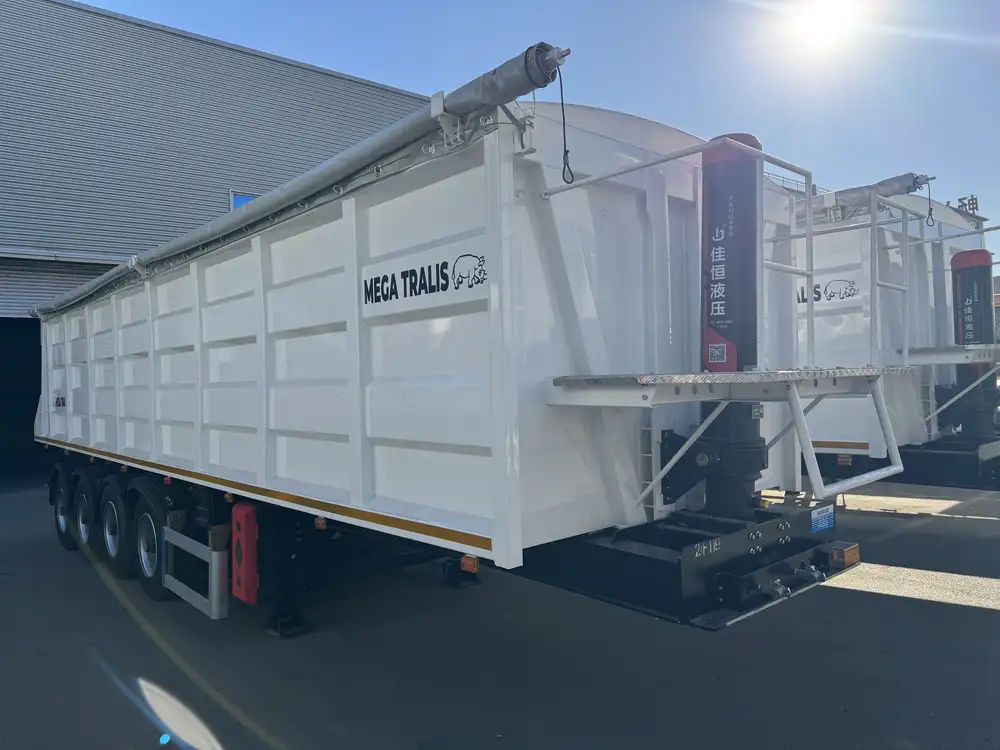
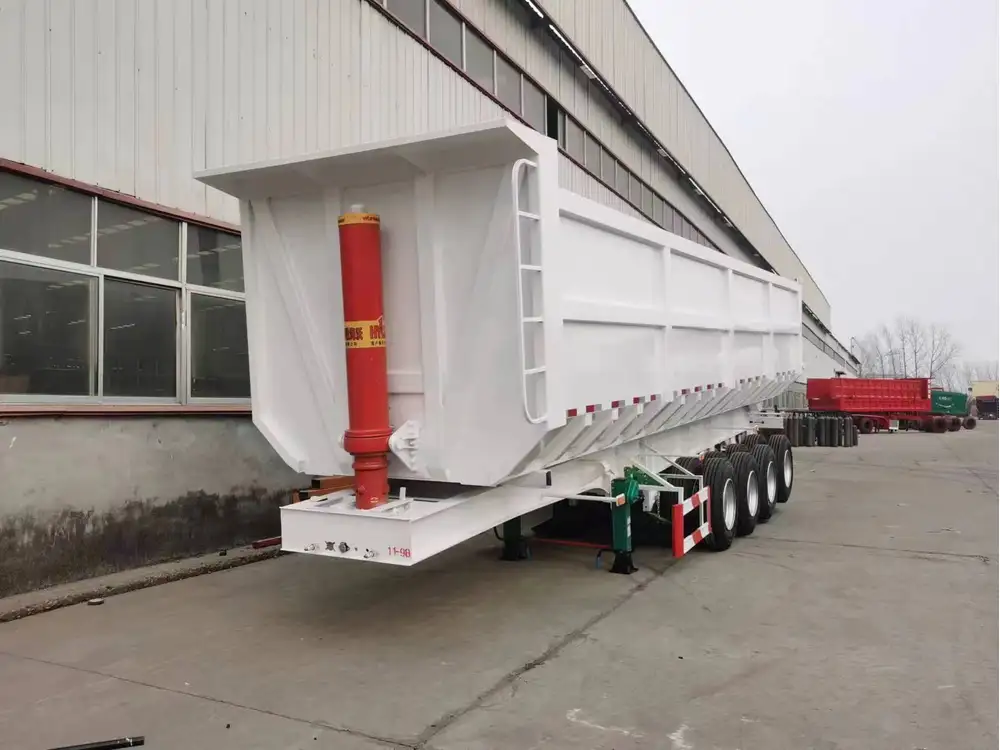
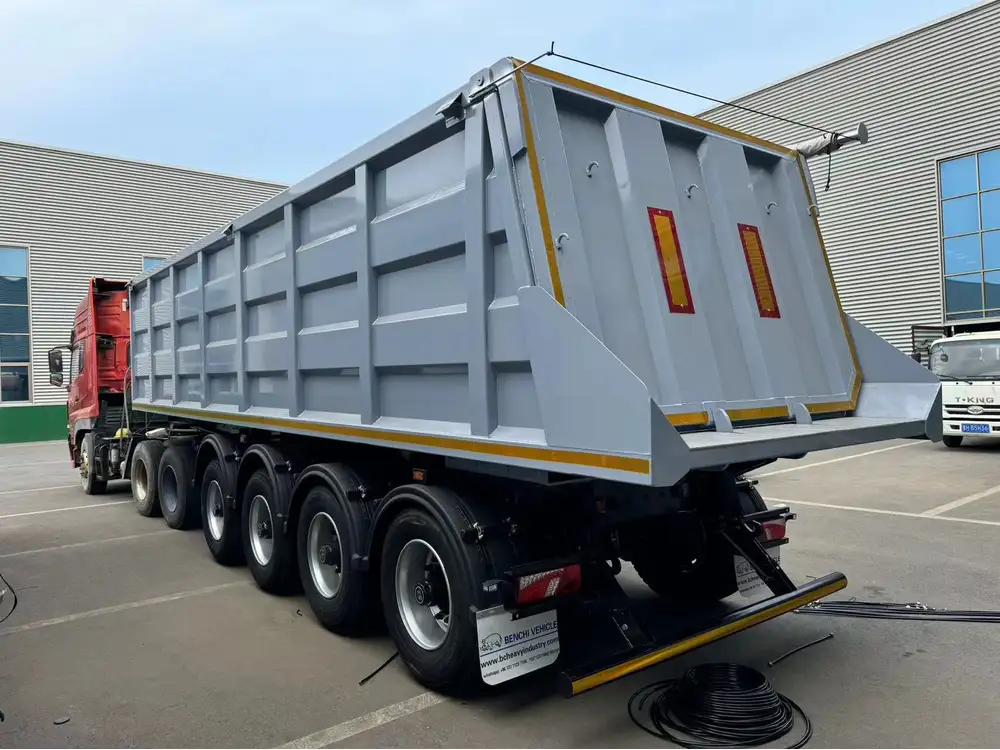
Rewiring a dump trailer is a critical skill that ensures your trailer operates efficiently and safely. Trailer electrical systems are essential for lighting, hydraulic systems, and other functionalities that enhance utility and safety on the road. This guide will cover detailed steps, common issues, required tools, and safety precautions necessary for rewiring a dump trailer effectively.
Understanding the Dump Trailer Electrical System
Key Components of the Electrical System
To rewire a dump trailer, it’s crucial first to understand its components:
| Component | Function |
|---|---|
| Battery | Powers electrical features and hydraulic systems. |
| Wiring Harness | Connects all electrical systems and components. |
| Lights | Ensures visibility and safety during transport. |
| Brake System | Activates and controls trailer brakes. |
| Hydraulic Pump | Raises and lowers the dump bed. |

Common Issues with Trailer Wiring
Identifying wiring issues can save time and enhance safety:
- Frayed Wires: Over time, insulation may wear down.
- Corroded Connections: Exposure to moisture can lead to corrosion.
- Short Circuits: Can occur due to improper connections.
- Faulty Grounding: Leads to malfunctioning lights and other issues.
Recognizing these issues before starting the rewiring process is crucial for an effective repair.
Tools Needed for Rewiring a Dump Trailer
Before embarking on the rewiring process, ensure that you have the necessary tools. A well-equipped toolbox simplifies the task and enhances efficiency:
| Tool | Purpose |
|---|---|
| Wire Strippers | For removing insulation from wires. |
| Crimping Tool | To attach connectors securely to the wires. |
| Screwdrivers | For securing connections and removing existing fixtures. |
| Electrical Tape | Insulation for spliced connections. |
| Wire Connectors | To join wires without soldering. |
| Multimeter | For testing electrical connections and diagnosing issues. |
| Heat Shrink Tubing | Provides extra insulation and protection against moisture. |
| Channel Lock Pliers | To grip and turn nuts/bolts efficiently. |
Step-by-Step Process to Rewire a Dump Trailer

Step 1: Prepare for the Job
Begin with the right preparation:
- Disconnect the Battery: Safety first! Always disconnect the battery before working on any electrical systems.
- Clear Workspace: Ensure you have ample space around the trailer to work comfortably.
Step 2: Inspect Existing Wiring
Before you proceed, carefully inspect the existing wiring:
- Look for Damages: Check for frayed wires or signs of wear.
- Document Existing Configurations: Take photos of the current wiring setup, which will be invaluable during the rewiring.
Step 3: Remove Old Wiring
To facilitate effective rewiring:
- Detach the Existing Wiring: Use a screwdriver to disconnect any lights, the hydraulic pump, and any other electrical components.
- Label Wires: Label and document where each wire connects before removal; this simplifies the reconnection method.

Step 4: Choose the Right Wire
Selecting the appropriate wires is crucial for functionality:
- Use 12 or 10-gauge wire for trailer lighting and hydraulic components.
- Consider weather-resistant wiring to extend the lifespan of the installation.
Step 5: Install New Wiring
With your new wiring ready, follow these steps:
Measure and Cut Wires: Cut wire lengths, ensuring they are long enough to reach all components without strain.
- Tip: Always err on the longer side; excess can be trimmed later.
Strip the Ends: Use the wire strippers to remove approximately 1 inch of insulation from each end of the wires.
Connect Wires: Securely attach each wire using connectors. Make sure you:
- Crimp connectors tightly with a crimping tool.
- Use electrical tape to insulate connections if not using heat shrink tubing.
Step 6: Reconnect Components
Reconnect all components per your earlier annotations. Details are crucial here:
- Lights: Connect rear lights, side marker lights, and any auxiliary lighting.
- Brake System: Ensure that brake wiring is correctly connected to prevent malfunctions.
- Hydraulic Pump: Connect the hydraulic pump wiring ensuring it is secure and routed away from any moving parts.

Step 7: Test the New Wiring
A critical step in confirming your rewiring was successful:
- Reconnect the Trailer Battery: Restore Power.
- Conduct a Functional Test: Check all lights, hydraulic functions, and brake operations. Use a multimeter to check voltages where necessary.
Step 8: Secure and Protect the Wiring
Once testing is complete, ensure that:
- Wire Loops: Maintain appropriate wire loops to avoid strain on connections.
- Cable Ties: Secure wires with cable ties to avoid snagging or excessive movement.
- Protective Covering: Wrap wires in protective sheathing to resist wear from elements and moving parts.
Step 9: Final Inspection
Conduct a thorough inspection before wrapping up the job:
- Inspect Connections: Make sure every wire is secure and insulated.
- Check for Loose Wires: Ensure no loose wires can create shorts or hazards.

Safety Precautions
Essential Safety Tips
- Always Disconnect Power: Prioritize safety by working on a disconnected system.
- Use Insulated Tools: This minimizes any risk of electrical shock.
- Wear Personal Protective Equipment (PPE): Safety goggles and gloves protect against potential injuries.
- Consult a Professional: If unsure about any aspect of the wiring, seek professional help to avoid mishaps.
Troubleshooting Common Issues
After rewiring, you may encounter common issues that require troubleshooting. Below are some pointers on how to address them:

Issue: Lights Not Functioning
- Check Connections: Ensure all connectors are secure.
- Test the Battery: Verify the battery’s charge level and voltage.
Issue: Hydraulic System Fails
- Inspect Pump Wiring: Ensure there are no faulty connections affecting the pump.
- Check Fluid Levels: Hydraulic fluid levels should be adequate for the system to operate.
Conclusion
Rewiring a dump trailer, when done correctly, can vastly improve the functionality and longevity of the unit. Through diligent inspection, proper tools, and adherence to a structured process, you can transform an aging or malfunctioning trailer into a reliable asset. Emphasizing maintenance and early troubleshooting further ensures your investment continues to serve you well on the road. Following the steps outlined in this guide will enable you to rewire your dump trailer effectively, enhancing its performance and extending its operational life.
By consistently reviewing and revising your wiring, you can maintain top-notch functionality with minimal downtime. Whether you’re a DIY enthusiast or a seasoned pro, this detailed guide serves as your roadmap to successful rewiring.


