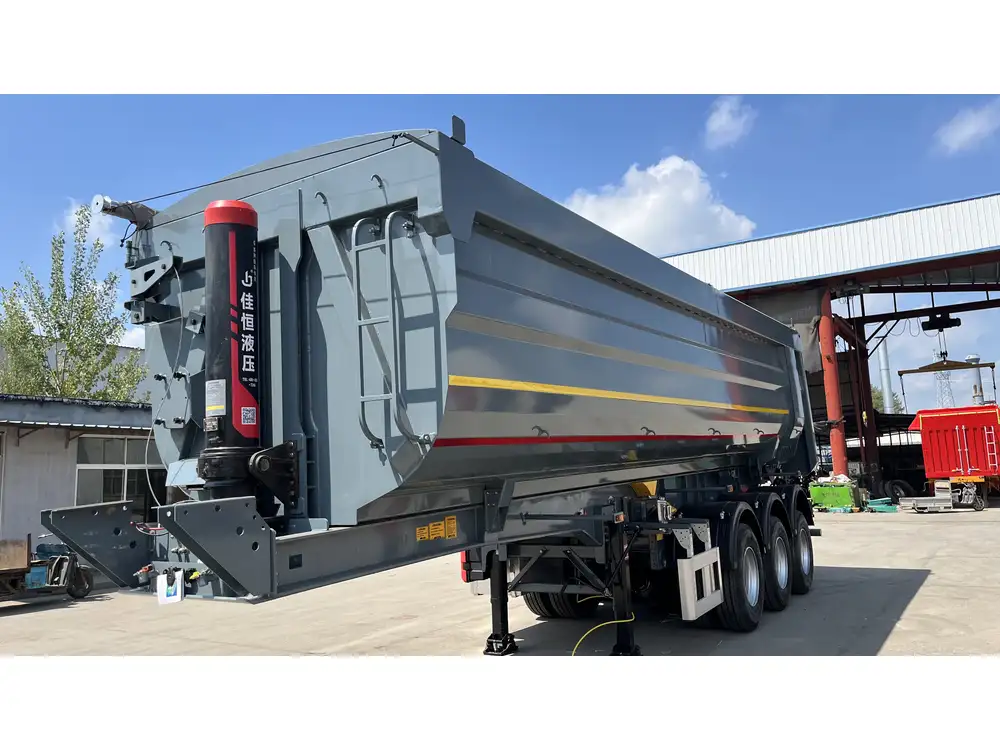
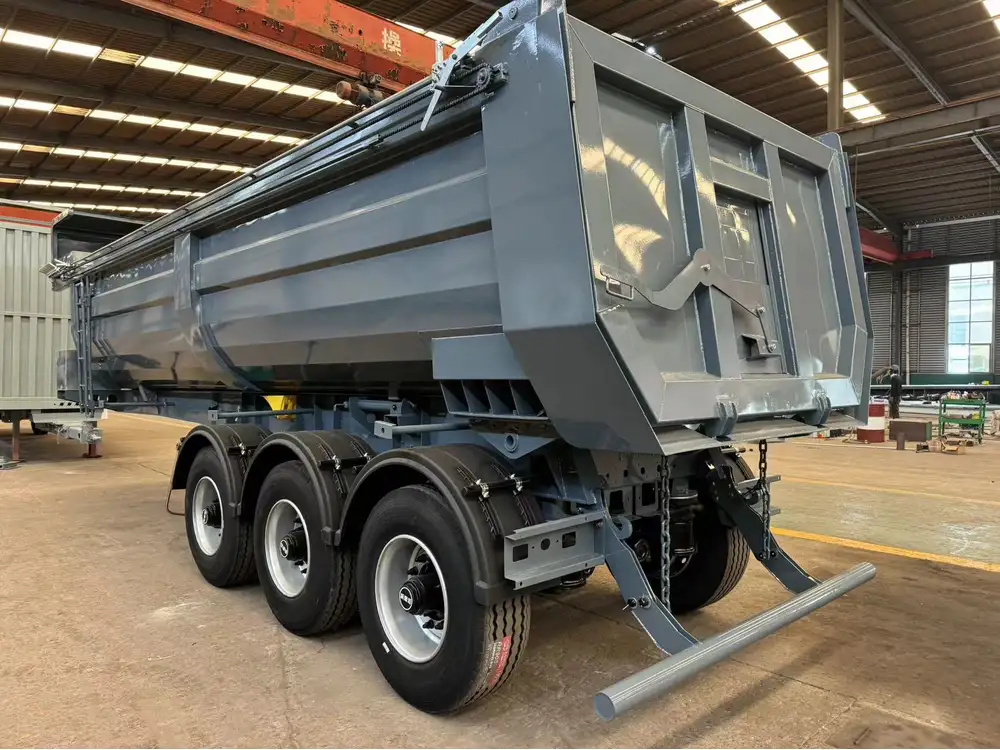
Wiring semi-trailer lights is an essential skill for anyone involved in the transportation and logistics industry. Proper wiring ensures not only compliance with legal standards but also enhances safety on the road. In this guide, we delve into the intricacies of wiring semi-trailer lights, addressing complexities, offering solutions, and providing a step-by-step process to facilitate a seamless experience.
Understanding the Basics of Semi-Trailer Lighting Systems
Before diving deep into the wiring process, it’s imperative to familiarize ourselves with the fundamental components involved in a semi-trailer lighting system.
Components of the Lighting System
| Component | Description |
|---|---|
| Trailer Lights | Includes brake lights, turn signals, marker lights, and reverse lights. |
| Wiring Harness | A collection of wires and connectors that link the lights to the power source. |
| Connectors | Connectors such as 7-pin connectors are used to facilitate connections between the tractor and trailer. |
| Grounding | Ensures that the electrical system is completed, preventing malfunction due to poor connectivity. |

Legal Standards for Trailer Lights
Each region has specific laws governing trailer lighting to enhance safety on the road. Common requirements may include:
- Red brake lights visible from a specified distance.
- Amber turn signals at the rear.
- White reverse lights to illuminate the back when in reverse.
- Marker lights positioned to indicate the trailer’s width.
Why Wiring is Crucial
Wiring issues can lead to malfunctioning lights, which increase the risk of accidents and may result in hefty fines. Knowing how to properly wire these lighting systems is indispensable for maintaining efficient and safe operations.
Tools and Materials Needed
Before beginning the wiring process, ensure you have the following tools and materials on hand:
- Wire Strippers: For stripping insulation off wires.
- Soldering Kit/Crimping Tool: For creating solid electrical connections.
- Heat Shrink Tubing: To protect joints from moisture and corrosion.
- Electrical Tape: For additional protection of wiring connections.
- Multimeter: To test the electrical system.
- Wire Loom: For protecting wires from abrasions.

Step-by-Step Wiring Instructions
Now that we have a foundation, let’s delve into the detailed steps for wiring semi-trailer lights.
Step 1: Research and Preparation
Start by reviewing the user manual for your semi-trailer. Check wiring diagrams to understand the electrical layout and identify color codes.
Step 2: Disconnect the Power Source
Safety is paramount. Before commencing work, ensure that the trailer is disconnected from any tow vehicle to prevent electrical shock or short circuits.

Step 3: Remove Old Wiring
- Carefully Inspect: Check the old wiring for corrosion, fraying, and overall condition.
- Document Connections: Take pictures of how everything is connected. This can serve as a reference when connecting new wires.
- Cut and Remove: Use wire cutters to remove old, damaged wiring, but be careful to leave enough length for connection.
Step 4: Install the Wiring Harness
- Lay Out the New Wiring Harness: Align it according to the original layout documented.
- Ensure Enough Length: Make sure the harness has adequate length to reach each light fixture without strain.
- Secure the Harness: Use zip ties or clips to secure the harness along the trailer frame to prevent movement and abrasion.
Step 5: Connect the Trailer Lights
| Light Type | Wire Color (Typical) | Connection Instructions |
|---|---|---|
| Brake Lights | Red | Connect to the corresponding wire in the harness. |
| Turn Signals | Yellow | Connect as per harness configuration. |
| Running Lights | Brown | Attach to the running light wire in the harness. |
| Ground | White | Connect to the metallic frame of the trailer for proper grounding. |
- Strip the Ends: Use wire strippers to remove around 1 inch of insulation from each wire’s end.
- Twist and Secure: For each connection, twist the ends of the wire together, and consider using solder and heat shrink tubing or crimp connectors for a solid bond.

Step 6: Ground Connections
Proper grounding is critical for the functionality of trailer lights.
- Identify a clean, bare metal section on the trailer frame.
- Connect the white ground wire and secure it with a screw, making sure the metal is free of paint or rust to ensure a good connection.
Step 7: Test the System
Once all connections are made, reconnect the trailer to the towing vehicle and proceed with the following tests:
- Turn on the Vehicle: Activate the hazard lights to check if all indicators are functioning correctly.
- Check Brake Lights and Reverse Lights: Have someone assist by pressing the brake pedal and shifting into reverse to verify all functionality.
- Inspect the Wiring: Ensure all connections are secure and free from damage.
Step 8: Protect Connections
Use electrical tape or heat shrink tubing on the wire connections to provide additional insulation from moisture and dirt. This step is critical for longevity and durability.

Troubleshooting Common Issues
Despite best practices, issues may still arise. Here are some troubleshooting steps for common problems.
| Problem | Possible Causes | Solutions |
|---|---|---|
| Lights not functioning | Bad ground or corroded connectors | Check ground connections and clean connectors. |
| Flickering lights | Loose connections | Tighten all connections and verify integrity. |
| One light not working | Burnt-out bulb or broken wire | Inspect the bulb and wiring; replace if necessary. |
Conclusion: Maintain and Inspect Regularly
Properly wiring semi-trailer lights not only enhances safety on the roads but also demonstrates responsible operational practices. Regular maintenance and periodic inspections can prevent issues before they arise.
By adhering to these guidelines, you can ensure a reliable, compliant lighting system that enhances visibility and safety, resulting in a more efficient transportation process.
Investing time in understanding and executing the wiring of semi-trailer lights not only saves in terms of repair costs but also promotes a smoother operational workflow. Given the importance of visibility on the road, a well-functioning lighting system is a critical asset in the freight transportation industry.
Engage with professionals or forums if complexities arise beyond basic wiring knowledge, and always consider further training or resources for advanced issues.


