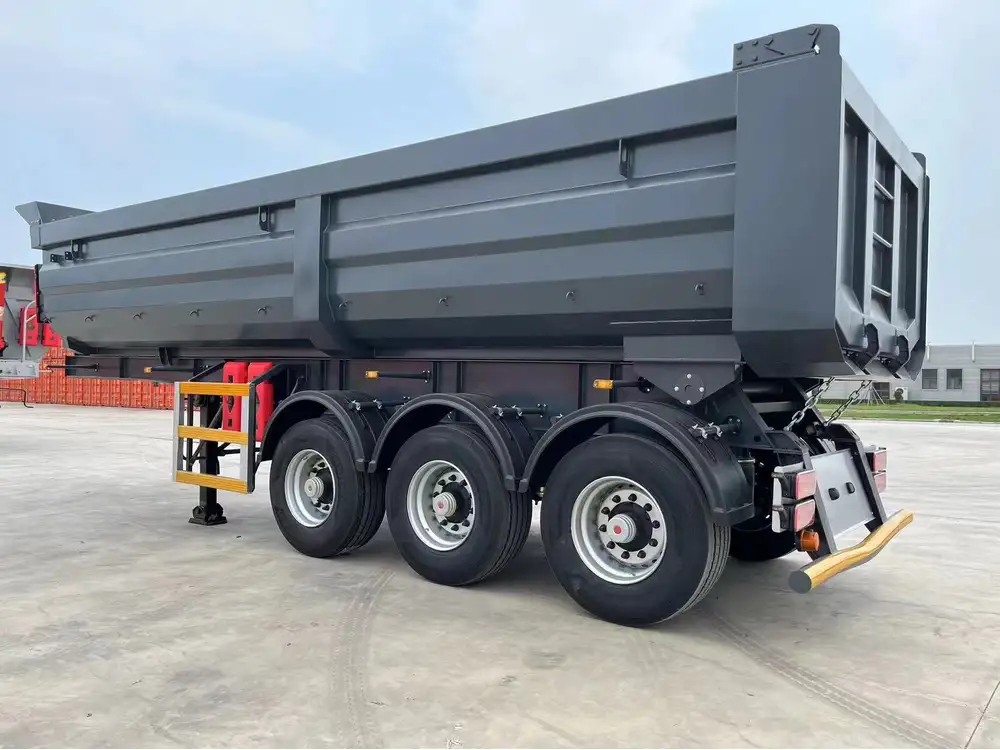
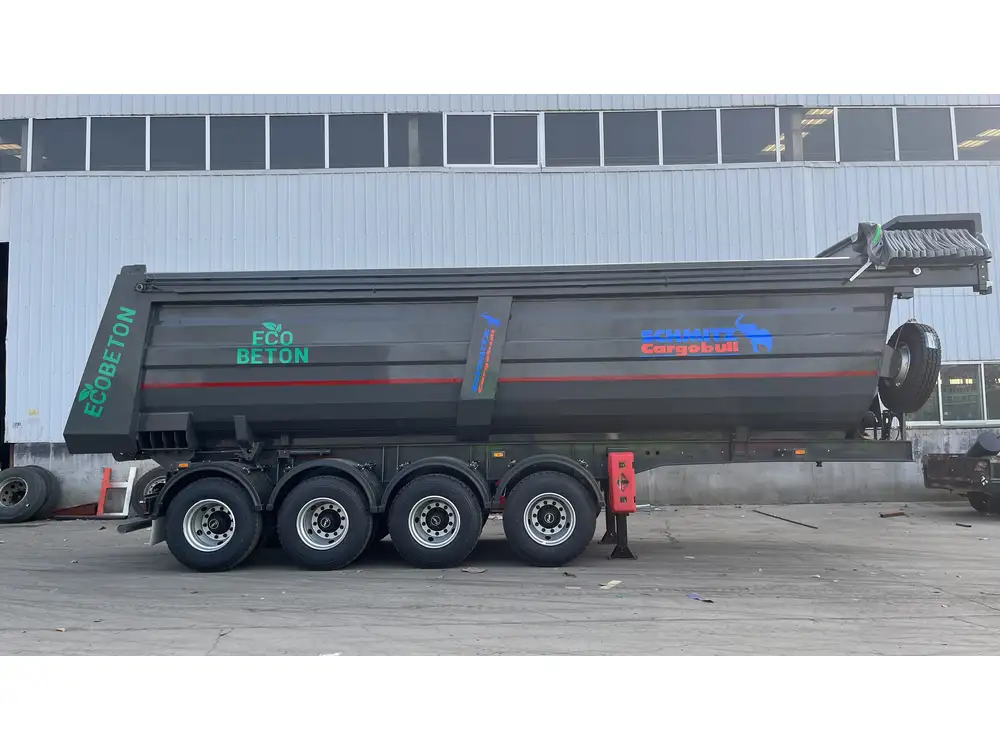
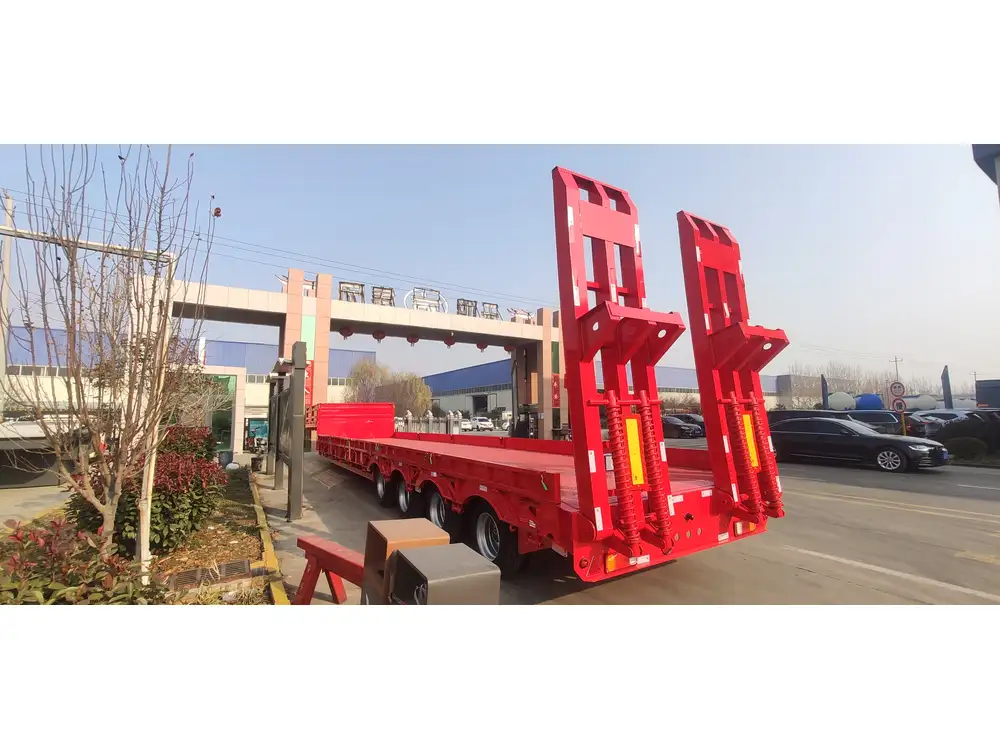
Changing semi-trailer brakes is a critical maintenance task that ensures the safety and reliability of your trailer, especially under heavy loads. Brakes are the unsung heroes of the transportation world, designed to respond reliably whether you’re cruising down the highway or stopping on a dime at a busy intersection. This guide will walk you through the steps involved in changing semi-trailer brakes, emphasizing precision and thoroughness.
Understanding Semi Trailer Brakes
Before diving into the process of changing semi-trailer brakes, it’s crucial to understand the components involved. Semi-trailer brake systems primarily use two types of brakes: drum brakes and disc brakes. Each has its unique characteristics, maintenance requirements, and methodologies for replacement.
Components of Drum Brakes
- Brake Drum: The cylindrical component that houses the brake shoes.
- Brake Shoes: It engages with the drum to provide stopping power through friction.
- Wheel Cylinder: Forces the brake shoes outward against the drum when hydraulic pressure is applied.
- Spring Assembly: Keeps the brake shoes in the correct position and allows them to retract.

Components of Disc Brakes
- Brake Rotor: The flat disc that the brake pads clamp down on to create friction.
- Brake Pads: The components that press against the rotor to generate stopping power.
- Caliper: Houses the brake pads and is responsible for pushing them against the rotor.
- Brake Lines: Carry hydraulic fluid to actuate the caliper.
Preparing for the Brake Change
Before beginning the brake replacement process, preparation is key:
Gather Necessary Tools and Materials:
- Ratchet and sockets
- Wrenches
- Brake cleaner
- New brake pads/shoes and rotors/drums
- Torque wrench
- Jack and jack stands
- Safety goggles and gloves
Safety First:
- Ensure you are working in a well-lit, flat, and stable area.
- Wear protective equipment, including gloves and safety goggles.
- Always use jack stands when working under a trailer.
Check Local Regulations:
- Familiarize yourself with local regulations regarding braking system maintenance for commercial vehicles.
Step-by-Step Process to Change Semi Trailer Brakes

Step 1: Remove the Wheel
Procedure:
- Loosen the lug nuts on the wheel using a wrench.
- Raise the trailer with a jack and secure it with jack stands.
- Completely remove the lug nuts and take off the wheel.
Step 2: Inspect the Brake Components
After removing the wheel, conduct a visual inspection of the brake components:
- Worn Brake Pads or Shoes: Look for cracks, wear, and uneven thickness.
- Brake Drums or Rotors: Check for scoring, warping, or excessive wear.
- Calipers and Wheel Cylinders: Ensure there are no leaks or damage.
Step 3: Remove the Old Brake Components

For Drum Brakes:
Remove the Brake Drum:
- If it’s stuck, tap around the edge gently with a rubber mallet.
Disassemble the Braking Mechanism:
- Remove the springs holding the brake shoes in place.
- Take out the brake shoes and the wheel cylinder if necessary.
For Disc Brakes:
Remove the Caliper:
- Unbolt the caliper from its mount.
- Hang it without straining the brake line.
Remove Brake Pads:
- Slide the old pads out of the caliper bracket.
Remove the Rotor:
- If necessary, unbolt the rotor and pull it off the hub.
Step 4: Install New Brake Components

For Drum Brakes:
Install New Brake Shoes:
- Fit the new shoes onto the backing plate, ensuring the correct alignment with the wheel cylinder.
Reattach the Springs:
- Carefully attach the springs to hold the shoes in position.
Put Back the Brake Drum:
- Slide the drum over the assembled brake shoes.
For Disc Brakes:
Replace the Rotor:
- Slide the new rotor onto the hub and secure it.
Install New Brake Pads:
- Insert the new pads into the caliper bracket.
Reattach the Caliper:
- Secure the caliper over the new pads, ensuring a snug fit.
Step 5: Reinstall the Wheel
- Place the wheel back onto the hub.
- Hand-tighten the lug nuts.
- Lower the trailer and torque the lug nuts to the manufacturer’s specifications.

Step 6: Test the Brake System
Bleed the Brake Lines (if applicable):
- If you have opened any hydraulic lines, bleed the system to remove air.
Check Brake Functionality:
- Before hitting the road, test the brakes by performing several firm stops to ensure effective engagement.
Inspect for Leaks:
- After installation, check for any leaks around the brake lines and components.
Maintenance Tips for Semi Trailer Brakes
While replacing semi-trailer brakes is essential, maintaining your braking system is equally important. Here are some tips to prolong the lifespan of your brakes:
Regular Inspections
- Conduct inspections every 30,000 miles or as recommended by the manufacturer.
- Look for signs of wear such as unusual noises, vibrations, or a spongy brake pedal.

Keep Components Clean
- Regularly clean the brake components to remove dust and debris that could cause wear.
Adjust for Load Differences
- Adjust brake settings according to load variations to ensure optimal performance.
Follow Manufacturer Recommendations
- Always refer to the manufacturer’s guidelines regarding brake maintenance schedules and component specifications.

Frequently Asked Questions (FAQs)
1. How often should I change my semi-trailer brakes?
The frequency of brake changes depends on usage; truck drivers should consider changing their brakes approximately every 50,000 to 100,000 miles, but this can vary based on load, terrain, and brake type.
2. Can I replace semi-trailer brakes myself?
Yes, if you have the mechanical skills and the proper tools, replacing brakes can be done at home. However, hiring a professional is advisable if you lack experience.

3. What are the signs that my brakes need replacing?
Common signs include squeaking noises, longer stopping distances, vibrations, and leaking brake fluid.
4. How do I know if I need drum or disc brakes?
Your semi-trailer’s design and intended use dictate the type of brakes installed. Consult your owner’s manual or a trusted mechanic for guidance.
Conclusion
Changing semi-trailer brakes is not merely a task but a responsibility that ensures safety on the roads. This guide provides a step-by-step methodology that any operator can follow, ensuring they remain compliant with safety regulations while enhancing their vehicles’ performance. By understanding the components, preparing properly, and maintaining regular inspections, you can extend the life of your braking system significantly. Make this maintenance routine a priority, as brutal road conditions and load requirements can put excessive stress on your braking system. Implementing these strategies will safeguard not only your trailer but also the precious cargo it carries and the lives of all on the road.


