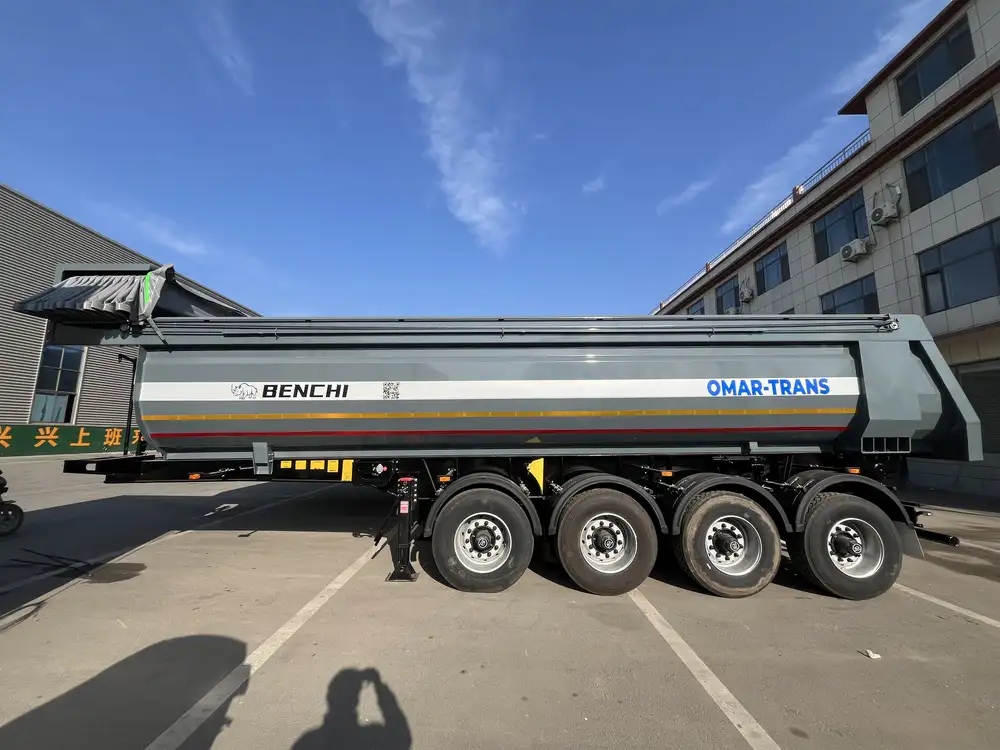
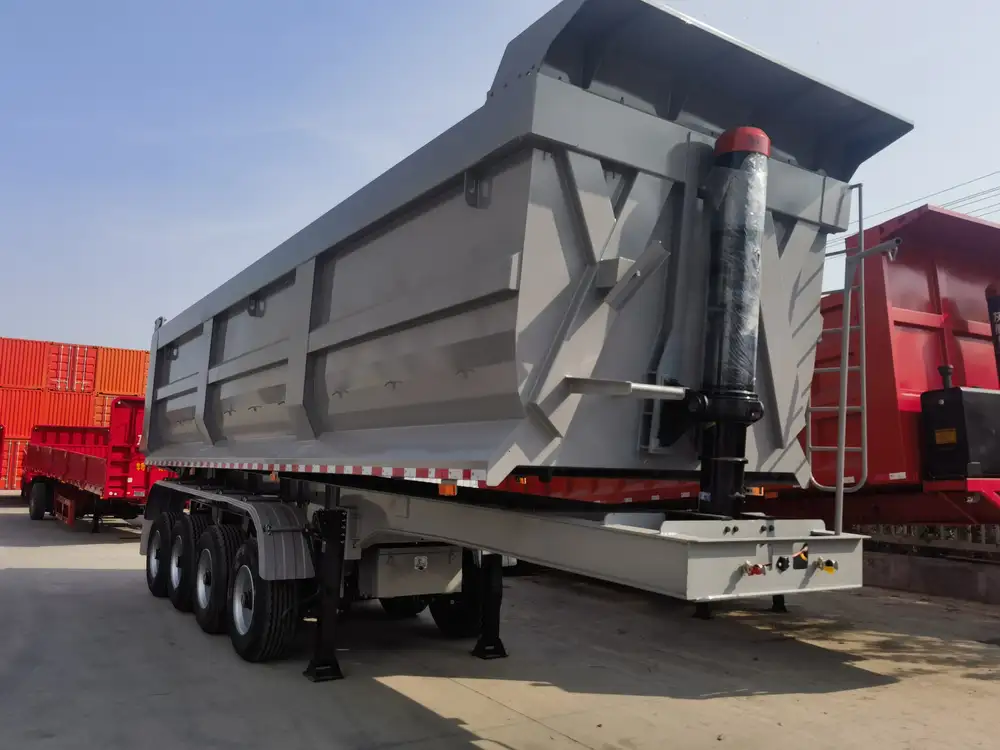
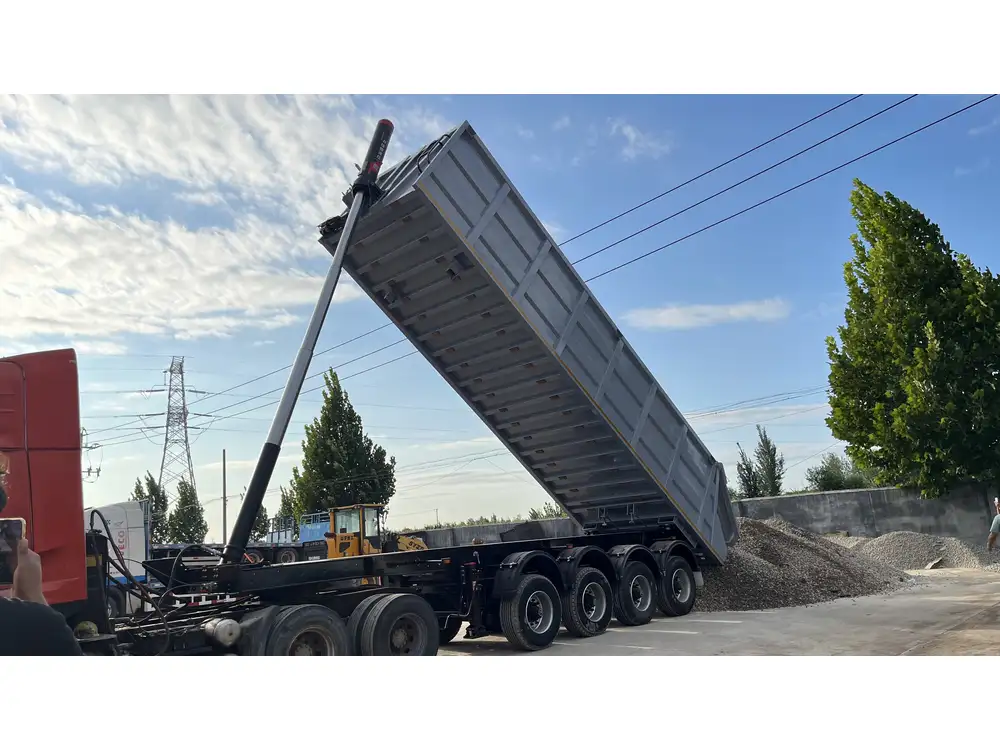
When it comes to operating dump trailers efficiently, understanding the electrical systems behind their functionality is critical. Specifically, the solenoid serves as a remarkable component in ensuring the seamless operation of your hydraulic dump trailer. The following guide delves into the systematic approach on how to hook up a solenoid on a dump trailer. Through detailed explanations, troubleshooting tips, and safety precautions, our aim is to provide you with an all-encompassing resource.
Understanding the Solenoid and Its Function
What is a Solenoid?
A solenoid is an electromechanical device designed to convert electrical energy into linear motion. When activated, the solenoid pulls a plunger that, in turn, opens or closes a valve, facilitating the flow of hydraulic fluid in a dump trailer system. This action raises or lowers the bed of the trailer, showcasing the importance of this component.

Types of Solenoids
Solenoids come in various forms, but the two most common types used in dump trailers are:
| Type | Description |
|---|---|
| Pull-Type Solenoid | Engages when power is applied, commonly used to pull a load. |
| Push-Type Solenoid | Activates by pushing when power flows, typically employed to release a load. |
Equipment Required
Before proceeding with the installation, gather the following tools and materials:
- Solenoid (compatible with your dump trailer)
- 12V Battery
- 5-10 gauge wiring
- Wire connectors
- A fuse (20A recommended)
- A multimeter
- A wrench set
- Electrical tape
- Safety gloves and goggles
Step-by-Step Guide to Hooking Up a Solenoid on a Dump Trailer

Step 1: Preparation
- Safety First: Before beginning any electrical work, disconnect the trailer from the towing vehicle. This prevents accidental activation of the system.
- Battery Check: Ensure that the battery is fully charged and in good condition. A weak battery can lead to insufficient power flow, causing malfunctions.
Step 2: Identify the Wiring
Examine the existing wiring harness associated with your dump trailer’s hydraulic system. Typically, the wiring will be color-coded. Familiarize yourself with:
- Positive Wire (usually red): Supplies power from the battery.
- Ground Wire (usually black): Completes the circuit by returning current to the battery.
Step 3: Solenoid Connection

Wiring Diagram
Here’s a simple wiring diagram to illustrate connections.
           +-----------+
           |           |
  Battery --|   Solenoid|---- Dump Trailer
(Positive)  |           |
           -|           |
           |----------- |
             Ground Wire
Connect the Positive Terminal:
- Attach the positive wire from the battery to the input terminal of the solenoid labeled “A”.
Connect the Load:
- Connect the output terminal (labeled “B”) from the solenoid to the hydraulic pump’s positive terminal.
Ground Connection:
- Connect the ground wire from the solenoid to a reliable ground point on the trailer frame. This ensures a stable electrical environment.
Step 4: Additional Safety Measures
Install a fuse between the battery’s positive terminal and the solenoid connection to prevent overloads and potential hazards. A 20A fuse is typically sufficient.
Step 5: Testing the Connection
Pre-Testing:
- Before powering up, double-check all connections for any loose wires or misconfigurations.
Power Up:
- Reconnect the battery and activate the solenoid by sending power through the switch.
- Observe if the trailer bed raises accordingly.
Troubleshooting:
- If the solenoid does not activate, use a multimeter to check voltage across the solenoid terminals. If no voltage is detected, retrace your wiring connections and check the battery condition.

Common Issues and Troubleshooting
1. Solenoid Not Engaging
Causes:
- Weak battery or incorrect wiring.
- Faulty solenoid unit.
Solutions:
- Replace or recharge the battery and ensure connections are tight.
- Test the solenoid using a multimeter to verify its operation.
2. Inconsistent Performance
Causes:
- Corroded connections.
- Insufficient power supply.
Solutions:
- Inspect and clean all connection points. Consider replacing the wiring if heavily corroded.

3. Solenoid Overheating
Causes:
- Continuous operation without break.
Solutions:
- Allow the solenoid to cool down before reactivating. Implement a duty cycle to prevent overheating.
Safety Precautions
- Use Personal Protective Equipment (PPE): Always wear gloves and eye protection when working with electrical components.
- Avoid Open Flames or Sparks: Hydraulics may contain flammable fluids; ensure a spark-free environment.
- Consult a Professional: If unsure, consult with a certified technician to avoid damaging trailer components.
Maintenance Tips for Solenoids
- Regularly inspect all wiring connections and fuse integrity.
- Clean the solenoid from any dirt or debris that could impede its function.
- Test the electrical system periodically to preemptively identify issues.

Conclusion
Understanding how to hook up a solenoid on a dump trailer is crucial for anyone looking to maximize the efficiency and reliability of their hauling operations. By following this detailed guide, you not only ensure proper installation but also equip yourself with the knowledge to maintain and troubleshoot your system effectively. Investing time in proper maintenance and safety will lead to a longer lifespan for your dump trailer and its components.
By applying this information, you position yourself as a competent operator and minimize downtime, which isessential in maintaining productivity in any workload. For further inquiries or custom solutions, consider reaching out to your trailer manufacturer for expert advice tailored to your equipment and specific needs.


