Introduction
Drawing a semi truck and trailer can be a unique challenge yet rewarding endeavor, particularly for budding artists and transport enthusiasts alike. With its intricate lines and powerful presence on the highway, learning to sketch this iconic vehicle involves understanding its structure and dynamics. This comprehensive guide will dissect the process into manageable steps, illustrating techniques for mastering each component while providing essential tips to enhance your drawing skills.
Understanding the Semi Truck and Trailer Composition
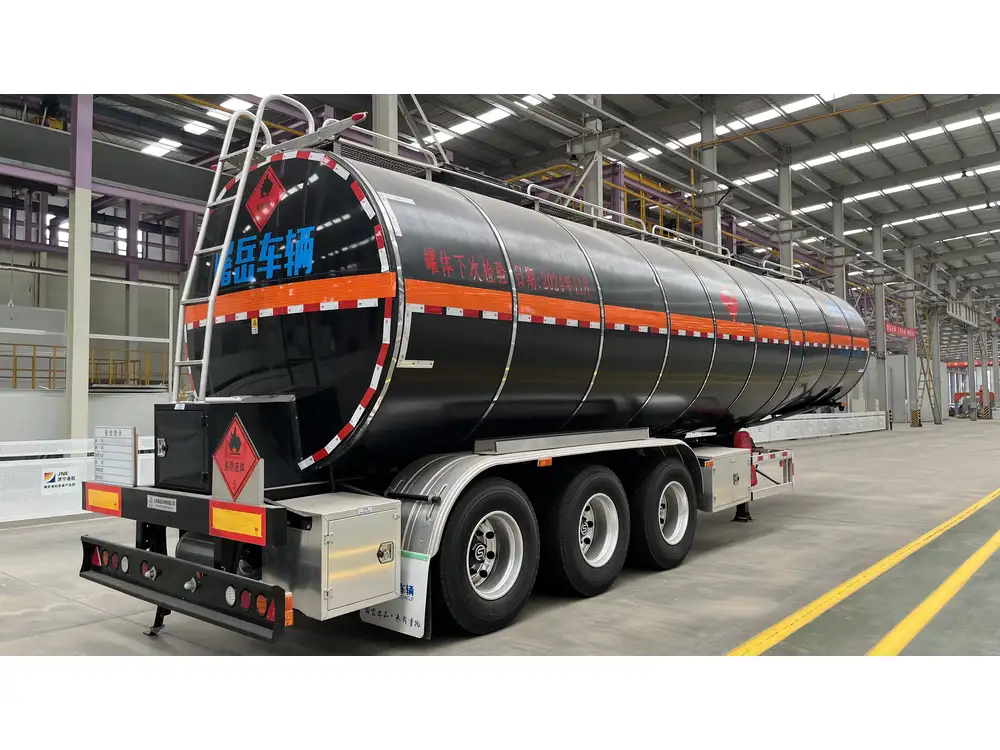
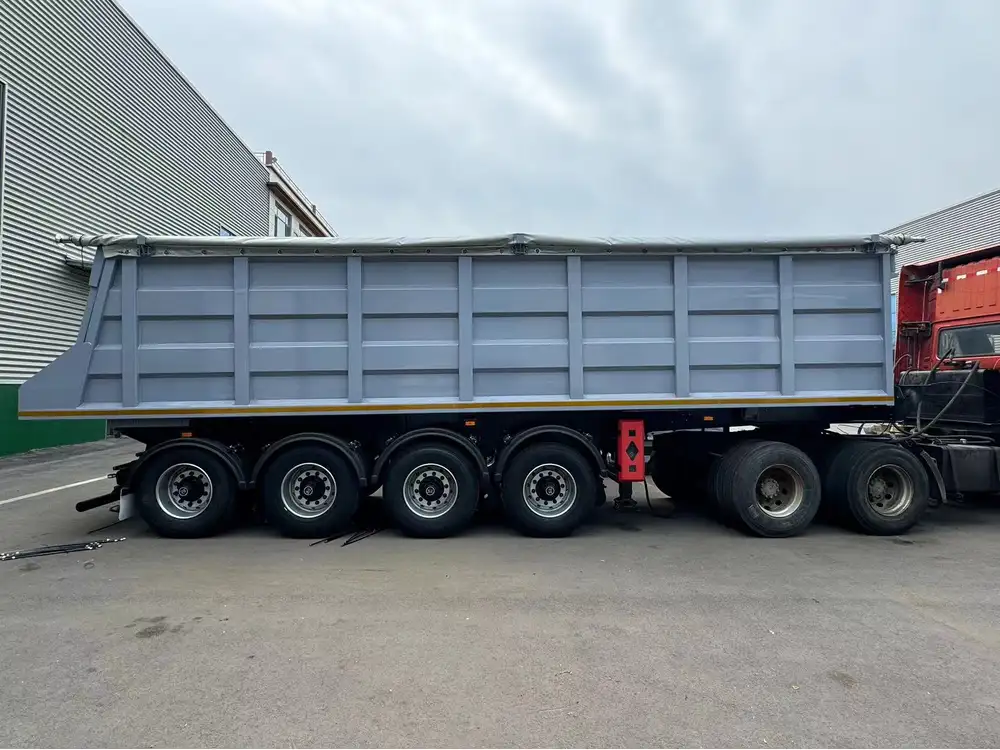
Before diving into the drawing process, it’s vital to familiarize oneself with the components of a semi truck and trailer. Key elements include:
- Cab: The front section containing the driver’s seat and controls.
- Chassis: The frame that supports both the cab and trailer.
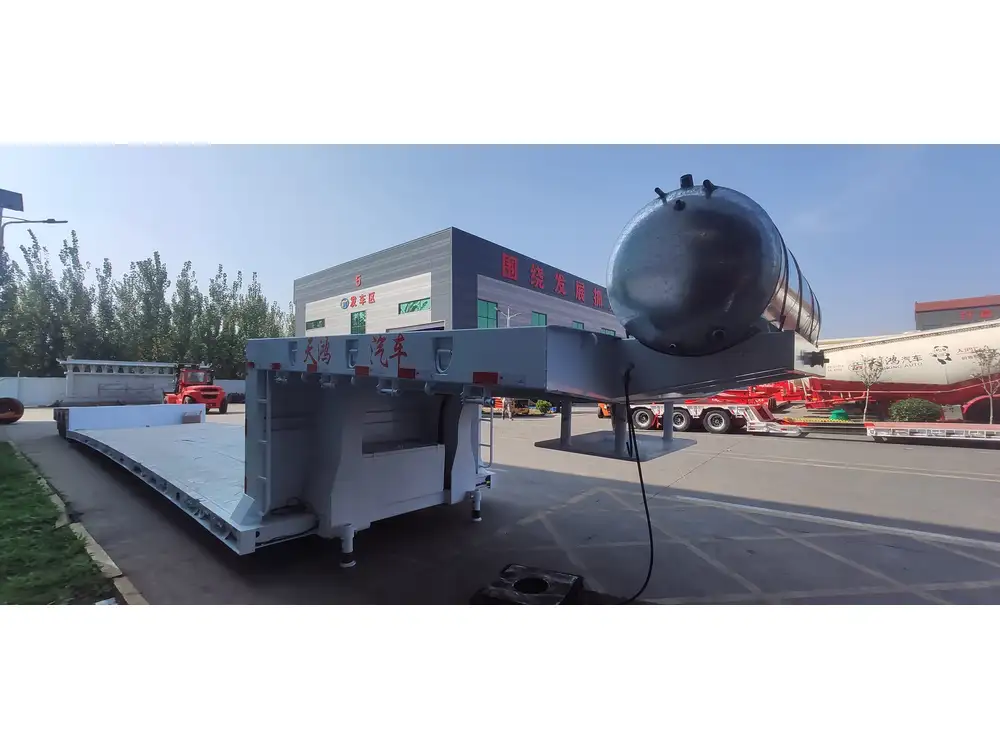
- Trailer: The rear section, designed to carry cargo, which can come in various shapes and sizes.
- Wheels: Often overlooked, they add crucial stability and realism to the drawing.
- Accessories: This includes lights, mirrors, doors, and even the load being transported.
Recognizing these components allows artists to visualize how they fit together, paving the way for an accurate representation.

Step-by-Step Guide to Drawing a Semi Truck and Trailer
Step 1: Sketching the Basic Shapes
To begin, start with basic geometric shapes that outline the truck and trailer structure:
| Shape | Description |
|---|---|
| Rectangle | The cab can be represented as a rectangle. |
| Larger Rectangle | The trailer should be drawn as a larger rectangle adjacent to the cab. |
| Circles | These will represent the wheels, positioned beneath the chassis. |
- Draw a smaller rectangle for the cab.
- Position a larger rectangle back from your first rectangle for the trailer.
- Add circles along the bottom of both shapes where the wheels will be located.
Step 2: Defining the Outline
Next, refine the shapes into more detailed outlines:
- Cab Details: Draw the windshield, side windows, and roof.
- Trailer Shape: Modify the rectangle for the trailer to include unique shapes—it could be boxy, flatbed, or a refrigerated unit.
- Adding the Chassis: Connect the cab and trailer using straight lines for the chassis, ensuring the lines are smooth and proportionate.

Step 3: Adding Features and Textures
Once you have the basic outline, start adding features:
- Grille and Headlights: Detail the front of the cab by drawing a rectangular grille and oval headlights.
- Side Mirrors: Sketch out the side mirrors attached to the cab.
- Trailer Features: Include doors, vents, or tarps, depending on the type of trailer you are depicting.
- Wheels: Draw the wheel design—note that semi trucks commonly have dual wheels at the rear axle.
Step 4: Shading and Texturing Techniques
To achieve a more realistic look, incorporate shading:
- Light Source: Determine where your light is coming from (the top left, for example) and shade opposite sides to create depth.
- Texturing: Use cross-hatching or stippling on the trailer and cab to mimic various surface materials. A smooth finish versus a rugged surface can dramatically change the drawing’s feel.
Step 5: Final Touches and Color
- Outline: Go over your pencil lines with a fine-tip pen or marker to make it stand out.
- Coloring: Use colored pencils or markers to apply color. Semi trucks often have vibrant paint jobs; don’t shy away from bold colors.
- Background: Consider adding a simple background like a highway or a scenic landscape for context, enhancing the drawing’s appeal.

Tips for Enhancing Your Drawing Skills
- Practice Regularly: Like any skill, regular practice is key. Set aside time each week to hone your abilities.
- Study References: Look at photos of real semi trucks and trailers. Understanding proportions and details in real life can greatly enhance your accuracy in sketches.
- Join Art Forums: Engage with communities online where you can share your work, receive critiques, and learn from experienced artists.
Common Challenges and Solutions
In the journey of drawing semi trucks, you may encounter certain challenges. Here’s a breakdown of typical issues and ways to overcome them:
Problem: Proportions Look Off

Solution
Use a reference image with visible proportional lines. Starting with a small thumbnail of your truck can help visualize size relationships.
Problem: Lack of Detail
Solution
Focus on one section at a time. Break down complex features and add details slowly.

Problem: Understanding Light and Shadow
Solution
Practice shading techniques separately, using simple objects (like spheres or cubes). This will help you grasp how light works before applying it to more complicated shapes like a truck.
A Comparison of Drawing Styles
Exploring different artistic styles can significantly enhance your capability to draw semi trucks. Here’s a quick comparison of various styles:
| Style | Description | Suitable For |
|---|---|---|
| Realistic | Focus on accurate proportions and details. | Advanced artists aiming for lifelike representations. |
| Cartoonish | Exaggerated features and bright colors. | Beginners or those looking for whimsy. |
| Technical Drawing | Precise, often computer-generated images. | Professionals and engineering contexts. |

Conclusion
With an understanding of the structure, gradual practice, and creative experimentation, anyone can learn how to draw a semi truck and trailer effectively. By following the outlined steps and utilizing the tips provided, aspiring artists can navigate the complexities of this task, leading to impressive works that embody the robust character of these incredible vehicles.
Embark on your drawing journey today, keep challenging yourself, and remember, every stroke is a step towards mastery!


