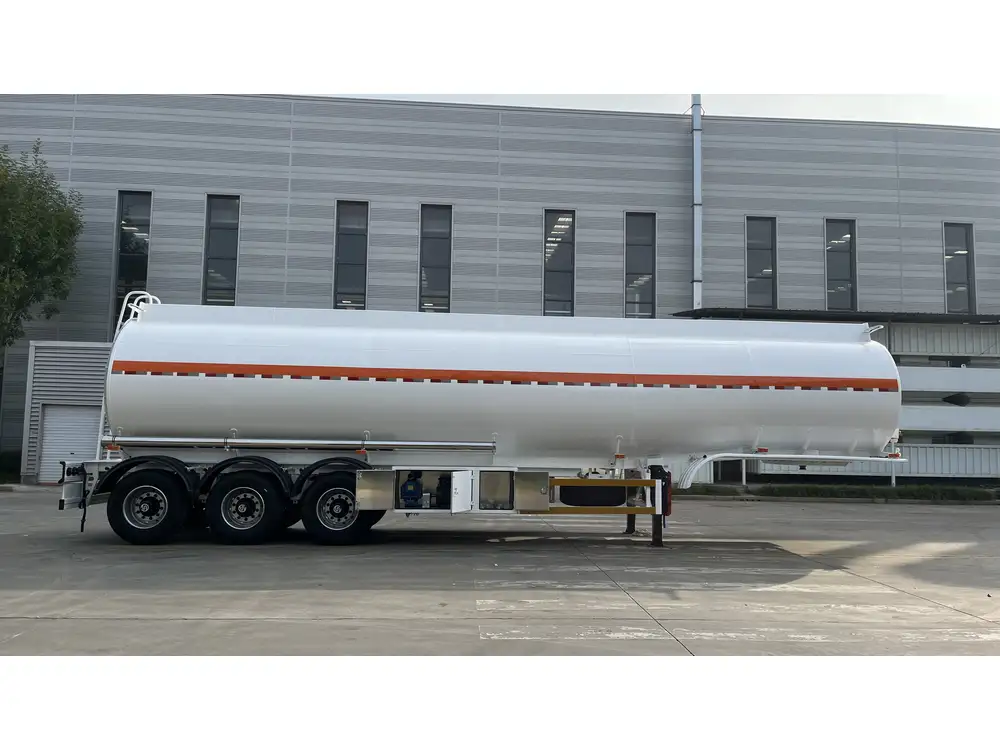
Creating a dump trailer from a pickup bed is a practical and rewarding project. Whether you’re looking to upgrade your utility vehicle for personal or professional use, understanding the step-by-step process allows for customization tailored to your specific needs. In this guide, we delve into the detailed methods and considerations essential for building a robust and efficient dump trailer.
Understanding the Basics: What Exactly Is a Dump Trailer?
A dump trailer is a specialized vehicle equipped with a hinged structure for transporting and unloading materials efficiently. Unlike standard trailers, dump trailers can tilt, allowing contents to be dumped out quickly, making them perfect for construction, landscaping, and any tasks involving heavy loads.
Key Components
| Component | Description |
|---|---|
| Chassis | The frame that supports the entire trailer; must be sturdy and well-constructed. |
| Axles | Essential for load distribution; includes traditional axles or upgraded options for heavy-duty hauling. |
| Hydraulic System | Powers the dumping mechanism; can consist of a pump, cylinder, and fluid reservoir. |
| Bed | The area where materials are loaded; the pickup bed repurposed as the dump bed. |
| Wiring | Connects lights and hydraulic cylinders; must be weatherproof for durability. |

Step-by-Step Guide to Building Your Own Dump Trailer
Step 1: Gather Your Tools and Materials
Before diving into the build, ensure you have all necessary tools and materials:
Tools Required:
- Wrenches and socket sets
- Drill with metal drill bits
- Angle grinder for cutting metal
- Welder (MIG or TIG)
- Safety gear (goggles, gloves)
Materials Needed:
- Used or new pickup bed (steel or aluminum)
- Heavy-duty axle assembly
- Hydraulic kit (cylinder, pump, hydraulic fluid)
- Steel plates for reinforcing the frame
- Electrical wiring for lights
- Safety chain and coupler for hitching
Step 2: Assembling the Chassis
Cutting and Preparing the Frame: Start by creating a strong frame to support the pickup bed. Use steel tubes or channel sections, cutting them appropriately based on the size of the pickup bed and desired trailer dimensions.
- Tip: When cutting metal, always wear safety goggles and use appropriate cutting tools.
Welding the Frame: Weld the pieces together to form a rectangular chassis. Ensure all angles are square for stability and even weight distribution. It’s recommended to use a reinforced design to accommodate heavy loads.
Attach the Axles: Position and weld the axles to the chassis, ensuring they can support the intended weight. Check local regulations regarding axle placement for legal compliance.

Step 3: Preparing the Pickup Bed
Removing the Pickup Bed: If using an existing pickup bed, carefully detach it by unscrewing the bolts and disconnecting any wiring for taillights.
Reinforcing the Bed: Inspect the pickup bed for any signs of wear. Reinforce it using steel plates if necessary to prevent deformation under heavy loads.
Modifying the Tailgate: Depending on the design, you may want to adjust the tailgate for easy dumping. Consider removing it or modifying it to hinge upward.
Step 4: Installing the Hydraulic System
Setting Up the Hydraulic Cylinder: Mount the hydraulic cylinder to the front of the pickup bed and attach it to the trailer’s chassis. The cylinder should be positioned to allow the bed to pivot when activated.
Hydraulic Pump Installation: Place the hydraulic pump in an accessible area. Connect it to the cylinder with hydraulic lines, ensuring all connections are secure and leak-proof.
Wiring the System: Wire the pump to a switch located within easy reach of the towing vehicle. Ensure all electrical components are protected from moisture.
Step 5: Adding Safety Features
Safety Chains and Coupler: Install safety chains to the coupling mechanism to prevent accidental detachment during transport. Ensure the coupler is well-secured and compatible with your towing vehicle’s hitch.
Taillights: Install taillights and wiring to comply with local road regulations. Ensure visibility from all angles, particularly when the bed is raised.
Braking System: Depending on the trailer weight, a braking system may be necessary. Consult local regulations to determine the requirements for trailer brakes.

Step 6: Final Assembly and Testing
Final Checks: Before hitting the road, conduct a safety inspection. Check all weld joints, hydraulic connections, and electrical wiring.
Testing the Operational Mechanisms: Run the hydraulic system to test the dumping functions. Ensure that the bed lifts smoothly and that the lowering mechanism works efficiently.
Weight Testing: Load the trailer and perform a test run to observe how it handles. Adjust the hydraulic system, axle placement, or frame as necessary for improved function.
Maintenance Tips for Your Dump Trailer
Once your dump trailer is operational, regular maintenance is crucial for longevity and performance. Here are key maintenance practices:
- Hydraulic Fluid Levels: Regularly check and refill hydraulic fluid. Low fluid can impede dumping functionality.
- Rust Prevention: Apply rust preventive paint on exposed metal surfaces, as dump trailers are often subjected to harsh environments and materials.
- Brake System Inspection: Periodically inspect the braking system components for wear and replace as necessary.
- Wiring Checks: Ensure all electrical components remain water-resistant and secure to prevent short circuits.
- Tire Maintenance: Regularly inspect and maintain tire pressure for safe towing and handling.
Conclusion: Building Your Own Dump Trailer
Building a dump trailer from a pickup bed is an intricate yet fulfilling endeavor, blending the realms of engineering, creativity, and functionality. With a well-structured approach, the right materials, and consistent maintenance, your custom dump trailer can serve diverse purposes, ranging from residential landscaping to commercial hauling jobs.
By understanding the depth of each step outlined in this guide, you’re not just assembling a trailer; you’re crafting a robust tool tailored to your unique needs. Dive into this rewarding project, and you will find that the investment of time and effort pays dividends in utility and functionality. With the proper care, your dump trailer will stand as a testament to your skills and ingenuity for years to come.


