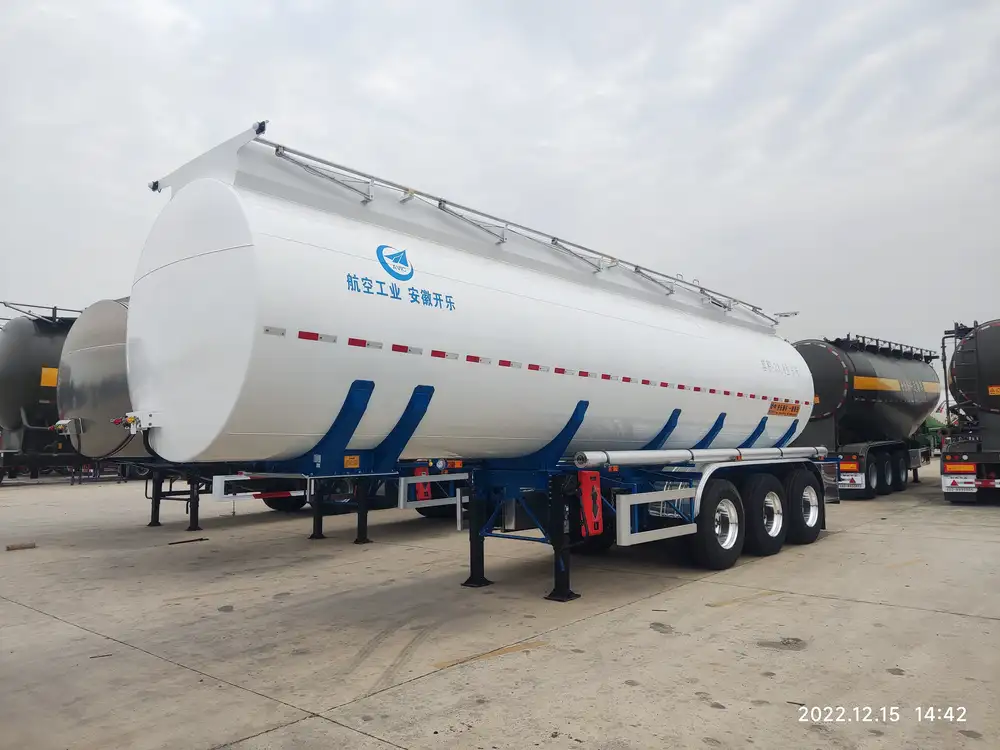
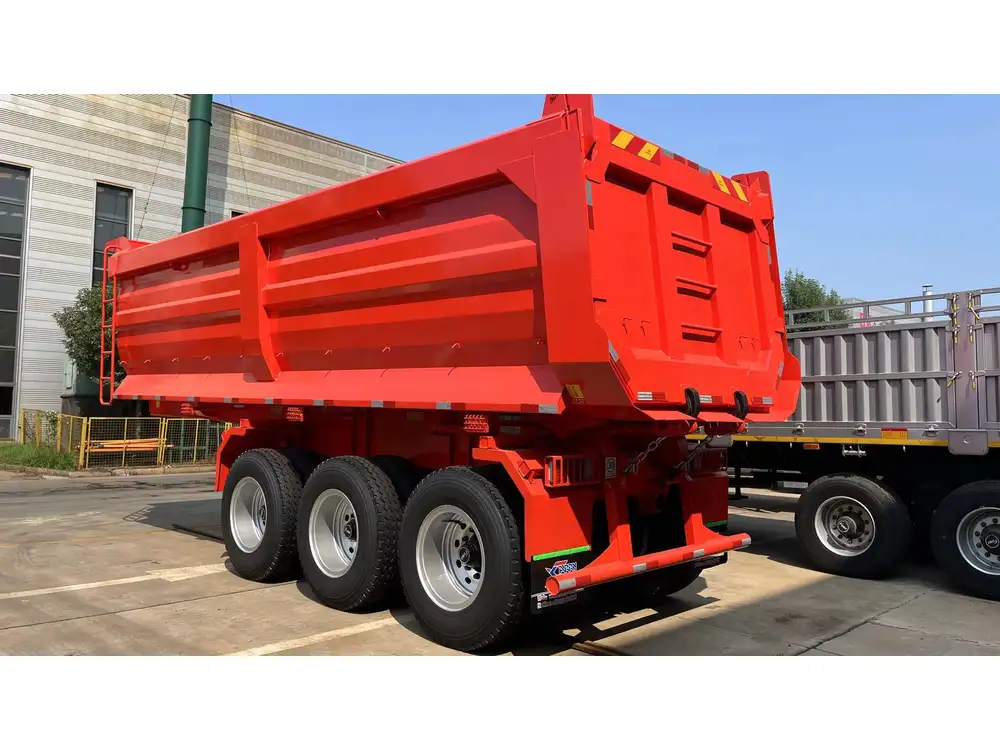
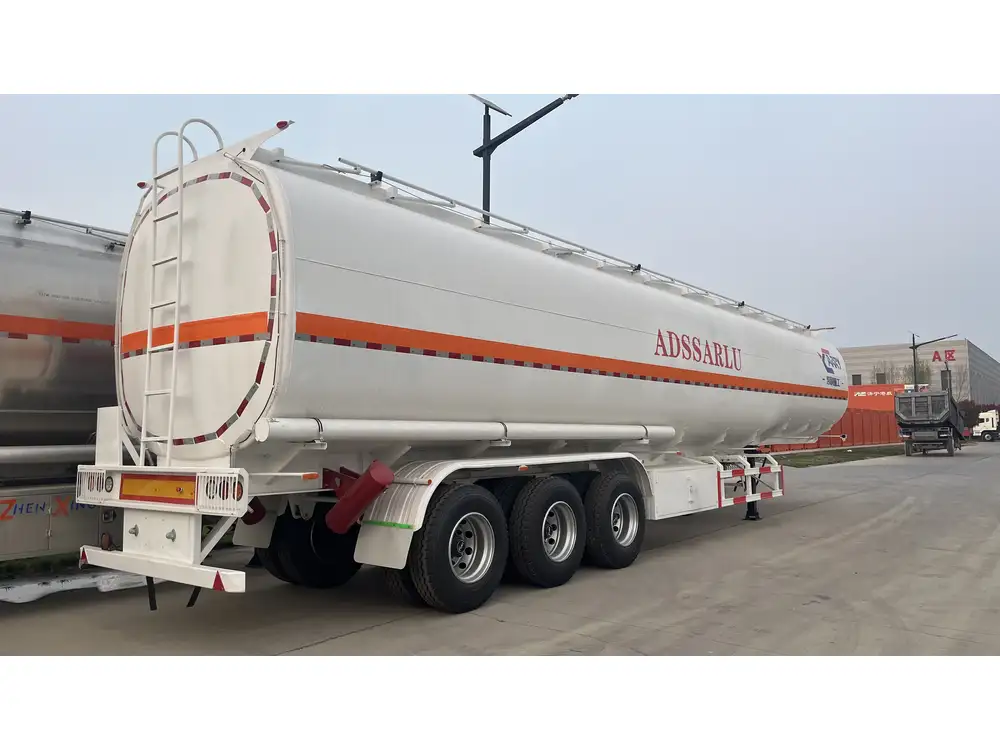
Maintaining the structural integrity of your semi-trailer is crucial for safe and efficient transportation. One of the vital components that may require replacement over time is the crossmember. Here, we provide a detailed guide on how to replace a crossmember on a semi-trailer, addressing key considerations, tools needed, and step-by-step instructions.
Understanding Crossmembers
What are Crossmembers?
Crossmembers are critical structural components of semi-trailers, contributing to their rigidity and stability. Positioned transversely between the side rails, they help distribute the load across the trailer and provide support for the floor and cargo. Damaged or corroded crossmembers can compromise trailer performance, safety, and longevity.

Signs of Crossmember Damage
Before replacing a crossmember, it’s essential to identify the signs of damage:
- Visual Cracks or Warpage: Inspect for visible cracks, bending, or warping.
- Rust and Corrosion: Check for heavy rust that compromises metal integrity.
- Unusual Noises: Listen for clunking or banging sounds during transport.
- Load Imbalance: Notice any uneven load distribution when carrying cargo.
Tools and Materials Needed
The following tools and materials are essential for replacing a crossmember:
| Tools | Description |
|---|---|
| Wrenches and Sockets | Used for removing bolts and securing new components. |
| Angle Grinder | For cutting old crossmembers. |
| Welding Machine | Required for welding new crossmembers in place. |
| Safety Gear | Gloves, goggles, and a hard hat for protection. |
| Measuring Tape | For precision measurements during installation. |
| Level | To ensure the new crossmember is installed correctly. |
Materials
- Replacement crossmember (check specifications)
- Bolts, nuts, and washers (to match existing hardware)
- Welding rods (if applicable)

Step-by-Step Guide to Replacing a Crossmember
Step 1: Safety First
Before starting, ensure that the semi-trailer is parked on a stable, flat surface and that it is securely locked. Engage safety procedures by wearing appropriate safety gear, including gloves and goggles, to avoid injuries during the process.
Step 2: Remove the Damaged Crossmember
Locate the Crossmember: Identify the crossmember that needs replacement. Oftentimes, it’s located towards the center of the trailer, but this can vary.
Support the Trailer: Use jack stands for extra support when the trailer is lifted. This prevents it from falling during the replacement process.
Cutting the Old Crossmember:
- Utilize an angle grinder to carefully cut through any metal brackets or welds securing the old crossmember in place. Take care to avoid damaging adjacent components.
- Remove any bolts connecting the crossmember to the side rails. Clean the area around the attachment points to facilitate better installation of the new part.

Step 3: Prepare for Installation of New Crossmember
Measure for Precision: Measure the distance between the side rails, ensuring the replacement crossmember is of the correct size. Use a measuring tape for accuracy.
Align New Crossmember: Place the new crossmember into position. Adjust as necessary to ensure it aligns correctly with existing holes or brackets from the old component.
Step 4: Install the New Crossmember
Securing with Bolts:
- If the new crossmember uses bolts, insert them through the holes you’ve prepared. Use nuts and washers to secure.
- Ensure that the bolts are tightened according to manufacturer specifications. It’s crucial for load-bearing purposes.
Welding the Crossmember (if required):
- If the trailer design requires welding for additional support, weld the new crossmember onto the side rails. Ensure to create clean, solid welds to guarantee durability.
- Allow the welds to cool thoroughly before proceeding.
Step 5: Level and Finalize
Check Alignment: Use a level to confirm the crossmember is installed evenly and is orthogonal to the trailer’s base.
Finish Up: Tighten all bolts one final time, ensuring nothing is loose. Clean the area with a wire brush to remove any debris or dust from the process.

Step 6: Inspect and Test
Visual Inspection: Conduct a thorough check of the installed crossmember for any irregularities, enabling the identification of issues before they arise.
Load Testing: If possible, load the trailer lightly and inspect for any signs of flexing or movement in the newly installed crossmember.
Final Assessment: After a brief test, recheck all affixed bolts and welds. Ensure everything remains secure and operational.
Maintenance Tips for Crossmembers
Regular Inspections
To prolong the life of the crossmembers, perform regular inspections. Look for rust, corrosion, and any structural abnormalities that may signal a need for replacement.

Protective Coating
Consider applying protective coatings, such as anti-rust paint or rust inhibitors, to keep crossmembers healthy and durable. This can also help prevent moisture from deteriorating the metal.
Load Distribution Awareness
Be vigilant about the way loads are placed onto the trailer. Uneven loads can exert unnecessary stress on crossmembers, leading to premature failure.
Conclusion
Replacing a crossmember on a semi-trailer is an essential maintenance task that ensures safety and performance. By following the steps outlined, you can effectively replace a damaged crossmember while minimizing risks associated with improper installation. Proper upkeep, regular inspections, and attention to load distribution will enhance the lifespan of your semi-trailer, contributing to its dependability on the road.

Additional Resources
For further details on the proper tools and safety measures, you may refer to:
- Manufacturer’s service manuals.
- Safety standards provided by the Occupational Safety and Health Administration (OSHA).
In terms of user intent, this article targets individuals seeking hands-on guidance regarding semi-trailer maintenance, particularly focusing on crossmember replacement. Offering comprehensive, thorough instructions establishes authority in the manufacturing field while enhancing user trust.


