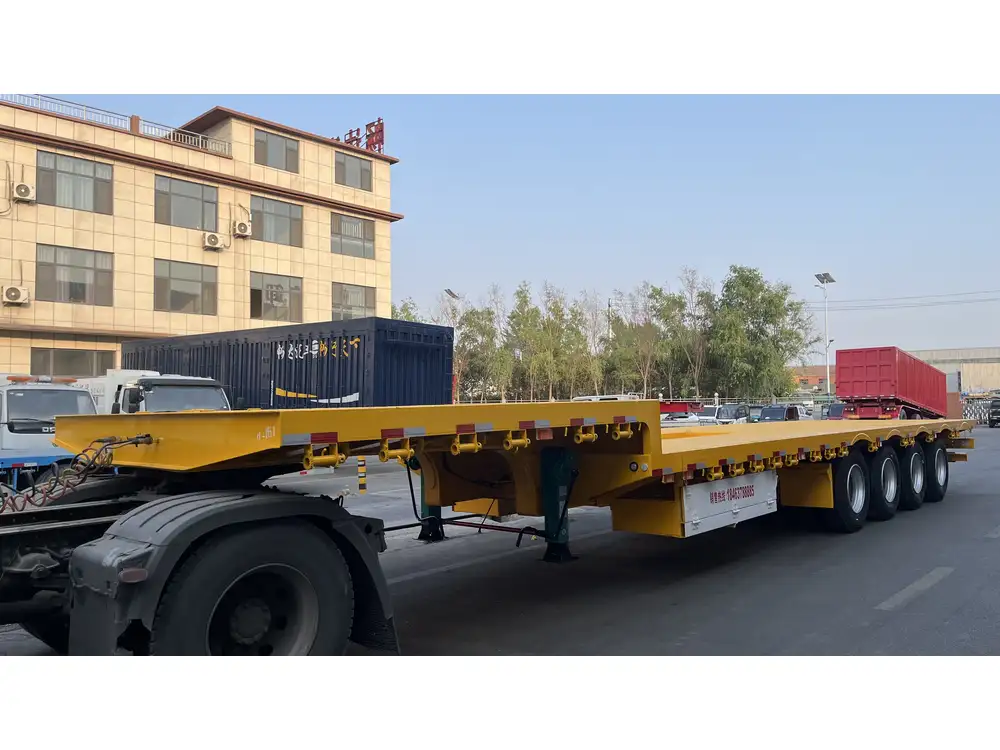
In the realm of heavy-duty transportation, ensuring the safety and efficiency of your dump trailer is paramount. One critical component that often goes unnoticed until a problem arises is the electric brake system. Properly adjusted electric brakes not only enhance performance but also prolong the lifespan of your trailer and safeguard the vehicles and cargo around you. In this article, we delve into the nuances of adjusting electric brakes on dump trailers, providing detailed instructions, troubleshooting tips, and best practices.
Understanding Electric Brakes in Dump Trailers
Electric brakes utilize an electromagnetic system to engage the trailer brakes in response to signals from the vehicle’s braking system. Unlike hydraulic brakes, electric systems provide more consistent stopping power and are adjustable to suit various load conditions. Understanding how these brakes work is crucial for effective adjustment and maintenance.
Components of Electric Brake System
Before diving into adjustments, it’s essential to familiarize yourself with the key components of the electric brake system:
| Component | Function |
|---|---|
| Brake Controller | Sends electric signals to activate the trailer brakes. |
| Brake Magnets | Create friction against the brake drums when energized. |
| Drum and Shoes | The assembly upon which the magnets apply friction. |
| Wiring Harness | Connects the brake controller to the braking system. |
| Ground Connection | Ensures accurate signals from the vehicle to the brakes. |

Safety Precautions Before Adjusting
Prior to any adjustments, safety should be at the forefront. Execute the following precautions to avoid accidents and injuries:
- Disconnect the Battery: Prevents accidental engagement of the brakes.
- Park on Level Ground: Ensuring stability while working on the trailer.
- Wear Protective Gear: Safety goggles and gloves will protect you from debris and sharp objects.
- Check Load Distribution: Ensure the trailer is unloaded or evenly loaded to facilitate proper adjustments.
Step-by-Step Guide to Adjusting Electric Brakes
Tools and Materials Needed
To effectively adjust your dump trailer’s electric brakes, gather the following tools:
- Torque wrench
- 7/16″ socket or wrench
- Screwdriver
- Brake cleaner
- Soft cloth or rag
- Multimeter (for electrical testing)

Step 1: Inspecting the Brake System
Before adjusting, a thorough inspection is necessary. Look for signs of wear or damage, such as:
- Worn brake pads or shoes
- Cracked or damaged drum
- Frayed or broken wiring
- Corrosion on components
Step 2: Adjusting the Brake Shoes
Access the Brake Assembly:
- Remove the wheel and tire using the torque wrench to loosen the lug nuts.
- Carefully remove the brake drum. You may need to tap it gently with a hammer if it’s stuck.
Locate the Adjustment Screw:
- Within the brake assembly, you will find an adjustment screw system. Generally, it is located near the top.
Adjusting the Shoes:
- Using a screwdriver, turn the adjustment screw. Turn clockwise to expand the shoes and counterclockwise to retract them.
- The aim is to enlarge the gap just enough so that the drum fits back on with slight resistance. Typically, it should allow the drum to rotate freely but with a slight drag.
Repeat for Both Sides:
- Ensure both brake assemblies are adjusted similarly to maintain balanced braking.
Step 3: Testing Brake Magnets
Testing the magnets is crucial for ensuring they engage and release appropriately:
Reconnect the Battery: Restore power to the system after making the initial adjustments.
Activate the Brakes:
- With the trailer connected to the tow vehicle, engage the electric brake controller inside the vehicle.
- While one person activates the controller, another should listen for a soft humming sound from the brake assembly, indicating the magnets are engaging.
Multimeter Test:
- To verify that the magnets are receiving the correct voltage, set your multimeter to measure DC voltage.
- Connect the probes to the magnet terminals. A reading of 12-14 volts signifies proper operation.

Step 4: Fine-Tuning the System
Fine-tuning involves adjusting the brake controller’s gain settings to achieve optimal response:
Adjust Brake Gain:
- Most controllers have an adjustable gain setting, which dictates how much braking force the trailer uses in proportion to the tow vehicle.
- Increase the gain gradually and perform a test drive to ensure the trailer stops effectively without skidding or pushing the tow vehicle.
Test at Different Speeds:
- Conduct a series of tests at various speeds to ensure the braking system engages smoothly and evenly under all conditions.
Troubleshooting Common Issues
Despite following the adjustment procedures, issues may arise. Here are common problems and solutions:
| Problem | Potential Cause | Solution |
|---|---|---|
| Brakes not engaging | Faulty wiring or corroded connections | Inspect and replace damaged connections |
| Uneven braking | Imbalanced brake shoe adjustment | Readjust to ensure even spacing |
| Overheating brakes | Too much friction from tight adjustment | Reassess the adjustment to allow minimal drag |
| Brake light not functioning | Faulty brake controller or wiring | Test and replace components as necessary |
Maintenance Tips for Longevity & Performance
To prolong the life of your dump trailer’s electric brake system, consider implementing these maintenance practices:
- Regular Inspections: Set a schedule for regular brake inspections to catch wear early.
- Keep Components Clean: Use brake cleaner to remove dust and debris that can accumulate and affect functionality.
- Monitor Electrical Connections: Regularly check the wiring and connections for signs of wear, rust, or corrosion.
- Lubricate Moving Parts: Ensure all moving parts are well-lubricated to minimize friction-related wear.

Conclusion
Adjusting the electric brakes on your dump trailer is not merely a maintenance task; it’s a vital procedure that enhances safety, improves load management, and contributes to the overall efficiency of your transportation. By following this detailed guide, you can not only comply with operational standards but also instill confidence in your trailer’s performance.
Whether you’re preparing for a hefty load or navigating tricky terrains, knowing how to adjust your electric brakes ensures you can handle the challenges that lie ahead. Regular attention to your trailer’s brake system will deliver peace of mind and uphold your commitment to safety on every journey.
FAQs
1. How often should I adjust the brakes on my dump trailer?
- It’s advisable to check and adjust them at least every six months or prior to heavy loads.
2. Can I adjust electric brakes myself, or should I have a professional do it?
- If you are comfortable working with tools and have a basic understanding of the systems, you can certainly do it yourself. However, it’s best to seek professional help if you are unsure.
3. What should I do if my brakes feel spongy?
- A spongy feeling often indicates an air gap or an electrical issue; inspect the wiring and ensure brake shoes are properly adjusted.
By following this guide to adjust and maintain your dump trailer’s electric brakes, you will significantly enhance your trailer’s safety, responsiveness, and reliability on the road.


