
Creating a tilt trailer dump can streamline your hauling process, making it more efficient and less labor-intensive. Our in-depth guide dissects the necessary steps and components involved, with detailed instructions and valuable insights that cater specifically to trailer enthusiasts and manufacturers.
Understanding Tilt Trailer Dumps
What is a Tilt Trailer Dump?
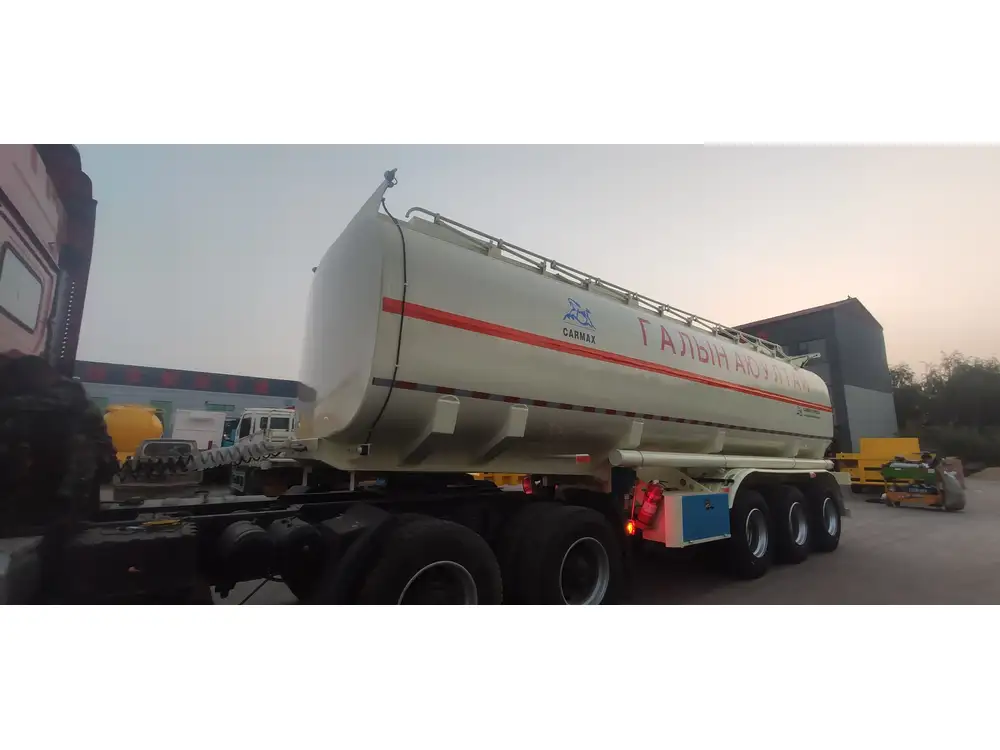
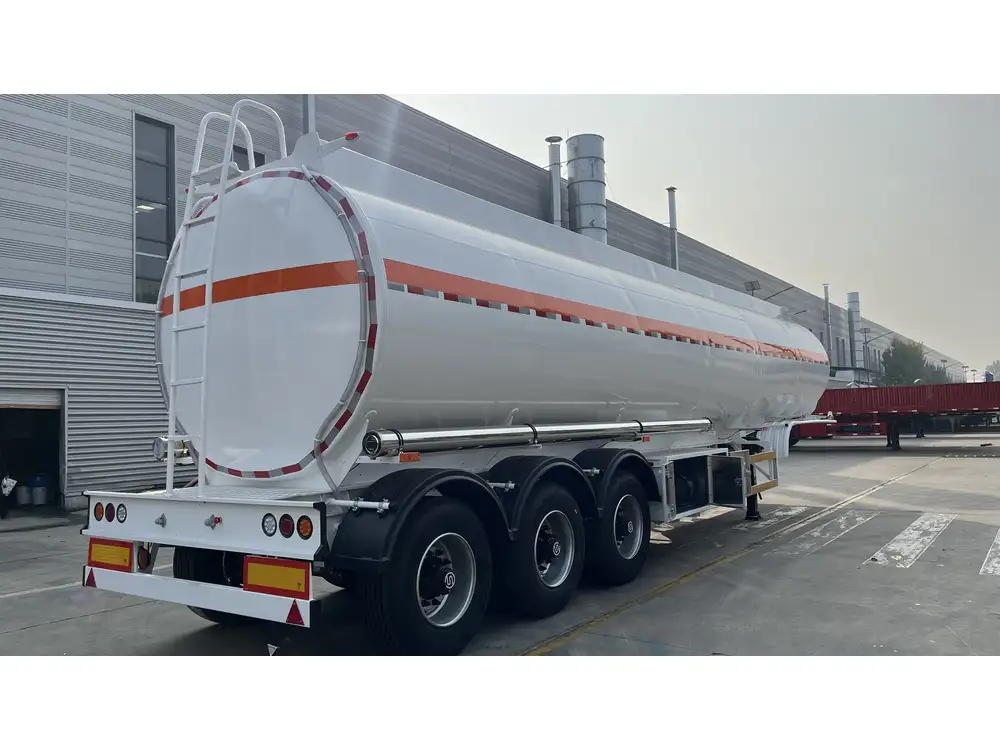
A tilt trailer dump is designed to simplify the unloading of materials. This ingenious piece of equipment allows the user to tilt the bed of the trailer, effortlessly dumping its contents without the need for manual labor or additional machinery. Ideal for landscaping, construction, and agriculture, these trailers combine functionality with ease of use.

Key Components of a Tilt Trailer Dump
| Component | Description |
|---|---|
| Frame | The skeleton, supporting the weight and structure of the trailer. |
| Axles | Load carriers that enable smooth transport and facilitate mobility. |
| Bed | The dumping surface; normally constructed from heavy-duty materials. |
| Hitch | Connects the trailer to the towing vehicle, available in various styles. |
| Hydraulic System | Powers the tilt mechanism, creating an efficient dumping process. |
| Braking System | Ensures safety during transitions, helping stop the trailer securely. |
| Wiring Harness | Electrical components that connect lights and signals for visibility. |
Planning Your Tilt Trailer Dump Build
Step 1: Define Intended Use
Before starting, it’s crucial to define the specific functions of your tilt trailer dump. Will it be used for heavy materials like gravel, or lighter materials such as soil and mulch? Knowing its primary purpose helps in selecting the right materials and dimensions.
Step 2: Gather Necessary Tools and Materials
Creating a tilt trailer dump requires proper tools and quality materials. Here’s a helpful checklist:
Tools:
- Welding machine
- Drill
- Angle grinder
- Measuring tape
- Safety gear (gloves, goggles, etc.)
Materials:
- Steel or aluminum sheets for framing and bed
- Axles rated for your intended load
- Hydraulic lift system
- Trailer wheels and tires
- Electrical components for lights and signals
Step-by-Step Construction Process
Step 3: Designing the Frame
Measure and Cut: Begin by measuring the desired dimensions for the trailer. Using steel or aluminum sheets, cut the material into sections that will form the frame. The size depends highly on the load bearing requirements.
Assemble the Frame: Utilize welding to join the cut pieces into a rectangular framework. Ensure that the joints are sturdy and form a solid base that can handle heavy loads.
Reinforce: Consider adding cross-bracing for additional support. This can be achieved by attaching metal beams diagonally across the frame, thereby enhancing stability during tilting.

Step 4: Installing the Axles
Mount Axles: Position the axles strategically underneath the frame. Typically, they should be placed about one-third back from the front of the trailer.
Secure the Axles: Use bolts to fasten the axles firmly to the frame. Ensure they are perpendicular to the frame to allow for smooth movement.
Step 5: Constructing the Bed
Create the Bed Surface: Attach metal sheets to the top of the trailer frame. Depending on the material you plan to haul, you may need to consider using thicker sheets for durability.
Add Supports: Install lateral support beams under the bed to minimize flexing when heavy loads are placed on the surface.
Step 6: Integrating the Hydraulic System
Select the Right Hydraulic Kit: Depending on the weight you want to lift, choose a hydraulic kit that matches your payload requirements.
Install the Hydraulic Hinge: Secure the tilt mechanism, typically a special hydraulic hinge, to the back of the trailer bed. This will allow the bed to tilt safely without unscrewing or detaching.
Connect the Hydraulic Lift: Align the hydraulic lift cylinder with the hinge, ensuring all connections are tight to prevent leaks. Mount the control system either inside the towing vehicle or directly on the trailer.
Electrical Systems and Safety Features
Step 7: Wiring the Electrical System
Layout: Plan the wiring layout to connect the trailer lights. This includes tail lights, brake lights, and turn signals.
Connect the Harness: Attach the wiring harness to the trailer. Utilize connectors that are weatherproof to ensure longevity and reliability.
Test Electrical Functions: Once installed, conduct a full test of the lighting system by connecting the trailer to a towing vehicle.
Step 8: Implementing a Braking System
Choose the Right Braking System: Decide between electric or hydraulic brakes. Electric brakes are strong and reliable, while hydraulic systems offer smoother stopping power.
Install Brake Components: Follow the manufacturer’s instructions for proper installation. Securely fasten the brake components to prevent movement while the trailer is in use.
Conduct Brake Testing: After installation, thoroughly test the brakes while the trailer is loaded lightly to assess their effectiveness.

Finishing Touches and Maintenance
Step 9: Paint and Protect
Clean the Surface: Before applying any protective paint, clean the entire trailer surface to remove grease, dirt, and rust.
Apply Paint: Use high-quality automotive paint to coat the trailer. Opt for colors that enhance visibility and safety.
Protective Coating: Consider an anti-corrosive sealant for added protection against harsh environments and elements.
Step 10: Regular Maintenance Practices
Inspect the Bolts and Connections: Regularly check all screws, bolts, and connections for tightness to ensure safety during operations.
Service the Hydraulic System: Periodically flush and refill the hydraulic fluid to prevent wear on the system, keeping it functioning smoothly.
Check Electrical System: Regularly test the electrical components to ensure they’re operational, particularly before starting any major projects.

Common Pitfalls in Tilt Trailer Construction
- Underestimating Weight Capacity: Failing to account for the weight capacity can lead to structural failure or safety hazards.
- Neglecting Reinforcement: Insufficient bracing may result in a compromised frame, risking the integrity of the whole build.
- Improper Hydraulic Alignment: Misalignment in the hydraulic mechanism can cause the bed to tilt unpredictably, leading to spills and potential accidents.
Conclusion
Building a tilt trailer dump can be a rewarding endeavor, combining technical skills with a practical outcome. By adhering to the outlined steps and being mindful of safety and functionality, you can create a reliable tool that enhances your hauling capabilities. From precise measurements in the initial design to comprehensive maintenance routines, each step holds significance in achieving a successful build. With patience and attention to detail, your tilt trailer dump can become an invaluable asset in your operations.
Implementing this knowledge can pave the way for enhanced hauling efficiency, minimizing labor while maximizing performance. With a solid tilt trailer dump in your arsenal, embrace the world of heavy-duty transportation with confidence and ease.

