
Building a tandem tipper trailer is an intricate yet rewarding endeavor that requires meticulous planning, substantial knowledge of materials, and an understanding of the trailer’s mechanical elements. By adhering to the steps outlined in this guide, we can ensure a well-constructed and efficient trailer, suitable for various hauling tasks.
Understanding the Tandem Tipper Trailer
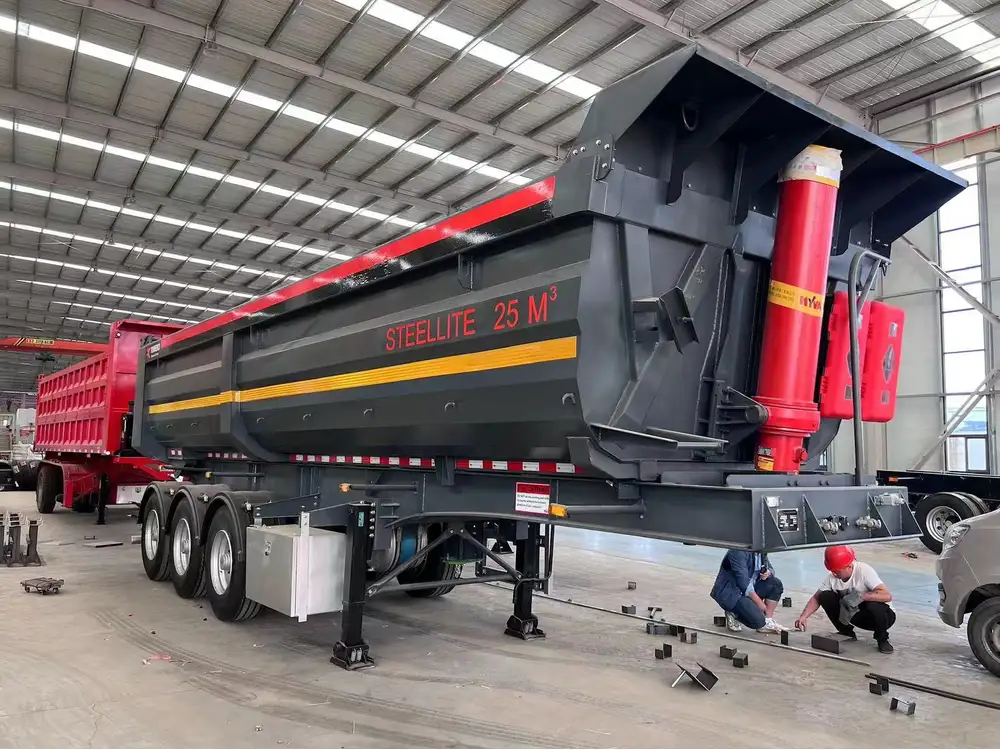
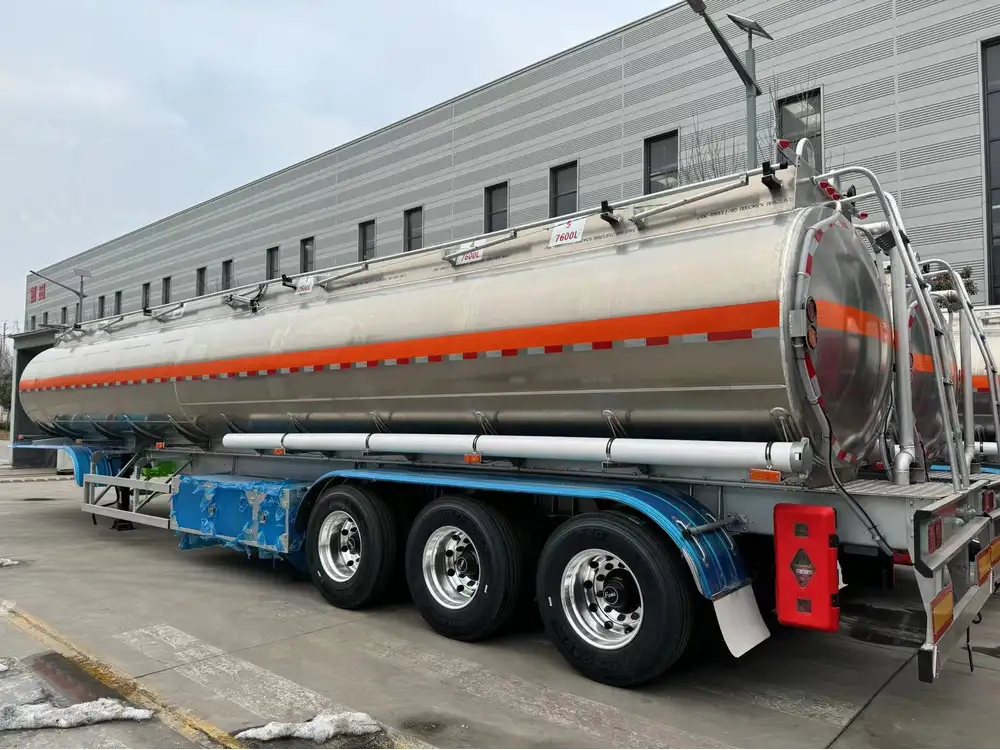
A tandem tipper trailer is primarily used in the transportation of loose materials, such as gravel, sand, and soil. Its design allows it to tilt, enabling easy unloading. The practical applications of these trailers span various industries, including construction, agriculture, and waste management.
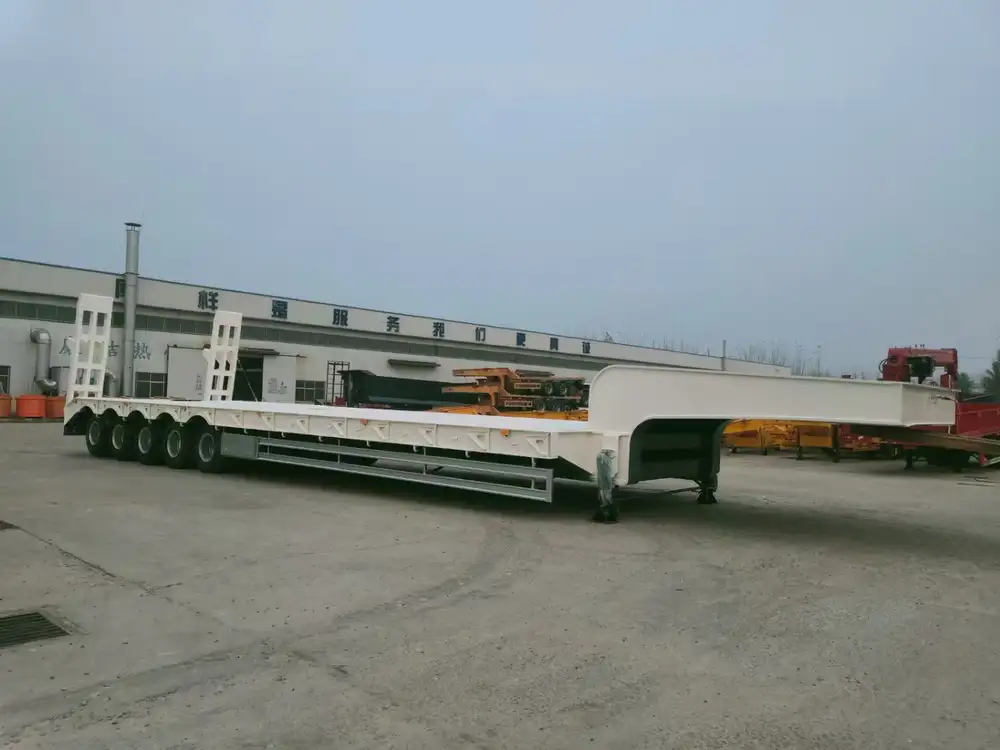
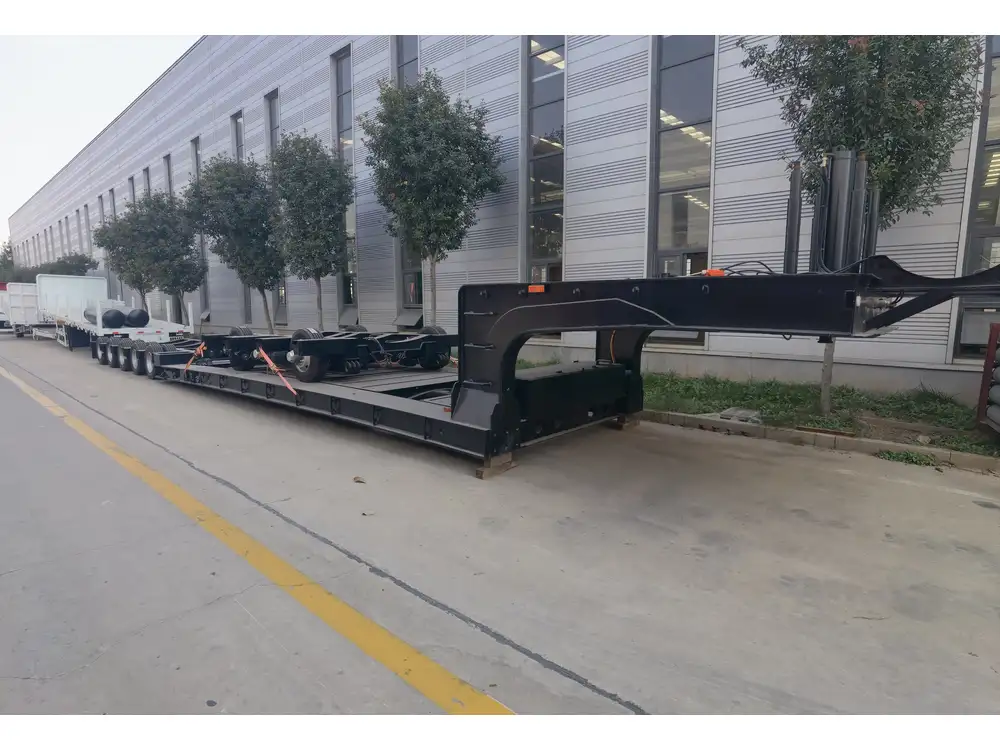
Components of a Tandem Tipper Trailer
Before embarking on the construction process, let’s break down the key components of a tandem tipper trailer:
| Component | Description |
|---|---|
| Chassis | The frame that supports all other components |
| Axles | Typically features two axles for load distribution |
| Suspension System | Enhances stability and load handling capabilities |
| Tipping Mechanism | Hydraulic or mechanical system used to raise and lower the bed |
| Trailer Bed | The area where material is loaded |
| Wheels | Supporting the trailer and aiding in movement |
| Landing Gear | Stabilizes the trailer when unhitched from the towing vehicle |
| Electrical System | Powers the lights and hydraulic system |
Step-by-Step Guide to Building a Tandem Tipper Trailer
Step 1: Design Planning
Considerations:
- Intended Usage: Understand the materials you plan to transport. The weight and dimensions of these materials influence the trailer’s design.
- Regulatory Requirements: Investigate local regulations regarding trailer dimensions, weight, and safety features.
- Material Selection: Choose durable materials such as high-tensile steel for the chassis and bed.
Sketch the Design:
Produce a rough sketch of the trailer, specifying dimensions and component placements. Utilize CAD software for precision.
Step 2: Material Procurement
| Material | Specifications |
|---|---|
| High-Tensile Steel | Minimum yield strength of 450 MPa |
| Mild Steel Plate | For the trailer bed, thickness between 4mm to 6mm |
| Axle Components | Ensure compatibility with the specified load ratings |
| Hydraulic Cylinder | Suitable for the intended tipping capacity |
| Paint/Coating | Corrosion-resistant materials |

Step 3: Cutting and Shaping Materials
Equip your workshop with the necessary tools such as plasma cutters, welding machines, and grinding tools to process the materials as per the design specifications.
- Chassis Construction: Cut steel plates for the chassis frame. Weld the components together to form a robust structure, ensuring all joints are properly reinforced.
- Preparing the Bed: Cut the material for the trailer bed according to the determined dimensions. Ensure that the design incorporates adequate supports beneath.
Step 4: Assemble the Axles and Suspension
Axle Setup:
- Install the Axles: Position and secure the axles onto the chassis. The optimal distance between axles is crucial for maintaining stability and load balance.
Suspension Alignment:
- Install Suspension Components: Utilize either leaf springs or air suspension, depending on the desired performance. Proper alignment is key to preventing uneven tire wear.
Step 5: Implementing the Tipping Mechanism
The hydraulic system’s design needs careful consideration to ensure efficiency and safety. Follow these steps:
- Install Hydraulic Cylinders: Securely attach hydraulic cylinders to the trailer bed and the chassis. The angle of attachment is crucial for optimal lifting capability.
- Hydraulic Lines and Pump: Route hydraulic lines from the pump to the cylinders, ensuring there are no kinks or obstructions. The hydraulic pump must meet the power requirements for the weight being lifted.
Step 6: Fitting the Trailer Bed
Attach the Bed to the Chassis: Use heavy-duty bolts to secure the trailer bed onto the chassis, ensuring it sits level and stable.
Tipping Mechanism Testing: Before finalizing, test the tipping functionality with a light load to ensure the hydraulics operate smoothly and the structure remains stable.
Step 7: Electrical System Installation
Establish a reliable electrical system that connects:
- Lighting: Install LED lights for better visibility on the road.
- Hydraulic Control: Implement a control system for the hydraulic pump to facilitate easy operation of the tipping mechanism.
Step 8: Painting and Finishing Touches
Before the finishing touches, sand down any rough edges and clean all surfaces.
Corrosion Protection: Apply a primer followed by a high-quality paint or powder coating to protect against corrosion. This step not only enhances durability but also offers aesthetic appeal.
Final Inspection: Examine welds, electric connections, and the integrity of the suspension system before conducting a weight test.
Step 9: Weight Testing and Final Evaluation
Conduct a thorough assessment by loading the trailer to its maximum capacity and checking the tipping mechanism’s performance. Monitor the stability during the operation to ensure safety and functionality.
Step 10: Compliance and Registration
After successful testing, register the trailer according to local transportation regulations. This process may include the following:
- Submitting documentation of specifications.
- Passing safety inspections.
Frequently Asked Questions (FAQs)
What are the common uses of tandem tipper trailers?
Tandem tipper trailers are prevalent in construction sites for transporting materials like gravel and dirt, in agricultural settings for transporting feed and fertilizer, and in waste management for hauling debris and refuse.
How does the tipping mechanism work?
The tipping mechanism typically consists of hydraulic cylinders that lift the trailer bed. Activating the hydraulic pump directs fluid into these cylinders, raising the bed at an angle for efficient unloading.
How do I maintain a tandem tipper trailer?
Regular maintenance includes checking the hydraulic system for leaks, inspecting tire pressure and tread, cleaning the bed after use, and conducting periodic inspections of the chassis, axles, and suspension for signs of wear or damage.
What safety features should be included?
Essential safety features include reflective decals, adequate lighting for visibility, and emergency brake systems. It’s advisable to use load restraints to prevent material shifts while transporting.
What are the cost factors involved in building a tandem tipper trailer?
Costs will vary based on:
- Quality and type of materials used
- Complexity of the design
- Labor costs during construction
- Additional features like enhanced suspension or specialized coatings
Conclusion
Building a tandem tipper trailer is a project that combines engineering principles with practical manufacturing skills. By following the structured guidelines outlined in this article, we can construct a reliable and efficient trailer tailored for diverse operational needs. With meticulous attention to detail throughout the design and building process, the final product will not only meet but exceed user expectations in performance, functionality, and safety. Emphasizing quality in manufacturing ensures that the tandem tipper trailer will stand the test of time, supporting industries that rely on robust and reliable transport solutions.

