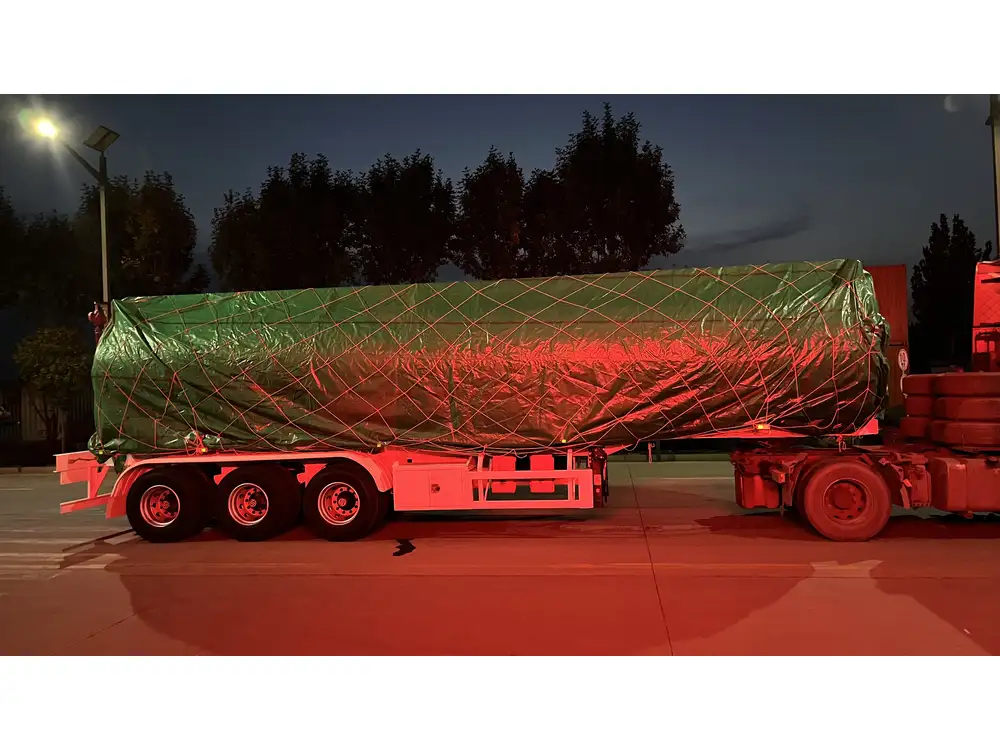
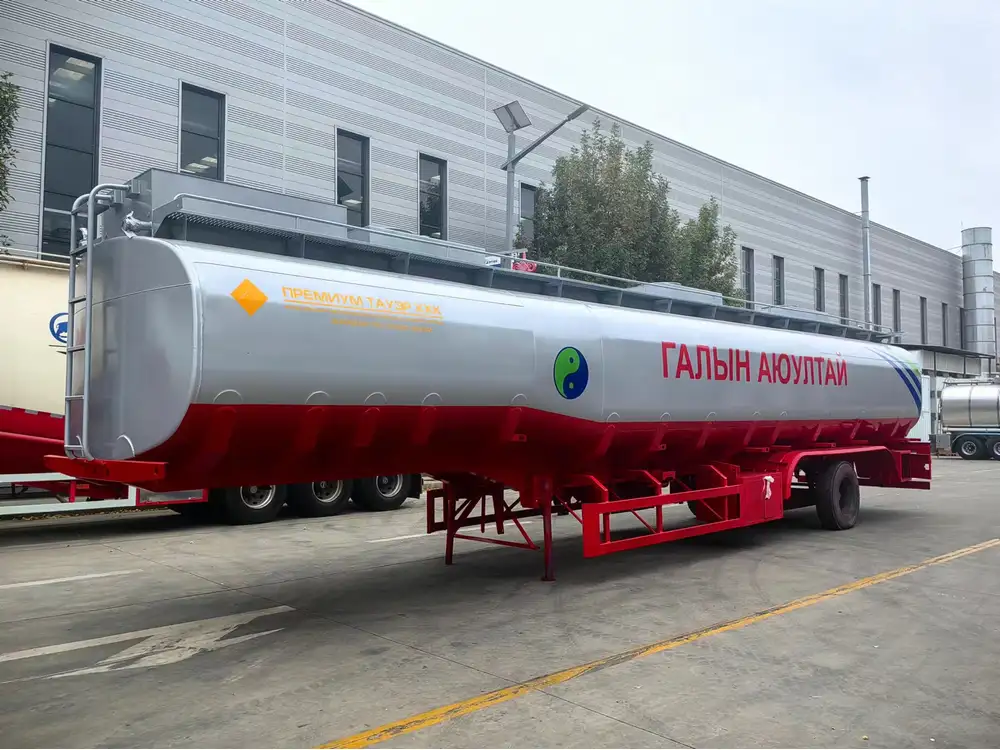
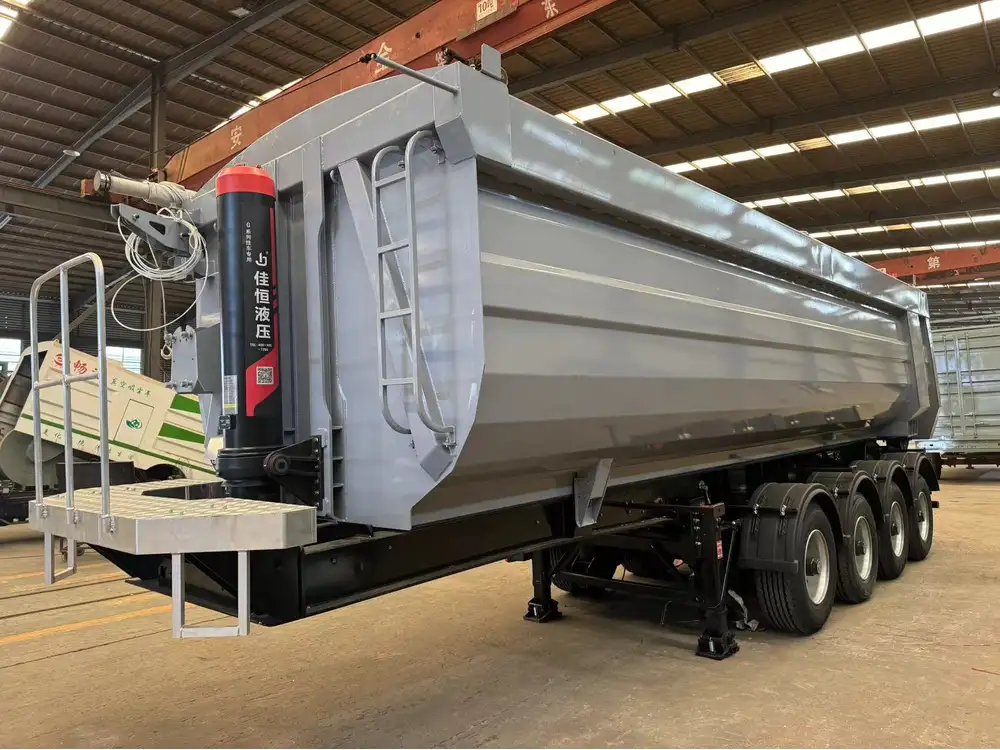
When it comes to optimal functionality and safety in hauling with semi-trailers, understanding how to hook up a dump valve is pivotal. A well-installed dump valve can enhance operational efficiency by allowing rapid unloading of materials, thus minimizing downtime. In this guide, we cover detailed, step-by-step instructions on how to hook up a dump valve on a trailer while ensuring you are equipped with essential knowledge regarding components, installation processes, and maintenance protocols.
What Is a Dump Valve and Its Importance?
Definition of a Dump Valve
A dump valve is a crucial component in trailers, especially those designed for transporting bulk materials such as gravel, sand, or dirt. Its primary function is to release the load rapidly, streamlining the unloading process.

Importance in Operations
- Efficiency: Quick unloading saves time, improving overall productivity.
- Safety: Proper use of a dump valve can prevent accidental load spills, enhancing on-site safety.
- Durability: A correctly installed and maintained dump valve contributes to the longevity of a trailer.
Components Required for Installation
Before embarking on the installation of a dump valve, ensure you have the following components:
| Component | Description |
|---|---|
| Dump Valve | Typically 2” or 3” diameter, made from durable materials. |
| Ball Valve | Allows for easy control of the flow. |
| Piping | Flexible or rigid piping as per the design. |
| Hoses | High-pressure hoses for hydraulic systems. |
| Fittings | Appropriate fittings for connecting components. |
| Wrench Set | Various sizes to secure bolts and fittings. |
| Sealants | Teflon tape or other sealants to prevent leaks. |
Step-by-Step Installation Process

Step 1: Preparing the Trailer
- Safety First: Always engage the trailer brakes and ensure it is on a level surface.
- Inspect Components: Verify that all components are present and in good condition. Check for any wear or damage.
Step 2: Locating the Installation Area
Identify where to install the dump valve. The common locations include:
- Near the rear of the trailer to facilitate easy loading and unloading.
- On the side of the trailer for easy access, considering the layout and design.
Step 3: Cutting the Opening
- Use a cutting tool suitable for your trailer’s material to create an opening for the valve.
- The size of the opening should correspond with the size of the dump valve you are installing.

Step 4: Attaching the Dump Valve
- Place the Dump Valve: Insert the valve into the opening.
- Secure with Fittings: Use appropriate fittings to affix the valve tightly.
- Check for Proper Alignment: Ensure that the valve aligns correctly to prevent leaks.
Step 5: Installing Hydraulic Lines
- Measure and Cut: Ensure that hoses are measured accurately and cut to the required length.
- Connect Hoses to the Dump Valve: Secure the hydraulic hoses to the dump valve fittings.
- Ensure Secure Connections: Double-check all connections with a wrench to prevent hydraulic leaks.
Step 6: Finalizing Installations
- Install the Ball Valve: Connect a ball valve upstream from the dump valve to control the flow effectively.
- Seal Connections: Apply Teflon tape or another sealant on threads to prevent leaks.

Step 7: Testing the Installation
- Fill the Trailer: Load it with the intended material to test the functionality.
- Actuate the Dump Valve: Activate the valve to unload the contents. Observing any leaks or malfunctions at this stage is critical.
Step 8: Make Necessary Adjustments
- If any irregularities arise—leaks, slow operation—disassemble if needed and check all fittings and connections.
Common Challenges and Solutions

Challenge 1: Leaking Hoses
Solution: Verify the integrity of the hoses, ensuring they are the right size and securely clamped.
Challenge 2: Valve Malfunction
Solution: Ensure the valve is not jammed and correctly installed. Lubricate if necessary.
Challenge 3: Hydraulic Pressure Issues
Solution: Check the hydraulic fluid level and hoses for blockages.

Maintenance Tips for Maximizing Dump Valve Lifespan
- Regular Inspection: Conduct routine checks on the hoses, valves, and connections to catch wear before failure occurs.
- Fluid Level Monitoring: Keep hydraulic fluid at optimal levels to avoid pressure fluctuations.
- Periodic Cleaning: Remove debris around the valve area to prevent buildup that can affect operation.
- Lubrication: Ensure moving parts of the dump valve are adequately lubricated based on manufacturer specifications.
- Documentation: Maintain records of all maintenance performed for future reference.
Additional Considerations
Legal Compliance
Ensure compliance with all state and federal regulations concerning trailer equipment, as improper installations can lead to fines and safety hazards.

Professional Assistance
If in doubt, don’t hesitate to seek the expertise of a professional to ensure a proper and safe installation.
Conclusion
Successfully hooking up a dump valve on a trailer is an intricate process that involves careful planning, precise execution, and ongoing maintenance. By following the steps outlined above, operators can facilitate more efficient operations, enhance safety, and extend the life of their equipment. Remember, investing the time and resources in a proper installation will pay dividends in the long run. Should further questions arise regarding your specific trailer model or operational requirements, consulting with a professional is always advisable to ensure optimal performance.


