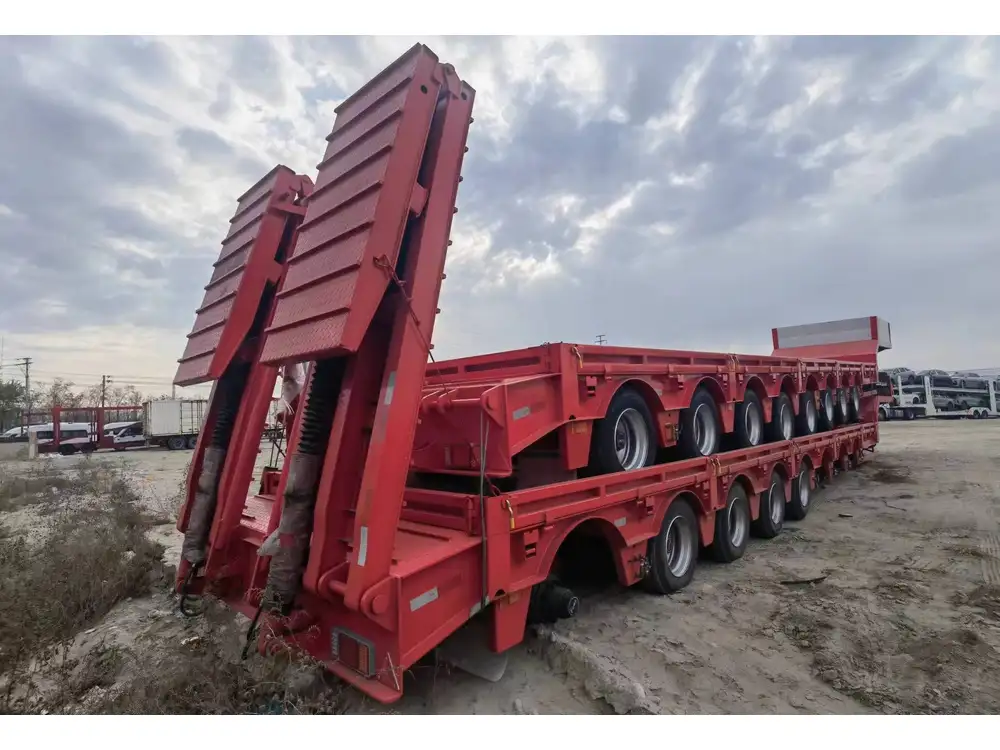
Changing the leaf spring on a semi-trailer is a task that requires careful consideration, preparation, and technical knowledge. Given the critical role that leaf springs play in maintaining a smooth ride and ensuring the structural integrity of the vehicle, mastering this process is essential for any semi-trailer operator or maintenance personnel. In this guide, we delve deeply into the process, pitfalls to avoid, and best practices to achieve optimal results.
Understanding Leaf Spring Functionality
Before diving into the procedure of changing a leaf spring, it’s strategic to understand its functionality. Leaf springs serve as a significant component of a semi-trailer’s suspension system. They work by absorbing shocks from the road, providing stability, and ensuring an even distribution of weight. Over time, leaf springs may experience wear and tear due to heavy loads, fatigue, or harsh road conditions. Identifying the signs of failure—such as excessive bouncing, uneven ride height, or visible cracks—can prevent safety hazards and costly damages.
Signs that Indicate Leaf Spring Replacement
Excessive Sagging: If one side of your trailer appears lower than the other, it may indicate a broken or weakened leaf spring.
Cracks and Breaks: Visual inspections may reveal cracks or fractures in the leaf springs.
Rust and Corrosion: Significant rust can weaken the structural integrity of the springs.
Bouncing and Swaying: Excessive movement while driving can signal that leaf springs need replacement.

Tools and Equipment Necessary for Changing Leaf Springs
Changing leaf springs requires specific tools and equipment to ensure safety and efficiency. Below is a list of essential tools you’ll need:
| Tool/Equipment | Purpose |
|---|---|
| Wrenches (various sizes) | To remove bolts and nuts |
| Jack Stands | To support the trailer safely |
| Hydraulic Jack | To raise the trailer |
| Leaf Spring Tool Set | For manipulating leaf springs |
| Impact Wrench | For easing the loosening of stubborn bolts |
| Torque Wrench | To confirm proper bolt torque |
| Safety Gloves | To protect hands during handling |
| Safety Glasses | To protect eyes from debris |
| Hammer | For knocking bolts that are stuck |
Precautionary Measures
Before commencing any work, ensure you wear the appropriate personal protective equipment (PPE) and confirm that the semi-trailer is parked on a stable, flat surface. Always use jack stands when working under the trailer to prevent accidents.
Step-by-Step Guide to Changing Leaf Springs

1. Prepare the Work Area
Setting Up: First and foremost, ensure the area is clean and well-lit. Create a safe workspace to organize all tools and components.
2. Lift the Semi-Trailer
Using the Hydraulic Jack: Locate the jacking points on the trailer and elevate it using the hydraulic jack. Ensure the trailer is lifted high enough that the suspension components are not under tension.
Securing the Trailer: Once elevated, place jack stands under the frame to provide additional support. Always double-check that the trailer is stable before proceeding.
3. Remove the Wheel and Tire Assemblies
Utilize the appropriate wrench to remove the lug nuts on the wheels. Once removed, take off the wheel and store it in a safe place. Repeat on the opposite side if necessary.

4. Disconnect the U-Bolts
Identifying U-Bolts: Locate the U-bolts securing the leaf spring to the axle. These are typically found on both sides of the axle assembly.
Loosening U-Bolts: Using the impact wrench, systematically loosen and remove the U-bolts. Be cautious, as these can be heavily corroded and may require additional force.
5. Detach the Leaf Spring
Locating the Mounting Bolts: After removing the U-bolts, identify the bolts at the front and rear mounts of the leaf spring.
Removing the Mounting Bolts: Utilizing the wrench, remove these bolts carefully. If tight, lightly tap with a hammer to loosen.
6. Replace the Leaf Spring
Aligning New Leaf Spring: With the old leaf spring removed, position the new leaf spring into place. Ensure that it aligns correctly with the mounting points on the axle and frame.

7. Reattach the Mounting Bolts and U-Bolts
Securing the Leaf Spring: Reinsert the mounting bolts through the holes in the leaf spring and tighten them down. Ensure the U-bolts are fitted securely over the axle and tightened properly for optimal safety.
- Torque Specifications: Consult the vehicle manufacturer’s manual for exact torque specifications to ensure safety and proper performance.
8. Reinstall the Wheel Assemblies
Once all bolts are torqued to specification, remount the wheel and tire assemblies. Tighten the lug nuts in a criss-cross pattern to ensure even pressure distribution.
9. Lower the Trailer
Careful Lowering: Remove the jack stands and lower the semi-trailer slowly. Monitor the stability as it descends.

10. Test Drive
Final Check: Once lowered, conduct a brief test drive in a safe area. Pay close attention to the handling and any unusual noises that could signify improper installation.
Maintenance Tips for Leaf Springs
To extend the lifespan of your leaf springs and ensure optimal performance, consider the following maintenance tips:
Regular Inspections: Conduct routine inspections every few months to catch potential issues early. Look for signs of wear, such as rust or damage.
Lubrication: Apply lubricant to the spring shackles and other pivot points to reduce friction and wear.
Weight Management: Avoid overloading the semi-trailer, as excessive weight can lead to premature spring fatigue.
Environmental Protection: Consider applying a protective coating on leaf springs to mitigate rust and corrosion from environmental factors.
Troubleshooting Common Issues
Despite following the recommended steps, issues may still arise. Here are some troubleshooting tips:
| Issue | Possible Causes | Solutions |
|---|---|---|
| Uneven Ride Height | Worn spring on one side | Inspect and replace as necessary |
| Excessive Bounce | Incorrect spring installation | Double-check mounting and torque |
| Spring Noise | Loose components | Tighten bolts and check alignment |

Conclusion
Changing the leaf spring on a semi-trailer is a meticulous process that demands attention to detail, proper tools, and an understanding of suspension mechanics. By adhering to the steps outlined in this comprehensive guide, operators and maintenance crews can not only perform this task efficiently but also contribute to the vehicle’s longevity and safety on the road.
Regular maintenance and vigilance regarding leaf spring condition can prevent unexpected breakdowns, enhancing overall efficiency and reliability. Knowledge and preparation are vital for success in this area, ensuring you’re equipped to face challenges head-on.
For any further questions or for professional assistance, don’t hesitate to contact our experienced team. Your safety and satisfaction are our utmost priority. Whether it’s changing a leaf spring or conducting routine maintenance, we are here to help you keep your fleet running smoothly.


