Maintaining the propane system in your travel trailer is crucial for both safety and efficiency. In this guide, we will discuss the detailed steps involved in removing and filling propane tanks, ensuring that you can handle this task with confidence and expertise.
Understanding Propane Essentials
What is Propane?
Propane is a widely used fuel source for RVs, offering convenient energy for heating, cooking, and cooling systems. It is stored in pressurized tanks, providing the energy necessary for various appliances in your travel trailer.
Types of Propane Tanks
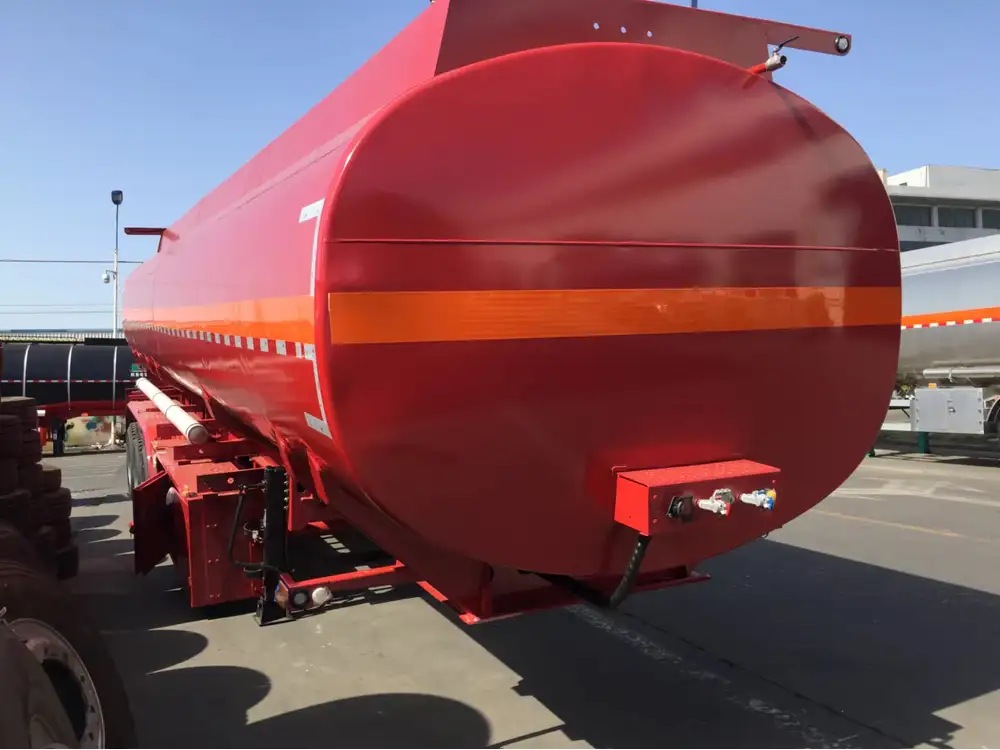
- Vertical Tanks: These are commonly seen in RVs and are usually 20 or 30-pound tanks. They’re designed for portability.
- Horizontal Tanks: Larger units often found in permanent installations. These can hold significantly more propane and cater to larger systems.
Safety Precautions
Before beginning the process of removing or filling your propane tanks, it’s imperative to adhere to safety protocols:
- Fully Acknowledge Hazards: Propane is flammable. Always work in a well-ventilated area, away from open flame sources.
- Personal Protective Equipment (PPE): Wear gloves and safety goggles to prevent injuries.
Step-by-Step Guide to Remove Propane Tanks
Tools Needed
| Tool | Purpose |
|---|---|
| Adjustable Wrench | For loosening connections |
| Safety Gloves | Hand protection |
| Goggles | Eye protection |
| Propane Scale | To weigh and check tank status |
Removing the Tank
Step 1: Shut Off All Appliances
Ensure all appliances using propane in the travel trailer are turned off. This avoids any leaks and enhances safety during the removal process.
Step 2: Locate and Inspect the Tanks
Identify the location of your propane tanks, often secured in an exterior compartment. Inspect them for any signs of damage or leaks before proceeding.
Step 3: Disconnect the Regulator
Using the adjustable wrench, carefully disconnect the regulator from the tank. Rotate counterclockwise to loosen the connections.
Step 4: Remove the Tank
With the connections detached, lift the tank straight up and out of its housing. Check the weight, ensuring it’s manageable. If the tank is too heavy, seek assistance.

Step 5: Inspect the Tank for Damage
Once removed, check the tank for signs of rust, dents, or corrosion. If any issues are apparent, the tank may require servicing.
Filling Your Travel Trailer Propane Tanks
Where to Fill Propane Tanks
Choosing the right location to fill your tanks is vital. Common places include:
- Propane Supply Companies: Specialized companies that can provide quality propane services.
- Gas Stations with Propane Access: Many fuel stations offer propane filling.
- RV Campgrounds: Some campgrounds have propane filling stations.

Step-by-Step Guide to Filling
Step 1: Arrive at the Filling Location
Make sure the tank is transported securely to the filling station. Consider using a truck or suitable vehicle where the tank can be kept stationary.
Step 2: Safety Checks Before Filling
- Ensure that no open flames are present.
- Confirm that the valves and connections are intact.
Step 3: Weigh the Tank
Prior to filling, weigh your empty propane tank. This allows both you and the attendant to know how much propane will be added.
Step 4: Connect the Filling Hose
- Threading the Valve: Place the filling hose over the tank valve and tighten it securely.
- Open the Valve: Gradually open the tank valve to start the flow of propane.
Step 5: Monitor the Filling Process
- Listen and Observe: Monitor for any unusual smells or sounds during filling.
- Shut Off the Valve: When the tank reaches its maximum safe weight, the filling will automatically stop.
Step 6: Disconnect and Secure
Remove the filling hose carefully. Ensure the connections are tight to prevent any leaks, and secure the tank again for transport.
Step 7: Record the Fill-Up
Logging the fill-up can help with future maintenance and tank checks. Keep a record of the date and quantity filled.
Troubleshooting Common Issues
Leaking Propane
If you detect a propane odor after reinstallation, immediately turn off all appliances and disconnect the tank. Check for loose connections and ensure the valve is tightly shut.
Tank Overfilling
Overfilling can be hazardous. Always weigh your tank before and after filling. Familiarize yourself with the proper capacities of your tank.
Maintenance Tips for Propane Tanks
| Maintenance Task | Frequency |
|---|---|
| Inspect for rust and wear | Twice a year |
| Check connections for tightness | Every fill-up |
| Ensure proper storage conditions | Always |

Conclusion
Mastering the removal and filling of propane tanks in your travel trailer ensures not only safety but also optimal functioning of your RV’s essential systems. The process is straightforward when adhering to proper procedures. With this comprehensive guide, we empower you to handle propane with expertise and care, keeping your travel adventures enjoyable and safe.
Additional Resources
- Safety Data Sheets (SDS): Always have access to the SDS for propane to understand its properties and risks.
- State Regulations: Familiarize yourself with local regulations regarding propane storage and transport for compliance and safety.
By following each step with adherence to safety practices, you ensure both your well-being and the longevity of your travel trailer’s propane system. Enjoy your journeys with peace of mind!


