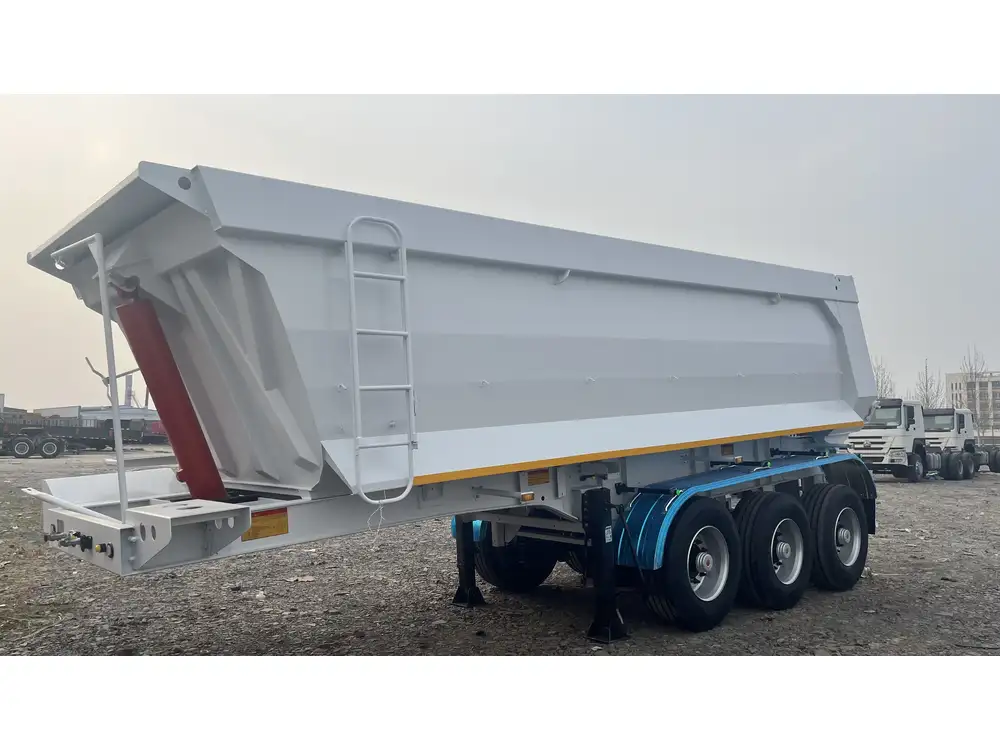
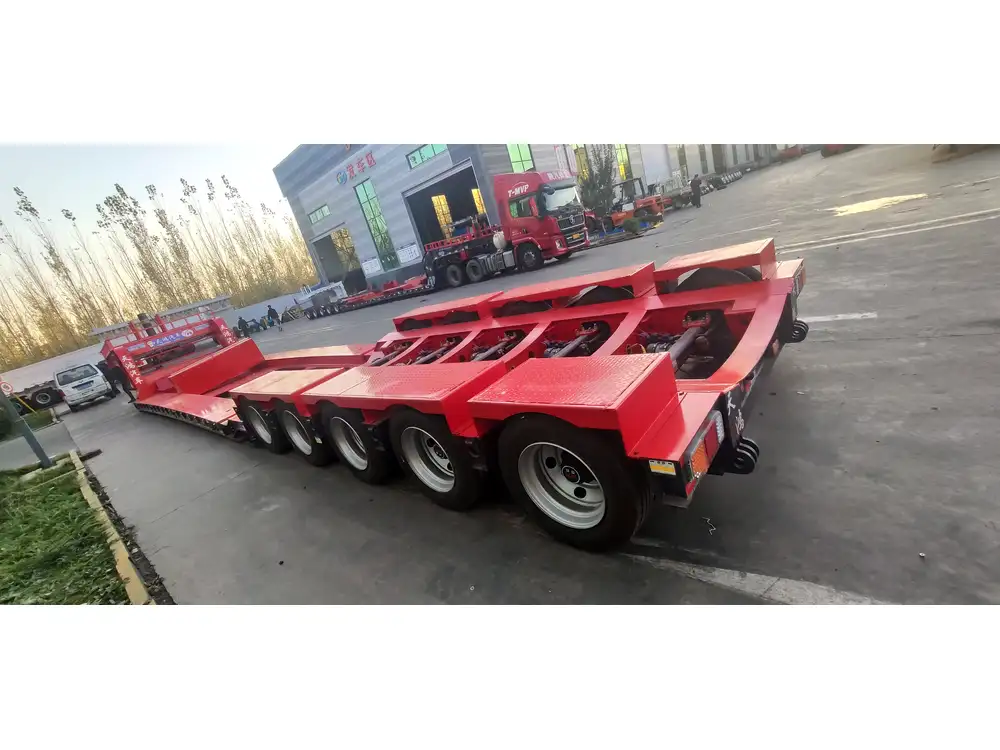
Creating a semi-trailer cake is not only a celebration of creativity but also an opportunity to impress your friends, family, or clients with a unique dessert that embodies the spirit of the open road. Whether it’s for a birthday, a special event, or to commemorate a milestone in the trucking industry, a semi-trailer cake can be an eye-catching centerpiece that sparks intrigue. Below, we will navigate the intricacies of making this masterpiece, traversing through every essential detail, tip, and technique.
Essential Tools and Ingredients
Before embarking on the semi-trailer cake journey, gather the necessary tools and ingredients that will facilitate the cake-making process.
Tools Needed
| Tool | Description |
|---|---|
| Mixer | For creaming butter and sugar, mixing batter efficiently. |
| Baking Pans | Rectangular pans (preferably 9×13 inches for the trailer and a smaller size for the cab). |
| Offset Spatula | To spread frosting evenly and shape the cake. |
| Cake Leveler | Ensures even stacking and a polished look. |
| Cake board | A sturdy base for placing and decorating the cake. |
| Smoothing Tool | For achieving a smooth finish on the fondant. |
| Piping Bags | For intricate designs and detailing. |
| Food Coloring | To achieve the desired colors for the semi-trailer details. |
| Sharp Knife | For cutting and shaping the cake as needed. |
| Fondant Tools | For modeling details like tires and cargo. |

Ingredients Required
| Ingredient | Quantity |
|---|---|
| All-Purpose Flour | 4 cups (for two cakes – cab and trailer) |
| Granulated Sugar | 2 cups |
| Unsalted Butter | 1 cup (softened) |
| Eggs | 4 |
| Baking Powder | 1 tablespoon |
| Milk | 1 cup |
| Vanilla Extract | 2 teaspoons |
| Buttercream Frosting | 4 cups (for filling and covering the cake) |
| Fondant | 2-3 pounds (for covering and decorating the cake) |
| Edible Markers | For detailing and adding designs. |
| Chocolate Balls | For creating wheels or cargo embellishments. |
Step 1: Baking the Cake
Start off by preheating the oven to 350°F (175°C). The success of your semi-trailer cake largely depends on a well-baked, moist foundation.
Mixing the Ingredients
Cream the Butter and Sugar: In a large bowl, beat together the softened butter and sugar until light and fluffy. This process typically takes about 5 minutes.
Incorporate the Eggs: Add the eggs one at a time, ensuring full incorporation before adding the next. This aids in achieving a smooth batter.
Combine Dry Ingredients: In another bowl, sift together the flour, baking powder, and a pinch of salt.
Mix Together: Gradually add the dry ingredients to the creamed mixture, alternating with the milk. Start and end with the flour, and mix until just combined.
Flavor It: Finally, stir in the vanilla extract for an added flavor boost.

Baking Process
- Pour the Batter: Divide the batter into two rectangular pans and smooth the top with a spatula.
- Bake: Place the pans in the oven and bake for 25-30 minutes or until a toothpick inserted in the center comes out clean.
- Cooling: Allow the cakes to cool in the pan for 10 minutes, then transfer them to a wire rack until completely cooled.
Step 2: Shaping the Cake
After cooling, it’s time to carve your cakes into the recognizable form of a semi-trailer.
Creating the Trailer and Cab
Trim to Shape: Use a cake leveler or sharp knife to even out the tops of the cakes. For the cab, cut a rectangular section from one end of the larger cake. This will be the front of the semi-trailer.
Stacking: Use buttercream frosting as glue between the layers. Stack the cab on top of the trailer part to create the full structure.
— Bonus Tip: For added stability, insert wooden cake dowels into the trailer’s area to support the cab.

Step 3: Frosting and Covering the Cake
The next step is applying buttercream frosting and fondant, which will create the aesthetic of a semi-trailer.
Applying Buttercream
Crumb Coat: Apply a thin layer of buttercream over the entire cake to trap crumbs. Chill the cake for about 30 minutes to set the crumb coat.
Final Frosting: Once chilled, apply a thicker layer of buttercream to create a smooth finish. Use an offset spatula to achieve an even coating.
Covering with Fondant
Knead the Fondant: Roll out the fondant until it’s about ¼ inch thick. Make sure it is large enough to cover the entire cake.
Cover the Cake: Gently lay the rolled fondant over the cake, smoothing it down with your hands or a smoothing tool to avoid bubbles.
Trim Excess: Use a sharp knife to trim away any excess fondant at the base of the cake.

Adding Details
Decorate your semi-trailer cake with fondant elements including:
- Tires: Mold small rounds of black fondant to create realistic tires. You can add edible glitter to mimic shine.
- Cargo and Accessories: Use additional fondant of varying colors to create cargo, headlights, and mirrors on your semi-trailer.
Painting and Marking
Utilize edible markers to create intricate designs on the trailer’s body, mimicking the personalized touches often seen on actual semi-trailers.
Step 4: Presenting and Serving

Displaying the Semi-Trailer Cake
Base Setup: Place the cake on a decorated cake board or a clean platter that matches your theme.
Adding Final Touches: If desired, use toy trucks or other trucking-related decorations around the base to elaborate on the theme.
Cutting and Serving
Divide with Care: Use a sharp knife to slice through the fondant layer, ensuring each piece includes a portion of the moist cake.
Serve: Present the cake to your guests, sharing the creative story behind its creation.
Conclusion
Crafting a stunning semi-trailer cake is indeed a rewarding venture that brings together baking skills, creativity, and an appreciation for detail. The intricacy of this cake mirrors the complexity and beauty of the trucking world, which is sure to captivate every admirer. By following these organized steps and infusing your personality into the design, you can create a show-stopping dessert that will become the talk of the town. The blend of flavors and the artistry involved will yield a memorable experience for all who partake.
Remember, the beauty of cake making lies not just in following a recipe but also in enjoying the process and letting your imagination take the wheel. Happy baking!


