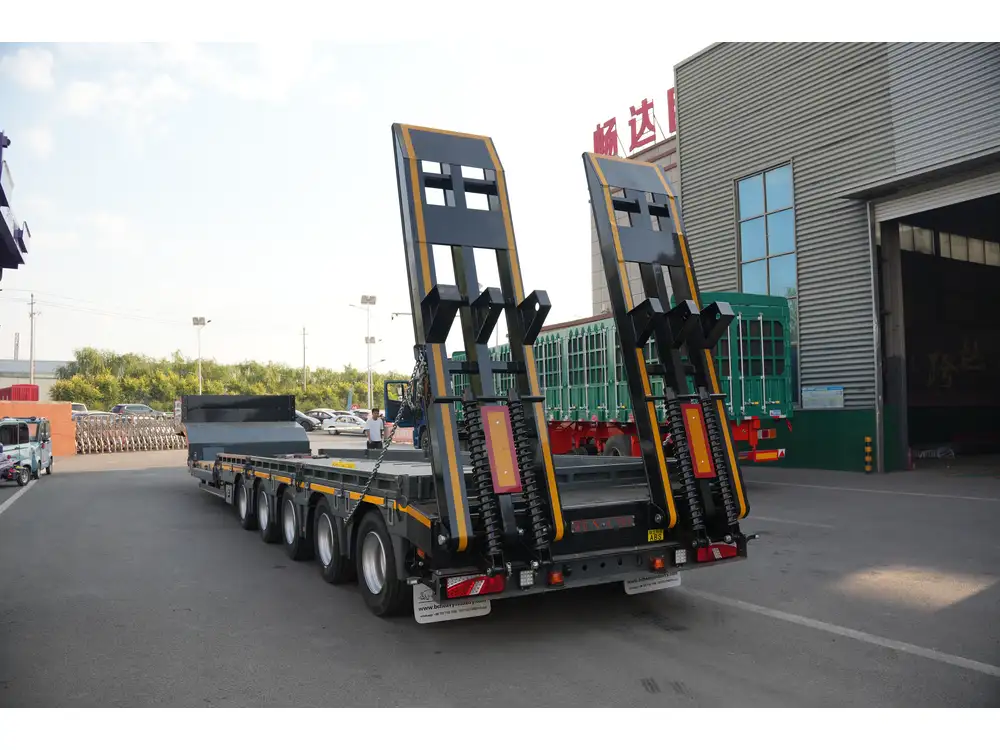
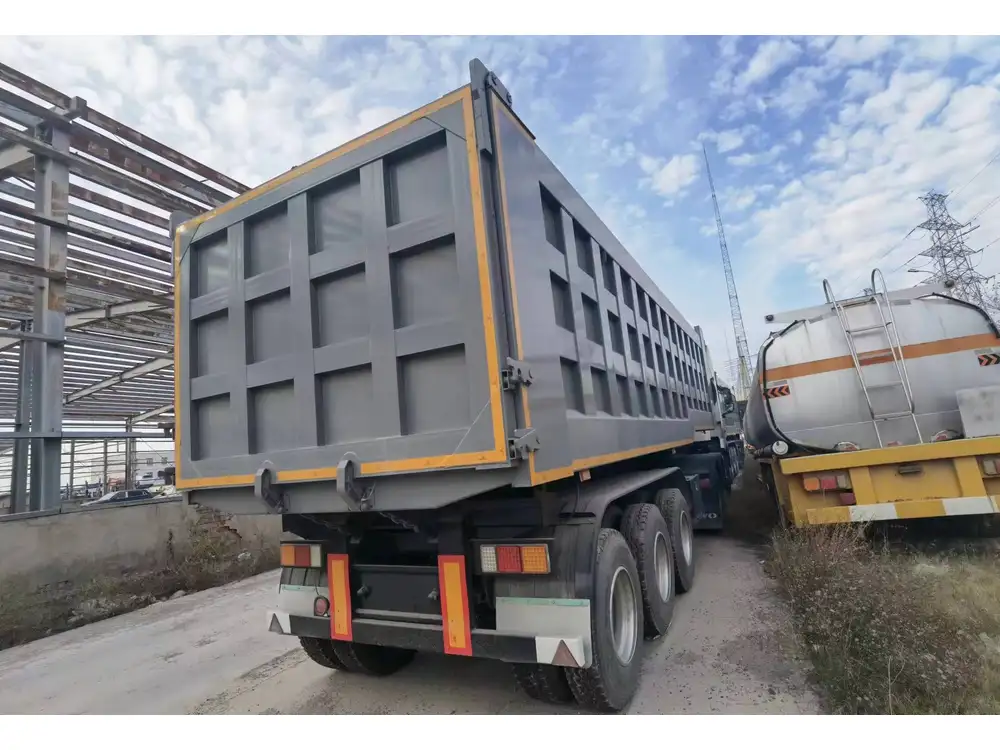
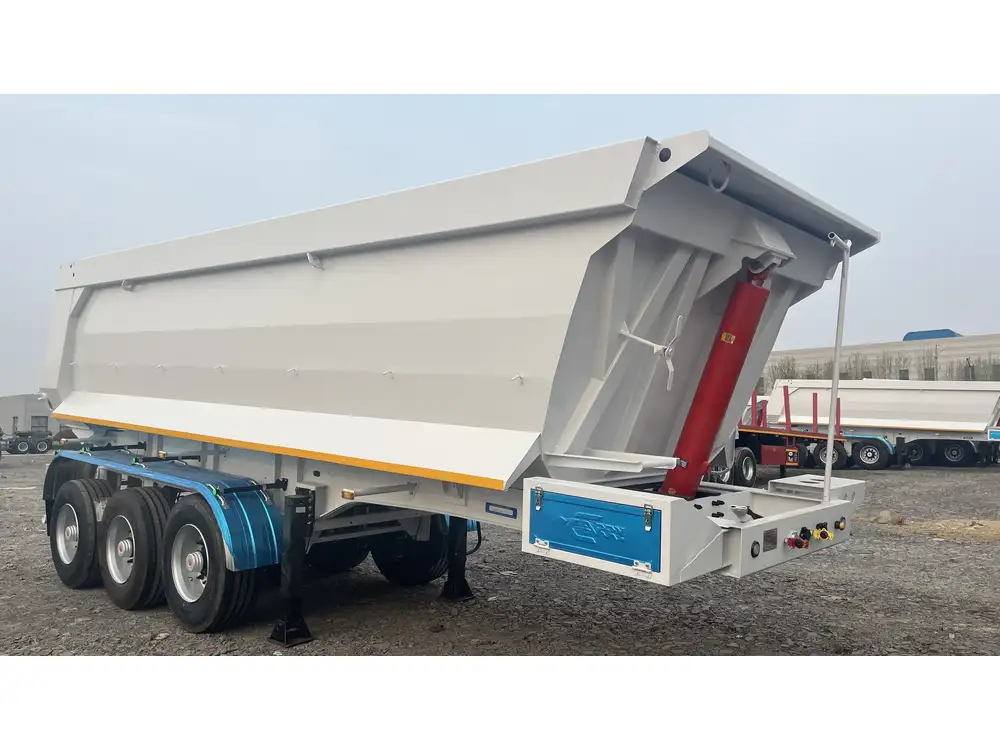
When it comes to versatility in hauling, an ATV dump trailer is an invaluable asset for outdoor tasks, landscaping, and farm work. This guide will explore the essential steps, materials, and tips needed to build an efficient and durable ATV dump trailer, ensuring that you have everything necessary for a successful project.
Understanding the Purpose of an ATV Dump Trailer
Before delving into the construction process, it’s pivotal to understand the key functions of an ATV dump trailer. Unlike standard trailers, an ATV dump trailer is designed to be towed behind an ATV, providing easy dumping capabilities that simplify transporting loads like dirt, gravel, mulch, or debris.
Benefits of an ATV Dump Trailer:
- Enhanced Payload Capacity: Ideal for transporting heavy materials without overloading your ATV.
- Ease of Use: The dump mechanism allows for quick unloading of materials.
- Versatile Applications: Suitable for landscaping, farming, and recreational uses.

Key Components of an ATV Dump Trailer
To construct a robust ATV dump trailer, familiarity with its key components is essential. The main parts include:
| Component | Purpose |
|---|---|
| Trailer Frame | The structural foundation that supports everything. |
| Axle & Wheels | Essential for mobility and carrying load weight. |
| Dump Mechanism | Enables the tilting action for unloading materials. |
| Tongue | The part that connects the trailer to the ATV, facilitating towing. |
| Bed | The flat surface for carrying materials. |
| Safety Mechanisms | Ensures stability and safety during use. |
Required Materials for Construction
Choosing quality materials is crucial for longevity and performance. The following list delineates the materials needed for building an ATV dump trailer:
- Steel Tubing: For constructing the frame. Opt for a heavy-duty gauge to withstand load stress.
- Axle Kit: Includes the axle, bearings, and wheels; choose a sturdy kit rated for the weight you intend to carry.
- Dump Bed Material: Options include plywood, metal sheets, or poly for durability and weather resistance.
- Hinges and Latches: For the dump mechanism; robust hinges are essential for frequent use.
- Paint or Powder Coating: Protects the trailer from corrosion and enhances appearance.
Tools Required for Building
Preparing the necessary tools can make the building process smoother. The following tools should be readily available:
- Welding Equipment: For frame assembly.
- Drill & Bits: For creating holes for screws and bolts.
- Angle Grinder: To cut and smooth metal edges.
- Wrenches & Sockets: For tightening and securing parts.
- Measuring Tape: To ensure accurate cuttings and dimensions.
- Safety Gear: Safety glasses, gloves, and a welding mask.

Step-by-Step Construction Guide
The process of building an ATV dump trailer can be broken down into the following structured steps:
Step 1: Design Your Trailer
Begin by sketching a design of your trailer. Consider the dimensions based on the size of your ATV and determine the load capacity.
Step 2: Prepare the Frame
Cut the Steel Tubing: Measure and cut to create the rectangular frame. A typical dimension might be 60 inches by 48 inches for optimal capacity without excessive weight.
Weld the Frame: Use a welding machine to join the cut pieces, making sure they are square and stable.

Step 3: Install the Axle
Determine the Axle Position: Center the axle under the frame and mark the mounting locations.
Secure the Axle: Drill holes and install the axle using bolts and securing hardware.
Attach Wheels: Fix the wheels onto the axle following the manufacturer’s guidelines.
Step 4: Assemble the Dump Bed
Cut the Bed Material: If using plywood, cut it to fit securely within the frame dimensions. For metal sheets, ensure they are of a sufficient thickness.
Attach the Bed: Securely fasten the bed onto the frame using bolts, ensuring stability.
Step 5: Install the Dump Mechanism
Hinge Placement: Position heavy-duty hinges on the back of the dump bed and attach them to the frame.
Latching System: Install a secure latching system on the front of the dump bed that can be easily released when it’s time to dump the load.

Step 6: Connect the Tongue
Cut the Tongue: This should be long enough to allow easy maneuvering of the trailer behind the ATV while maintaining a comfortable towing angle.
Weld the Tongue to the Frame: Ensure that it is square and securely attached.
Step 7: Safety Features
Install a Safety Chain: Attach a safety chain that can hold the trailer in place in case of coupling failure.
Reflective Tape and Markers: Use reflective tape for visibility when towing the trailer, especially at night.
Step 8: Finishing Touches
Paint or Powder Coat: Apply a protective finish to guard against rust and to match your ATV.
Test the Dump Mechanism: Make sure it operates smoothly before taking it out for use.

Maintenance Tips for Your ATV Dump Trailer
After building your ATV dump trailer, maintaining it is vital for longevity and performance. Here are some essential maintenance tips:
- Regular Inspections: Check the integrity of the frame, axle, and wheels periodically.
- Lubricate Moving Parts: Regularly lubricate the hinges and axle bearings to prevent wear and seize.
- Check for Rust: After use in moist or corrosive environments, inspect for rust and touch up any affected areas.
- Store Properly: When not in use, store the trailer in a dry place, ideally covered, to protect it from the elements.
Conclusion
Building an ATV dump trailer allows you to expand your towing capabilities and handle a variety of outdoor tasks with efficiency. With this comprehensive guide, you should be able to construct a durable and functional trailer tailored to your needs. Keep in mind safety precautions during usage and maintenance to prolong the life of your trailer.
By employing high-quality materials and meticulous construction techniques, your DIY ATV dump trailer will not only meet your hauling needs but also enhance your productivity for years to come. Whether for landscaping, farm chores, or recreational uses, an ATV dump trailer is a remarkable tool for any outdoor enthusiast or professional.
Ready to get started? Gather your tools and materials, and embark on this rewarding project today!


