Converting a flatbed trailer into an enclosed trailer can offer myriad benefits, including improved security for cargo, protection from the elements, and the versatility of transport. The art of this transformation is an intricate process that demands a detailed understanding of construction, materials, and design. In this guide, we delve into the essential steps, materials, and techniques involved in this conversion, ensuring that your newfound trailer meets all your operational needs.
Table of Contents
Understanding the Basics
- 1.1 Benefits of Enclosing a Flatbed Trailer
- 1.2 Assessing Your Flatbed Trailer
Planning Your Conversion
- 2.1 Measurement and Design Considerations
- 2.2 Drawing Up Blueprints
Essential Materials and Tools
- 3.1 Materials Overview
- 3.2 Tools Required
Step-by-Step Conversion Process
- 4.1 Preparing the Flatbed
- 4.2 Creating the Frame
- 4.3 Erecting the Walls
- 4.4 Installing the Roof
- 4.5 Adding Doors and Windows
Finishing Touches
- 5.1 Paint and Weatherproofing
- 5.2 Interior Outfitting
Safety and Compliance Considerations
Frequently Asked Questions (FAQs)
Understanding the Basics
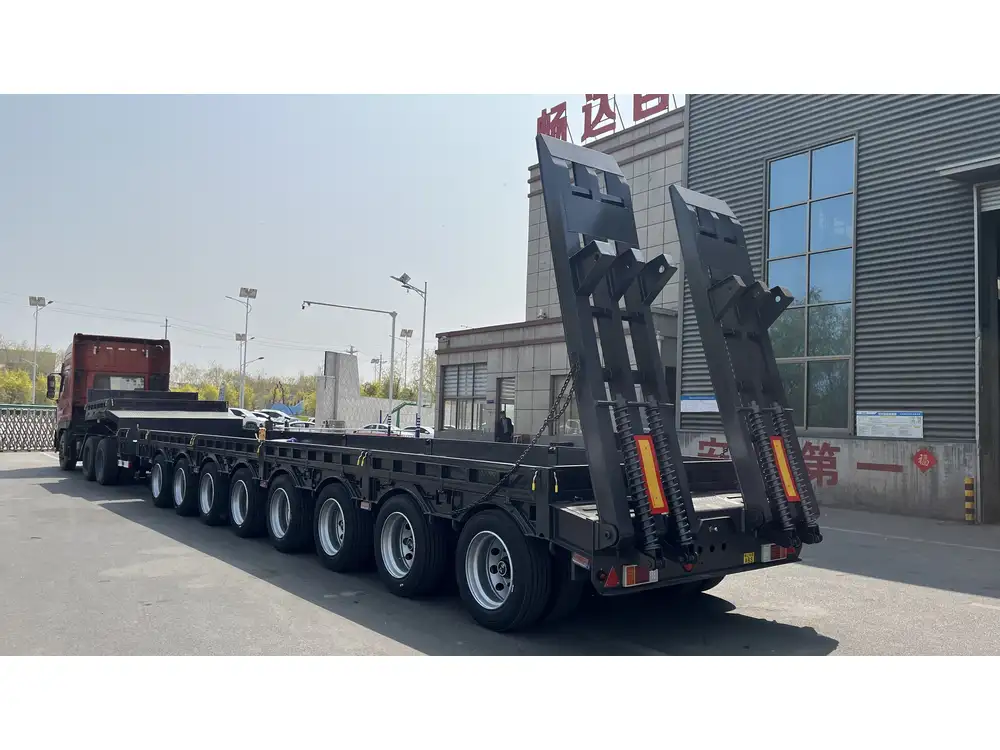
Benefits of Enclosing a Flatbed Trailer
Converting a flatbed trailer into an enclosed trailer opens doors to multiple advantages:
- Enhanced Security: Enclosed trailers provide superior protection against theft and vandalism.
- Weather Resistance: Safeguarding your cargo from rain, snow, and sunlight, thereby minimizing damage.
- Versatility: An enclosed trailer can be used for various purposes—from transporting vehicles to serving as a mobile workshop or storage unit.
Assessing Your Flatbed Trailer
Before diving into conversion, evaluate your flatbed trailer’s dimensions, weight capacity, and overall condition. Ensure that the frame is sturdy and free of rust, ensuring a solid foundation for your modifications.
Planning Your Conversion
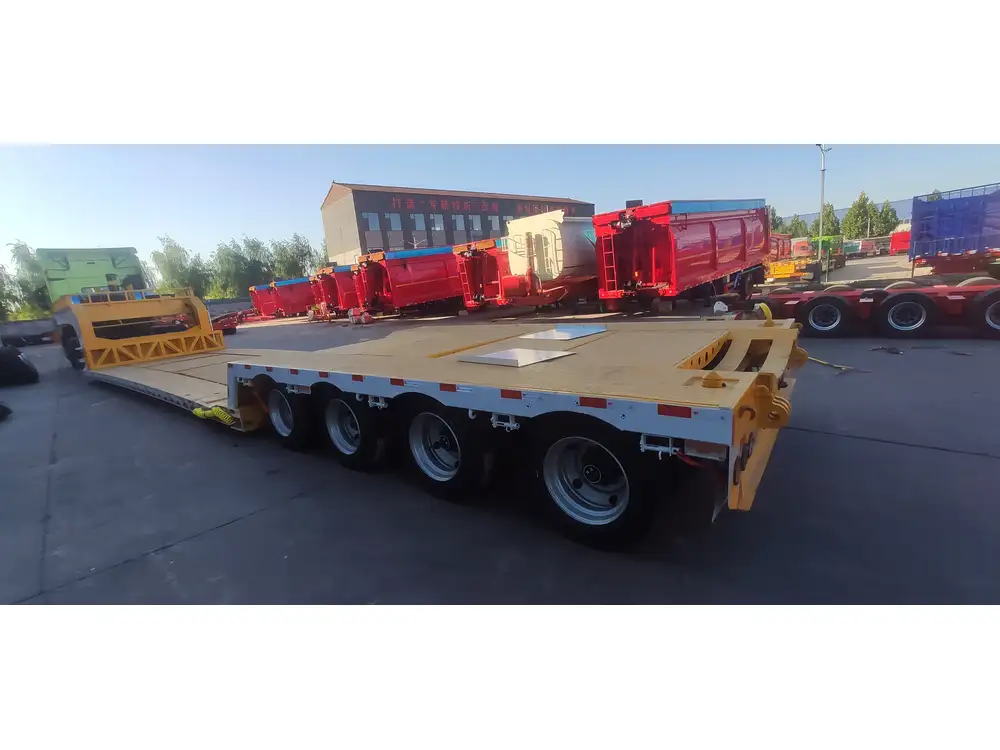
Measurement and Design Considerations
Begin with precise measurements of the flatbed trailer’s length, width, and height. Consider how high you want the enclosed section to be. A taller configuration may be necessary for specific requirements, such as standing room or accommodating larger cargo.
Drawing Up Blueprints
Create detailed blueprints that reflect your design ideas. Important elements to include are:
- Wall Height: How tall will the walls be?
- Roof Style: Flat, sloped, or domed?
- Door Locations: Where will you place entry points?
This blueprint serves as your guide throughout the construction process.
Essential Materials and Tools

Materials Overview
The selection of materials is crucial for a successful conversion. Below is a comprehensive list:
- Frame Materials: Steel or aluminum tubing for strength.
- Wall Panels: Plywood, OSB board, or metal sheets.
- Roofing: Metal panels or waterproof tarp materials.
- Insulation: Foam boards or spray foam for climate control.
- Fasteners: Screws, rivets, hinges, and latches.
- Sealants: Weatherproof caulking to prevent leaks.
Tools Required
Having the right tools at your disposal will make the transformation smoother. Gather the following tools:
- Measuring Tape: For accurate dimensions.
- Saw: Circular or reciprocating saw for cutting materials.
- Drill: Corded or cordless for fasteners.
- Wrench Set: For securing bolts and fittings.
- Level: To ensure everything is straight and even.
Step-by-Step Conversion Process

Preparing the Flatbed
Begin with a thorough cleaning of the flatbed. Remove any debris or rust, and ensure the surface is smooth. Applying a rust-proof primer can extend the life of your trailer and enhance adhesion for future materials.
Creating the Frame
- Cut the Frame Pieces: Use your measurements to cut steel or aluminum tubing for the vertical and horizontal supports.
- Assemble the Frame: Use a welding machine or bolts to connect the frame pieces securely.
- Secure to Flatbed: Attach the frame to the existing flatbed using strong bolts to ensure a stable foundation.
Erecting the Walls
- Cut Panels to Size: Based on your blueprints, measure and cut your wall paneling material.
- Mount the Wall Panels: Attach each wall panel to the frame using screws or rivets, ensuring they are plumb and aligned.
- Insulation: If desired, insert insulation between the panels for added temperature control.
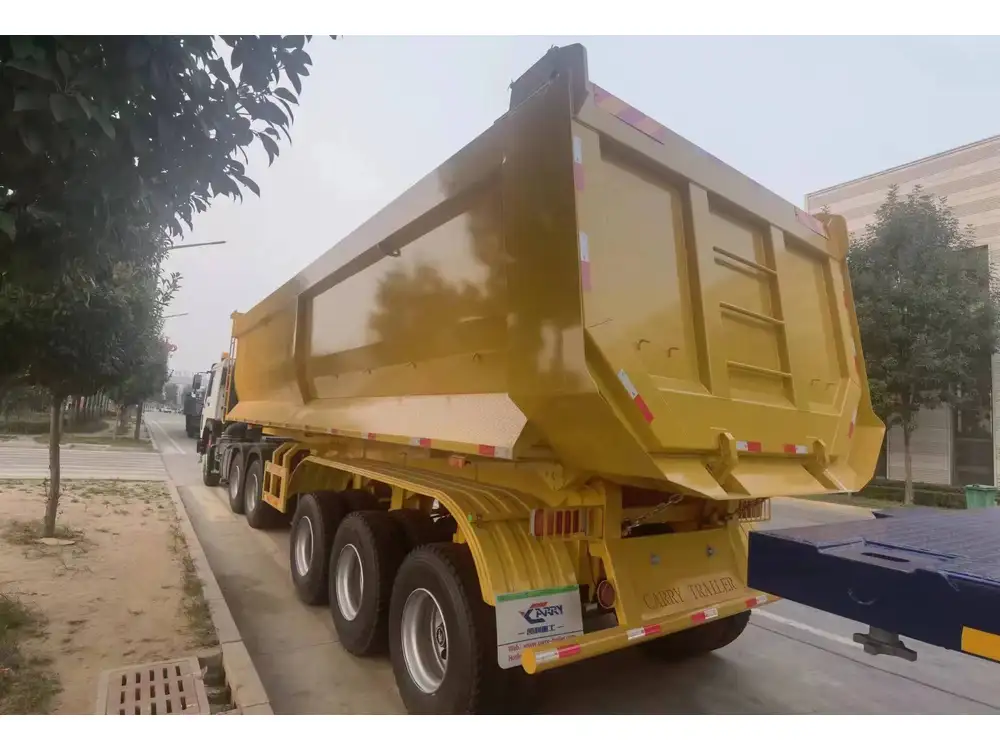
Installing the Roof
- Cut Roof Panels: Prepare roof panels according to your design, bearing in mind sloping for water runoff if applicable.
- Secure Roof Panels: Lift and secure the roof panels onto the top frame, ensuring it covers all sides adequately.
- Seal All Edges: Use waterproof caulking where panels meet to prevent leaks.
Adding Doors and Windows
- Designate Locations: Based on your blueprint, mark where doors and windows will go.
- Cut Openings: Carefully cut out openings for doors and windows using a saw.
- Install Frames: Insert door and window frames after reinforcing edges with additional materials.
- Attach Doors and Hardware: Use hinges for doors; secure handles and locks for ease of access and security.
Finishing Touches

Paint and Weatherproofing
Once the structure is complete, protect it with a high-quality exterior paint or coating to resist moisture and UV rays. Pay special attention to edges and corners for durability.
Interior Outfitting
Depending on your intended use, consider the following interior elements:
- Shelving: Install shelving units if needed for organization.
- Lighting: Adequate lighting can enhance usability, especially for workshops.
- Ventilation: Adding vents or small windows ensures airflow, preventing moisture buildup.
Safety and Compliance Considerations
Ensure that your converted trailer complies with all local regulations regarding size, weight, and safety standards. Register the modification with local authorities if necessary, and adhere to weight limits, especially if utilizing the trailer for commercial use.

Frequently Asked Questions (FAQs)
Can any flatbed trailer be converted?
While many flatbed trailers can be converted, it’s essential to assess the trailer’s integrity and load capacity before proceeding. Trailers built on sturdy frames are best suited for this transformation.
How much does it cost to convert a flatbed trailer?
Costs can vary significantly based on materials and labor. A DIY approach may minimize expenses, while hiring professionals may lead to higher costs. Budgeting between $1,000 to $5,000 is a practical range depending on the materials and design complexities.

How long will the conversion take?
The timeline for conversion largely depends on the size of the trailer and your skill level. A basic conversion may take a few days to a week, while larger projects with complex designs could take several weeks to complete.
Conclusion
Converting a flatbed trailer into an enclosed trailer may appear daunting, but with careful planning, the right materials, and proper execution, it can be a rewarding project. Not only does it enhance the functionality and protection of your cargo, but it also expands the versatility of your transportation options. Adhering to safety standards and drawing inspiration from this guide can transform your flatbed into an asset you can rely on for years to come.


