Converting a flatbed trailer into a camper is not only an innovative way to create your ideal camping experience, but it’s also a rewarding project that can save you money while allowing for unique customization. With the right plans, materials, and tools, you can transform a simple flatbed trailer into a mobile home that reflects your needs and lifestyle. This guide dives into the essential steps, materials required, and design ideas to help you embark on this exciting venture.
Understanding Your Flatbed Trailer
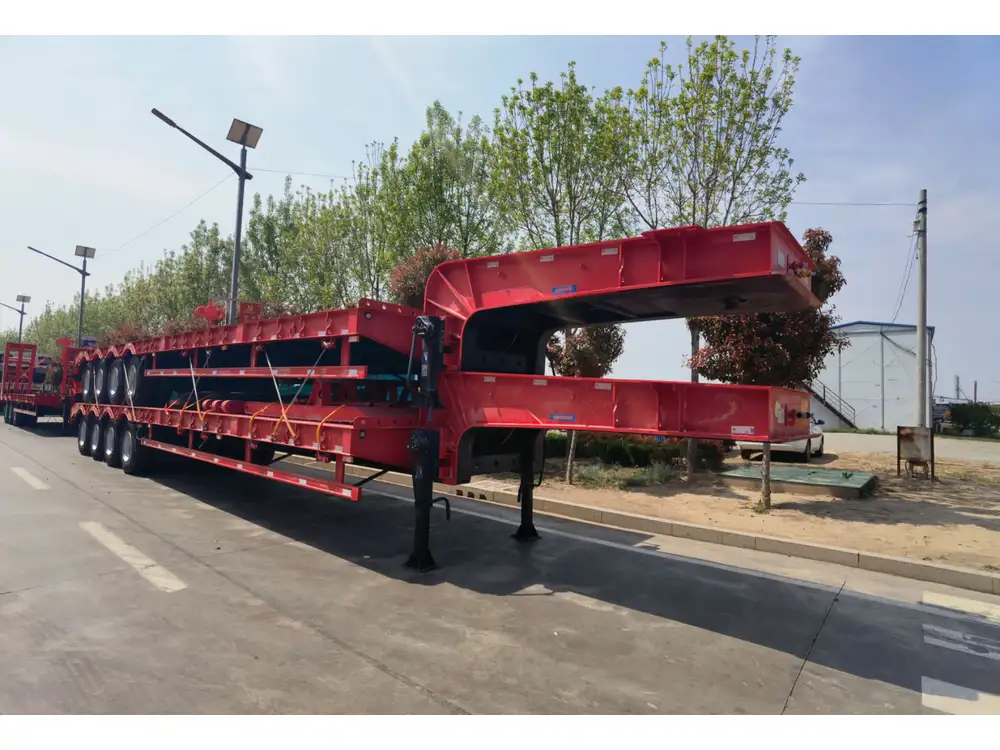
Before diving into the conversion process, it’s crucial to understand the specific features of your flatbed trailer:
- Weight Capacity: Check the maximum load capacity of your flatbed trailer. Knowing this helps prevent overloading during your conversion and ensures safe towing.
- Dimensions: Measure the length and width of your flatbed to determine how much space you have for your new living area.
- Frame Material: Most flatbed trailers are either made from steel or aluminum. This will influence the tools required for your modifications.
Step 1: Planning Your Design
Set Your Goals
What do you want from your camper? Consider your lifestyle and camping habits. Questions to contemplate include:
- Will you be traveling long distances?
- How many people will you accommodate?
- What amenities are essential for you?
Create a Layout
Sketch a rough layout of your trailer conversion. Think about where you’ll place essential areas like:
- Sleeping Area: A foldable bed with storage underneath maximizes space.
- Kitchenette: Incorporate a compact cooking area with a countertop and a portable stove.
- Storage Spaces: Cabinets or under-bed storage are vital for keeping your items organized.
Design Inspiration
Below are a few design ideas to help fuel your creativity:
| Design Element | Description |
|---|---|
| Pop-Up Roof | Increase headroom and ventilation when stationary. |
| Sliding Doors | Save space and provide easy access. |
| Modular Furniture | Flexibility in configuration, allowing for various uses. |
| Rustic Finish | Using wood paneling for a cozy feel or modern aesthetics. |

Step 2: Gathering Your Materials
Here are primary materials you will need for your conversion:
| Material | Purpose |
|---|---|
| Plywood | Used for constructing the walls, bed frame, and cabinets. |
| Insulation | Essential for temperature control and comfort. |
| Water-resistant paint | Finishes the wood and protects against moisture. |
| Hinges & Latches | Needed for doors, cabinets, and other movable components. |
| Electrical kit | For wiring lights and outlets. |
Tools Required
A well-equipped toolbox will make the conversion process smoother. Key tools include:
- Power Drill: For making holes and securing materials.
- Circular Saw: To cut wood to size.
- Screwdriver Set: For assembling parts.
- Level: To ensure everything is aligned correctly.
Step 3: Preparing the Trailer

Clean and Inspect
Before any modifications, clean your trailer and inspect for any existing issues like rust or structural damages. Ensure that the frame is stable and in good condition.
Additional Structural Support
Depending on your design, additional support might be required. Reinforce the existing structure with steel brackets or additional wood framing to ensure it can handle new load distributions effectively.
Step 4: Constructing the Living Space
Building the Walls
- Cut Plywood: Measure and cut plywood sheets for the walls.
- Attach Insulation: Apply insulation between the outer wall of the trailer and the plywood.
- Secure Walls: Fasten the walls to the trailer using screws.
Creating the Roof
A functional roof is crucial for protection against weather elements:
- Select Roof Material: Choose lightweight materials such as aluminum or treated plywood.
- Install Roof Frame: Build the frame using strong wood beams to provide support.
- Install the Roof Material: Secure it with waterproofing measures to keep the interior dry.
Designing the Interior Layout

Bed Area
- Murphy Bed: A bed that folds away during the day can save space.
- Bunk Beds: If multiple occupants are expected, consider adding bunk beds.
Kitchenette Installation
- Countertop: Install a counter space for food preparation.
- Portable Stove: Use a propane stove that can be easily stowed away.
- Sink: Install a small sink with a water supply (tank or portable).
Storage Solutions
Implement innovative storage solutions to maintain a minimalist environment:
- Under-Bed Storage: Utilize this area for bins.
- Hanging Storage: Use hooks or shelves for pots, pans, and other items.
Step 5: Adding Utilities
Electrical System
An electrical system is vital for lighting and other functionalities:
- Plan Wiring Layout: Decide locations for lighting and outlets.
- Install Wiring: Use a 12-volt system with a battery to power your amenities.
- Light Fixtures: Install LED fixtures for energy efficiency.
Plumbing Considerations
If your design includes a kitchen or shower:
- Water Storage: Have a freshwater tank and a greywater tank.
- Piping System: Use flexible piping to connect the sink and any showers.
- Pump: Install a water pump for easy water access.

Step 6: Aesthetics and Customization
Paint and Decor
Choose paint colors and decor that reflect your personality. Consider:
- Light colors: Help create the illusion of more space.
- Natural materials: Wood and stone can give an earthy feel.
Furnishings
- Portable Furniture: Invest in collapsible or stackable furniture for convenience.
- Textiles: Add comfortable cushions and blankets for warmth.

Step 7: Safety Checks and Final Adjustments
Safety Inspections
Conduct thorough safety checks:
- Electrical System: Ensure wiring is secure and up to code.
- Secure Furniture: Fasten heavy furniture to prevent movement while towing.
- Weight Distribution: Check that the weight is evenly distributed to maintain trailer balance.
Step 8: Hitting the Road

Preparing for Your First Trip
- Pack Wisely: Make sure to pack necessities and essentials.
- Test Drive: Take your trailer for short drives to ensure that everything is secure and functioning.
Additional Tips for Enjoyment
- Consider Campground Facilities: Know which amenities will be available at your destination.
- Stay Organized: Keep your living space tidy to maximize comfort.
Conclusion
Transforming a flatbed trailer into a cozy camper is an intricate, yet immensely gratifying process. With careful planning, the right materials, and a sprinkle of creativity, you can craft a mobile living space that meets all of your adventure needs. Take the time to design wisely, build securely, and travel responsibly, ensuring that your journeys are both enjoyable and memorable. Remember, the road is your canvas, and with this camper, the adventure is yours to paint in vivid colors!


