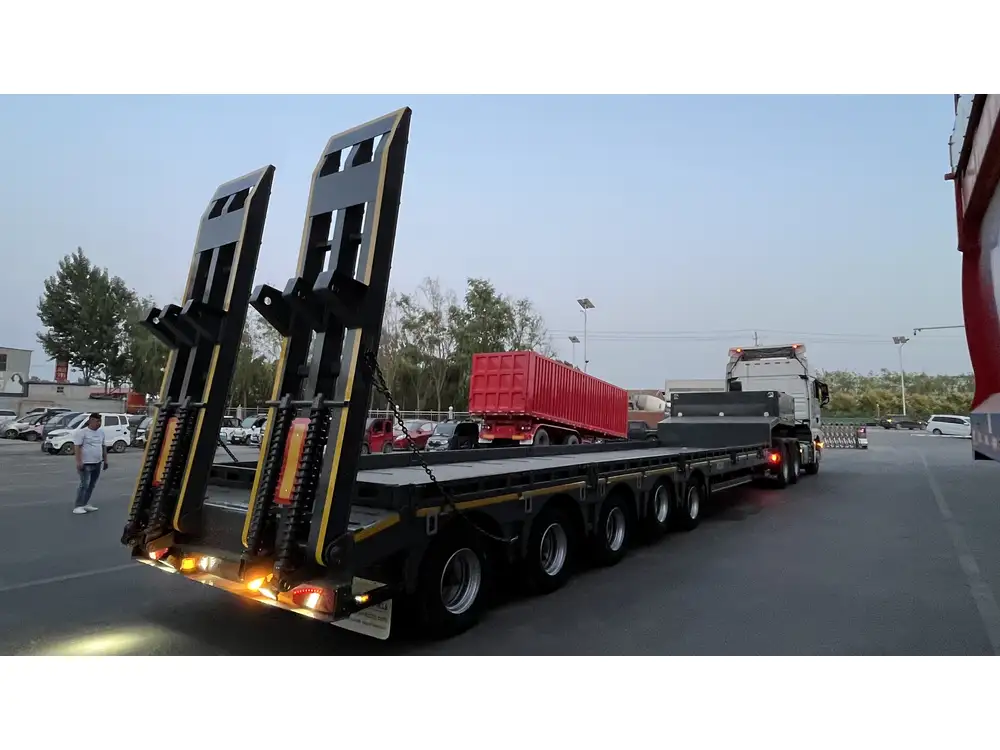
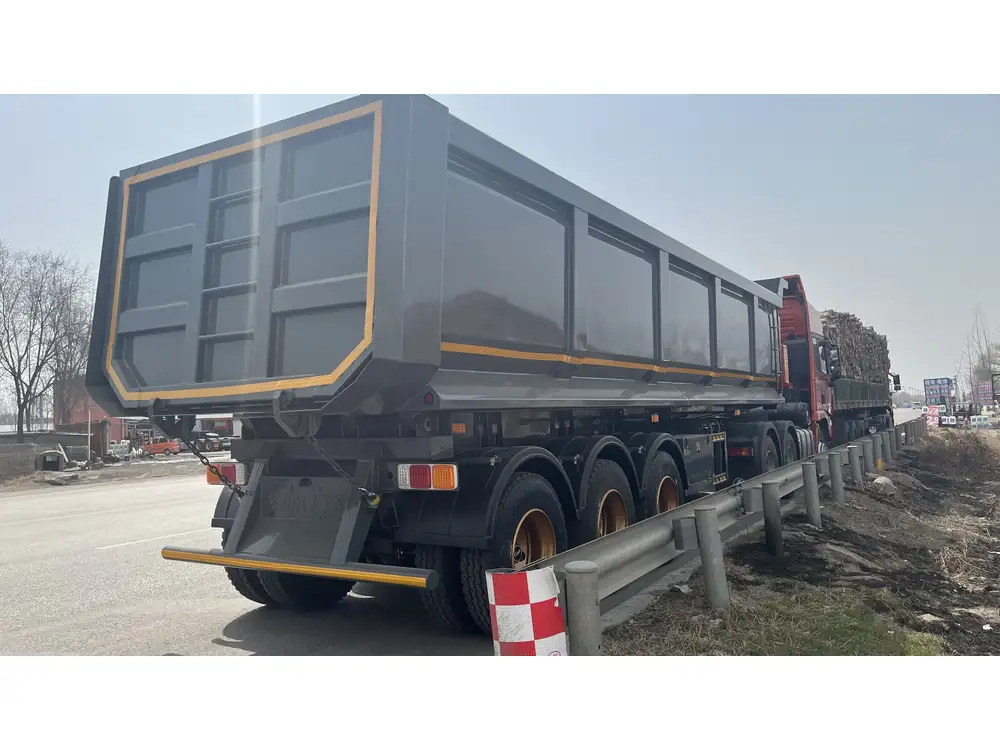
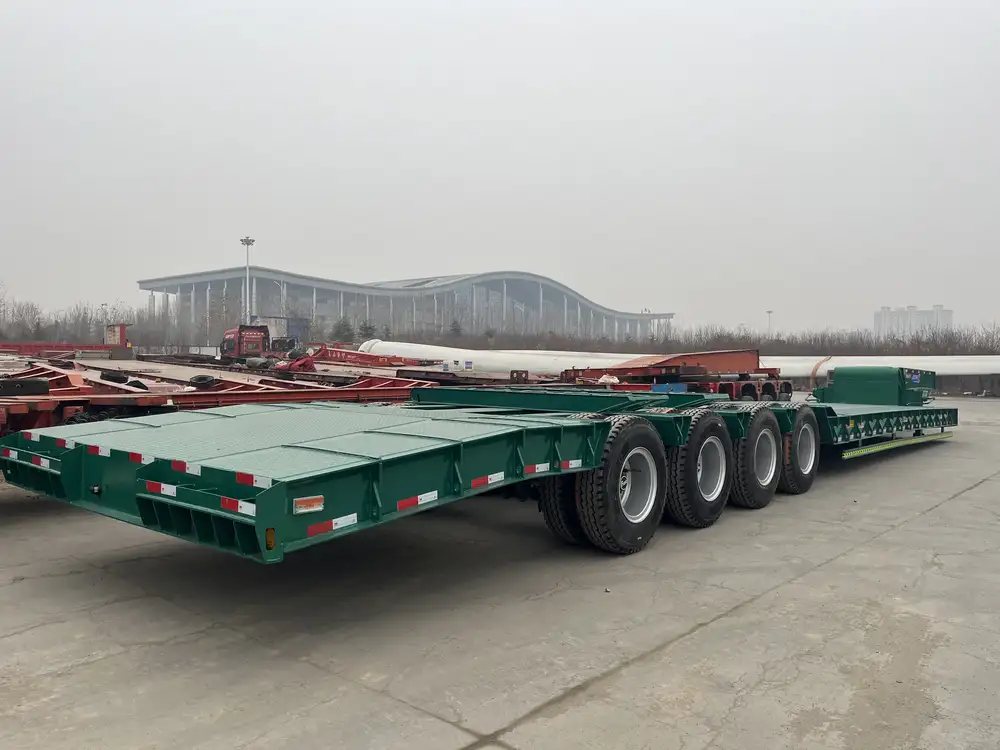
Installing a winch on a dump trailer significantly enhances its functionality, allowing for easier loading and unloading of materials. Whether you need to haul heavy equipment, debris, or construction materials, a properly installed winch greatly simplifies these tasks. This guide will provide a step-by-step overview of the winch installation process, covering the necessary tools, materials, and safety precautions to ensure a successful setup.
Understanding the Components of a Dump Trailer and Winch System
Before delving into the installation process, it’s crucial to understand the key components of both a dump trailer and a winch system. This foundational knowledge can help inform your decisions throughout the installation.
Components of a Dump Trailer
| Component | Description |
|---|---|
| Trailer Frame | The structural backbone made of steel or aluminum. |
| Bed | The area for loading materials, often tilting for dumping. |
| Hydraulic System | Powers the dumping mechanism; consists of a pump, cylinder, and hoses. |
| Wheels and Axles | Support the trailer and facilitate movement. |
| Safety Features | Includes brakes, lights, and reflectors for safe operation. |

Winch Components
| Component | Description |
|---|---|
| Winch Body | The motorized or manual mechanism that pulls the load. |
| Cable or Rope | Strong material that can withstand heavy loads. |
| Mounting Plate | A steel plate used for securely attaching the winch to the trailer. |
| Remote Control | A device that allows for wireless or wired operation of the winch. |
| Safety Hook | Used to attach the winch cable to the load being lifted. |
Selecting the Right Winch for Your Dump Trailer
Choosing the right winch depends on several factors, including the types of loads you’ll be lifting, the weight capacity of your dump trailer, and the frequency of use. Let’s explore these considerations:
- Weight Capacity: Ensure that the winch’s pulling capacity exceeds the maximum load you plan to lift. This is typically indicated in pounds (lbs) or kilograms (kg).
- Power Source: Determine whether you want an electric, hydraulic, or manual winch. Electric winches are popular for their efficiency, while hydraulic winches are often more powerful.
- Mounting Options: Assess whether you require a portable or fixed winch. Fixed winches are mounted directly onto the trailer for consistent use, while portable models can be removed when not in use.
Tools Required for Installation
Gathering the right tools beforehand can expedite the installation process and ensure that it is completed efficiently and safely. Here’s a list of the tools you’ll need:
| Tool | Purpose |
|---|---|
| Socket Wrench Set | For securing the winch mounting plate. |
| Drill and Drill Bits | To create holes in the trailer frame for installation. |
| Measuring Tape | For ensuring precise placement of the winch. |
| Level | To verify that the winch is mounted straight. |
| Safety Glasses | Essential for eye protection during the installation. |
| Gloves | Protects hands while handling equipment. |

Installation Process: Step-by-Step Guide
Step 1: Prepare the Dump Trailer
Before beginning the installation, prepare your dump trailer:
- Ensure the trailer is on stable ground to prevent movement during installation.
- Clean the area where the winch will be installed to remove dirt and debris.
Step 2: Select the Optimal Winch Location
- Determine the best location for the winch, typically at the front of the trailer bed.
- The winch should be easily reachable for operation while also ensuring that it won’t interfere with the dumping mechanism.

Step 3: Mounting the Winch Plate
- Mark the location for the mounting plate based on the winch’s dimensions.
- Using the drill, create holes in the marked spots. Always check the thickness of the trailer’s frame to use appropriate drill bits.
- Align the mounting plate over the drilled holes and secure it using the bolts from the winch kit, ensuring a tight fit.
Step 4: Installing the Winch
- Place the winch onto the mounting plate.
- Attach the winch using the provided bolts, ensuring it is firmly affixed to the plate.
- Double-check that all mounting hardware is secure before proceeding.
Step 5: Routing the Winch Cable
- Carefully uncoil the winch cable, ensuring there are no tangles or knots.
- Attach one end of the cable to the winch drum, making sure it is tightly secured.
- Route the cable through any fairlead (pulley) if included, which helps guide the cable when in use.

Step 6: Wiring the Winch (if applicable)
For electric winches:
- Connect the winch to the battery of the dump trailer.
- Follow the winch manufacturer’s wiring diagrams for accuracy.
- Ensure that all connections are protected from moisture and corrosion, often using heat-shrink tubing.
- If using a remote control, connect it securely, ensuring you have access to the remote from a safe distance.
Step 7: Testing the Winch
- Once everything is installed, perform a thorough check to ensure all components are secure.
- Engage the winch to see if it operates as expected.
- Test the pulling capacity by slightly loading the winch; ensure it handles the weight smoothly without unusual noises.
- Make any necessary adjustments before formally using the winch.
Safety Precautions During and After Installation
Safety must always be a priority during the installation process:
- Wear personal protective equipment (PPE) including gloves, hard hats, and safety glasses.
- Always work with a partner when handling heavy equipment.
- Be mindful of the winch’s capacity; do not overload it beyond its rated specifications.
- Ensure that bystanders are at a safe distance while conducting winch tests.

Regular Maintenance for Optimal Performance
To enhance the life of your winch and ensure optimal performance, take the following maintenance steps:
- Inspect the cable regularly for fraying or signs of wear; replace if necessary.
- Keep the winch clean and lubricated to prevent rust and corrosion.
- Check all electrical connections periodically to ensure tightness and functionality.
- Follow the manufacturer’s maintenance schedule for detailed guidelines.
Troubleshooting Common Issues
Despite careful installation and adherence to safety protocols, problems may arise. Below are common issues you might encounter and their solutions:
| Issue | Possible Cause | Solution |
|---|---|---|
| Winch won’t operate | Dead battery | Charge or replace the battery. |
| Cable getting stuck | Misaligned fairlead | Adjust the fairlead for proper alignment. |
| Remote control failure | Weak batteries in remote | Replace the batteries and test again. |
| Winch overload | Overuse, exceeding capacity | Reduce the load; check winch capacity. |
Conclusion
Installing a winch on your dump trailer can significantly enhance its operational effectiveness, allowing for seamless loading and unloading processes. By following this comprehensive guide, from choosing the right components to ensuring a safe installation, you can master the art of winch installation. Always prioritize safety, adhere to maintenance protocols, and troubleshoot promptly to enjoy the full benefits of your newly installed winch.
Purchasing quality winches and accessories that align with your trailer’s requirements adds an extra layer of reliability to your operations. Ultimately, efficiency and safety go hand in hand, making your investment not just beneficial but essential for elevated performance.


