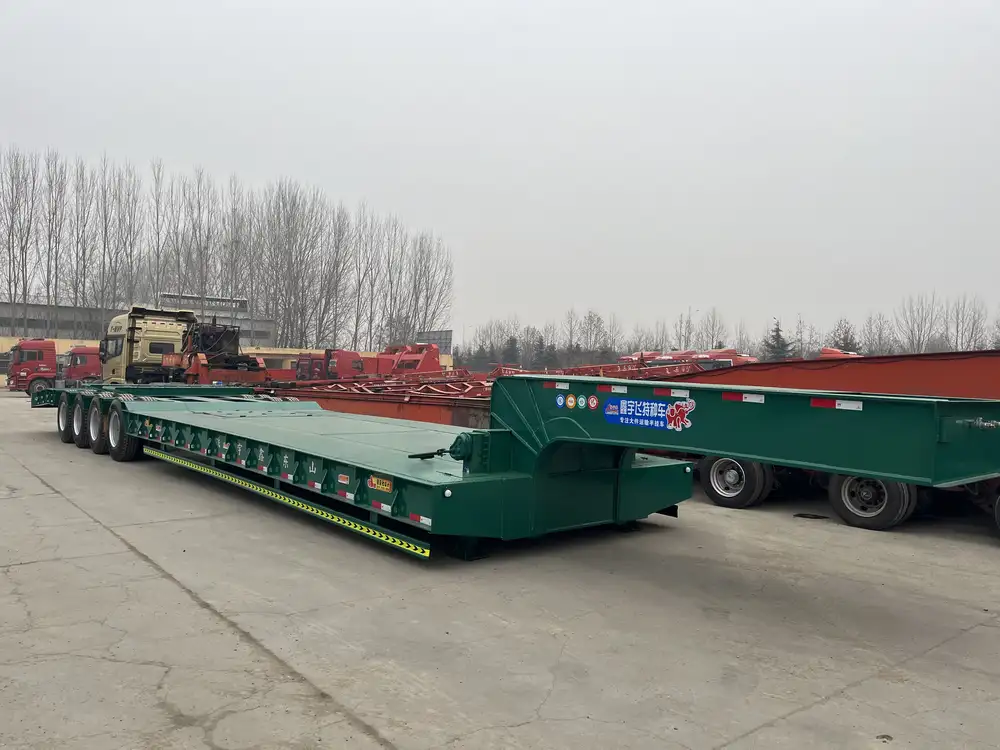
When it comes to maintaining the professional appearance of your fleet or transitioning a semi-trailer for new uses, the need to remove information from the side of a semi-trailer often arises. Whether it’s outdated branding, contact information, or regulatory decals, understanding how to effectively remove this information is crucial for image and compliance. This guide will take you through the steps, considerations, and tools required to achieve this efficiently.
Understanding the Types of Information on Semi-Trailers
Before diving into removal processes, it’s essential to identify the types of information you may want to remove from your semi-trailer:
| Type of Information | Description |
|---|---|
| Vinyl Decals | Used for branding and company logos. |
| Regulatory Stickers | Required by law for weight limits, hazardous materials, etc. |
| Old Contact Information | Phone numbers, emails, and addresses that are no longer valid. |
| Fleet Identification Numbers | Unique numbers assigned for tracking and management purposes. |
| Promotional Graphics | Temporary advertisements or promotional messages. |
Necessary Tools and Equipment
Before attempting to remove any information, gather the necessary tools to ensure a smooth process:
- Heat Gun or Hair Dryer: Essential for loosening adhesive.
- Razor Blade or Scraper: For carefully lifting and removing decals.
- Adhesive Remover: To tackle any sticky residue left behind.
- Soft Cloths: For cleaning and buffing the surface.
- Isopropyl Alcohol: To remove any remaining adhesive safely.
- Safety Gloves: To protect your hands during the removal process.

Step-by-Step Guide to Removing Decals and Stickers
1. Assess the Surface and Material
Before starting, evaluate the material of your semi-trailer. Most semi-trailers are made of aluminum or fiberglass. The removal method might differ slightly based on the surface type.
2. Prepare the Area
- Clean the Surface: Remove any dirt or grime from the area surrounding the decal to avoid scratches during removal.
- Work in a Safe Environment: Ensure you are in a well-ventilated area to avoid inhaling fumes from the adhesive remover.

3. Apply Heat
Using the heat gun or hair dryer, gently warm the decal. Keep the device moving back and forth to avoid overheating any one spot, which can cause damage to the trailer surface. The heat will help soften the adhesive, making it easier to peel away.
4. Lift the Decal
- Starting from one corner, use the razor blade or scraper to gently lift the edge of the decal.
- If the decal pulls away easily, continue to peel it off. If you encounter resistance, apply more heat.
5. Remove Residue
After the decal is removed, you will likely have sticky residue remaining. Here’s how to address that:
- Apply Adhesive Remover: Follow the instructions on the adhesive remover you chose. Apply it to a soft cloth and rub it on the residue until it begins to dissolve.
- Use Isopropyl Alcohol: If no adhesive remover is available, isopropyl alcohol can help break down the glue. Use a clean cloth to apply it, scrubbing gently until the area is clean.

6. Clean and Polish the Surface
Once the residue has been removed, clean the area with soap and water to remove any chemical traces. Dry the area thoroughly, and consider applying a polish suitable for the trailer material to restore its shine.
Considerations for Regulatory Stickers
Removing regulatory stickers requires careful consideration:
- Check Compliance Regulations: Ensure that removal won’t violate any regulations. Certain stickers are mandatory and must be replaced if removed improperly.
- Documentation: Keep records of any removals and replacements for compliance reviews.
Dealing with Difficult Decals
In cases where the decal is particularly old or stubborn, a few additional techniques can help:
- Soak Method: Using the adhesive remover, soak a cloth and place it over the decal for several minutes. This allows the solvent to penetrate the adhesive, making removal easier.
- Plastic Razor Blades: If a metal blade is damaging the surface, opt for plastic blades designed for decal removal.

Common Mistakes to Avoid
1. Rushing the Process
Take your time. If the adhesive is not softened, rushing can lead to damage, including scratches or peeling paint.
2. Using Excessive Force
Applying too much force when scraping can cause permanent damage to the trailer’s surface. Always gently lift before applying more pressure.

3. Ignoring Surface Compatibility
Different surfaces may react differently to heat or chemical removers. Test a small area first if unsure.
Maintenance Tips for Trailer Surfaces
Once you’ve successfully removed pertinent information from your semi-trailer, ongoing maintenance can help preserve its appearance:
- Regular Cleaning: Use appropriate cleaning solutions and soft cloths.
- Avoid Harsh Chemicals: These can damage the finish.
- Inspection: Regularly inspect the sides for wear, rust, or damage, addressing issues promptly to prolong your trailer’s life.
When to Seek Professional Help
If you find the process daunting or are concerned about damaging your trailer, consider the following:
- Professional Decal Removal Services: Many companies specialize in the removal of decals without damaging surfaces.
- Consulting with the Manufacturer: In some cases, reaching out to the manufacturer for advice or recommended service providers can yield beneficial guidance.

Conclusion
Removing information from the side of a semi-trailer is a task that can greatly enhance the appearance and efficiency of your vehicle. By understanding the types of decals and using the right tools, you can execute the removal process correctly and professionally. Whether it’s for rebranding, regulatory compliance, or general upkeep, this guide serves as a comprehensive resource to navigate the nuances of semi-trailer maintenance.
With preventive measures in place and a commitment to proper care, your semi-trailer can maintain a polished look that reflects your brand’s professionalism and reliability on the road.


