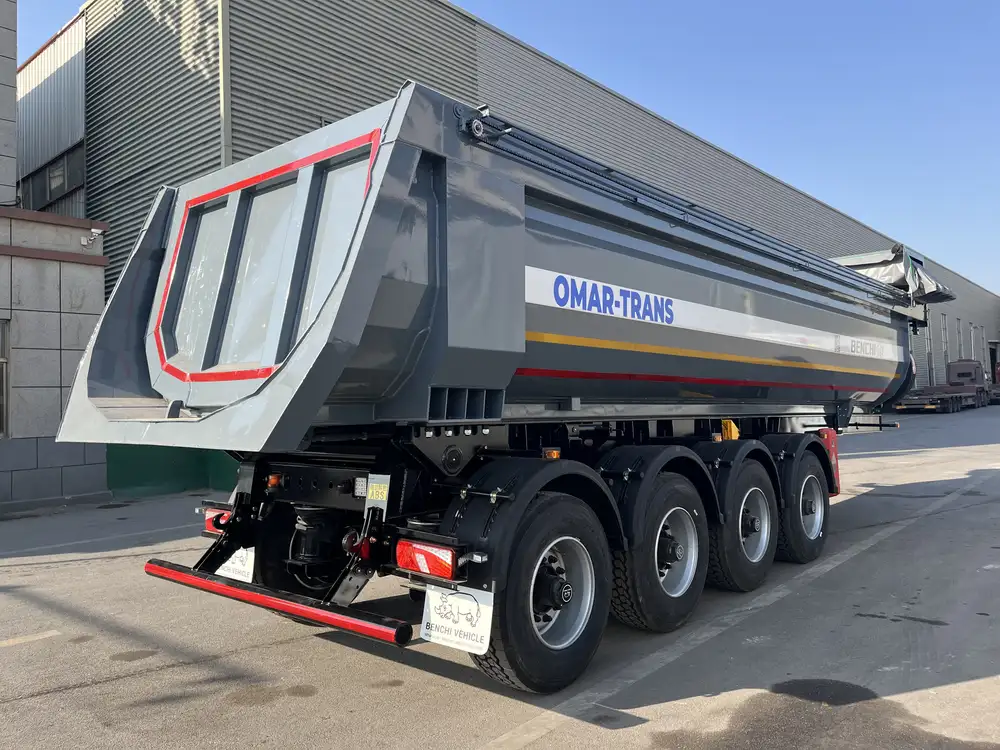
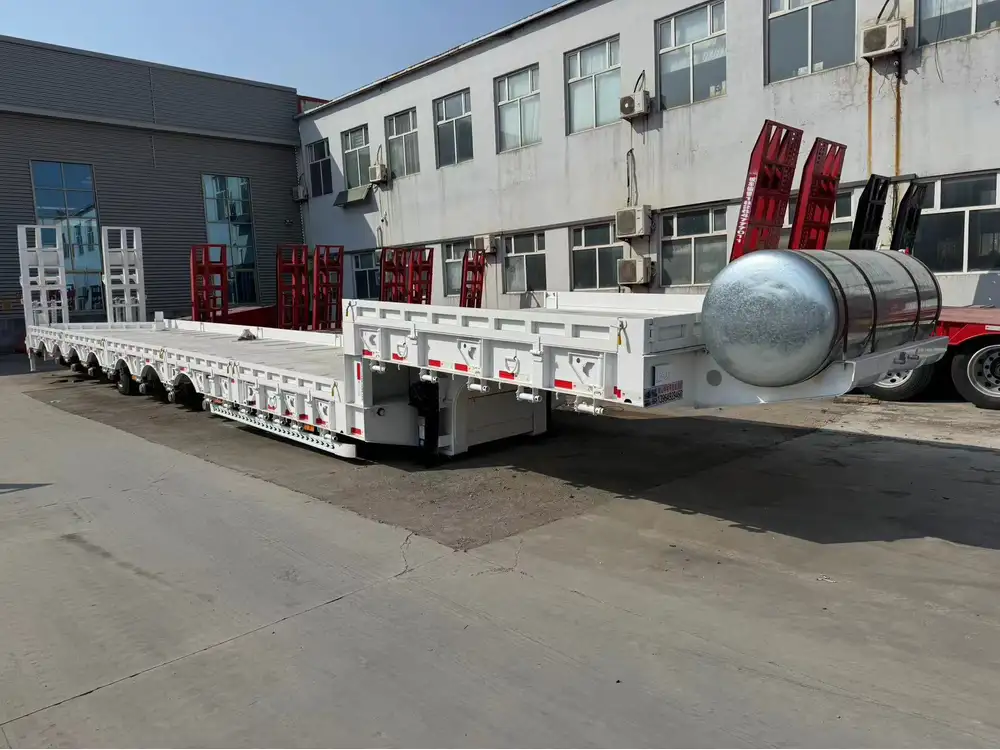
Converting a boat trailer into a flatbed trailer is a task that not only enhances the utility of your trailer but also allows you to maximize its potential for transporting diverse loads. Whether you’re looking to transport equipment, materials, or vehicles, a flatbed trailer offers versatility suited for various applications. In this guide, we will delve into the essential steps, considerations, and materials involved in making this transformation seamless and efficient.
Understanding the Basics of Trailer Conversion
Before embarking on the conversion project, it’s vital to understand the structural differences between a boat trailer and a flatbed trailer. Boat trailers typically have a design that accommodates the hull shape of boats, featuring submerged bunks or rollers for launching and retrieving. Flatbed trailers, on the other hand, have a flat, unobstructed platform suitable for loading and securing cargo.
Key Considerations:
- Weight Distribution: Unlike boat trailers designed for a specific weight on a trailer’s frame, flatbed trailers require even weight distribution to ensure stability when towing.
- Frame Compatibility: Assess the existing frame of the boat trailer for structural integrity to support the required modifications.

Steps for Conversion
Step 1: Gather Necessary Tools and Materials
To successfully convert the trailer, a comprehensive list of materials and tools is required. Here’s a categorized breakdown for ease of reference:
Tools:
- Wrenches and Sockets: For disassembling and securing components.
- Cutting Tools: A reciprocating saw or metal grinder for cutting the frame.
- Welding Equipment: A MIG welder is recommended for joining metal.
- Drilling Machine: For creating holes in the frame and adding bolts.
- Measuring Tape: For accurate measurements throughout the conversion.

Materials:
- Steel or Aluminum Sheets: For creating the flatbed surface.
- Angle Iron: For reinforcing and constructing the frame.
- Non-slip Surface Coating: To ensure safety while loading/unloading.
- Tie-Down Straps: Essential for securing cargo during transport.
- Lights and Reflectors: For ensuring visibility and legality of use on public roads.
Step 2: Remove Boat-Specific Components
Start the transformation by carefully removing any boat-specific components such as:
- Bunks/Rollers: Detach the bunks or rollers that assist in launching a boat. These are typically mounted to the frame and can be unscrewed.
- Winch and Hitch: The winch can be repurposed if desired, but the hitch may need to be replaced or adjusted to accommodate different towing configurations.
Step 3: Reinforce the Trailer Frame
Before constructing the flatbed, check the integrity of the base frame. It’s crucial to reinforce the trailer framework to handle heavier loads that will be placed on it.
- Use Angle Iron: Welding angle iron across the trailer’s cross members can provide additional strength and support. Ensure the welds are clean and robust to handle torsional stresses.
- Cross-Bracing: Implement cross-bracing in areas where significant load-bearing occurs to minimize flexing.

Step 4: Design the Flatbed Surface
Create a design for the flatbed surface that meets your needs. The typical measurements for a flatbed trailer usually range from 4 to 8 feet in width, depending on the intended use.
- Cutting the Platform Material: Use steel or aluminum sheets based on the weight requirements. Make precise cuts according to your measurements to develop a flat and reliable surface.
- Attaching the Platform: Position it on the trailer frame. Ensure it sits level and then secure it using bolts or welding for a strong bond.
Step 5: Install Tie-Down Points
To secure loads effectively during transport, installing tie-down points is a must.
- Strategic Placement: Place these tie-down points at regular intervals across the platform, especially near the edges and in the center where heavier loads may sit.
- Eye Bolts or D-Rings: These can be bolted down securely into the frame for maximum strength.
Step 6: Add Lighting and Safety Features
Safety regulations necessitate having proper lighting and visibility measures when the trailer is in use.
- Route Wiring: Install lights on both the rear and sides of the trailer. Ensure the wiring is neatly tucked away or protected from wear and tear.
- Reflectors: Attach reflective stickers to the sides and back for increased visibility in low-light conditions.

Step 7: Finish and Test the Trailer
With everything assembled and mounted, it’s time to check your work and finish the trailer.
- Inspect All Components: Before taking it for a test run, ensure all bolts are tightened, the wiring is secure, and that the platform is stable.
- Test Drive: Take the trailer for a short drive without a load initially. Pay attention to how it tows; check for any swaying or instability, which can signify additional adjustments need to be made.
Potential Challenges and Solutions
Converting a boat trailer to a flatbed trailer is not without challenges. Here are some common issues you may encounter and how to address them:
| Challenge | Solution |
|---|---|
| Weight Distribution Issues | Re-evaluate load placement; adjust tie-downs. |
| Frame Weakness | Add more support beams or reinforce existing ones. |
| Legal Compliance Issues | Ensure that lights and reflectors meet local regulations. |
| Tire Wear and Alignment | Consult a professional for alignment checks. |
| Structural Integrity of the Flatbed | Conduct periodic inspections; reinforce as needed. |
Conclusion
Converting a boat trailer to a flatbed trailer is a rewarding project that can substantially increase your trailer’s functionality. By following these meticulous steps and anticipating challenges, you can successfully execute the conversion with safety and efficiency. With proper maintenance and regular safety checks, your newly modified flatbed trailer will serve you well for years to come, allowing for the transport of a variety of loads while ensuring compliance with regulations.
This conversion process enhances not just the physical capabilities of your trailer, but also broadens your transport options, making it an invaluable asset in your fleet. Whether you’re hauling materials for a DIY project or transporting recreational vehicles, knowledge is power, and the right technique is your tool to unlock the full potential of your trailer.


