Installing a holding tank in a cargo trailer can significantly elevate its functionality, especially for those looking to convert it into a mobile restroom, workshop, or living space. The process may seem daunting, but with the right tools, materials, and guidelines, it can be a rewarding project. Below is a detailed breakdown of the step-by-step process to install a holding tank in your cargo trailer, along with tips, considerations, and potential pitfalls to avoid.
Understanding Your Needs
Before diving into the installation, it’s crucial to assess your specific requirements:
1. Define the Purpose of the Holding Tank
- Will it be used for waste management, freshwater storage, or both?
- How long do you intend to stay stationary versus on the move?
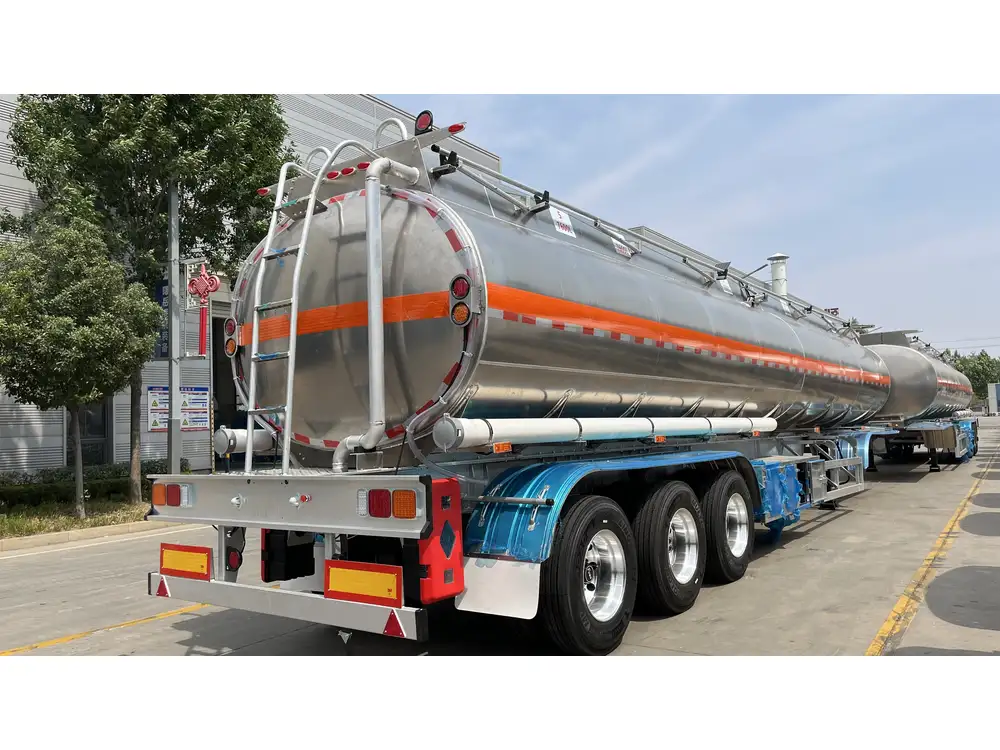
2. Choose the Right Size and Type of Holding Tank
- Capacity: Tanks come in various capacities, often ranging from 10 to 100 gallons. Choose based on your anticipated usage.
- Material: Options include polyethylene, stainless steel, and fiberglass. Each has its benefits concerning weight, durability, and cost.
| Tank Material | Advantages | Disadvantages |
|---|---|---|
| Polyethylene | Lightweight, affordable | Less durable under extreme conditions |
| Stainless Steel | Extremely durable | Heavier, higher cost |
| Fiberglass | Corrosion-resistant | Can be brittle |
Preparing for Installation
Tools and Materials Needed
Tools:
- Drill with bits for metal and wood
- Wrenches (adjustable and socket)
- Level
- Screwdriver set
- Measuring tape
- Saw (if modifications to the trailer are needed)
Materials:
- Holding tank
- Tubing or hoses
- Fittings and connectors
- Mounting brackets and screws
- Sealant (waterproof silicone or equivalent)

Safety Precautions
- Work in a well-ventilated area.
- Wear safety goggles and gloves during the installation process.
- Ensure the trailer is on a stable, level surface.
Step-by-Step Installation Guide
Step 1: Select the Location for the Holding Tank
Finding the best location within your cargo trailer is pivotal. Ideally, it should be close to the area of use (bathroom or sink) and easily accessible for maintenance.

Step 2: Measure and Cut for the Tank
Using your measuring tape, determine the dimensions of the holding tank. Mark the area where it will be installed, ensuring that it is level and has sufficient clearance for installation.
- Cut a rectangular opening in the trailer floor if necessary, using a saw. This should be slightly larger than the dimensions of the tank.
Step 3: Prepare the Mounting Area
Ensure the area is level using a level tool. If the trailer floor is uneven, you’ll need to adjust it to prevent any stress on the tank which can lead to leaks or damage over time.
Step 4: Install the Holding Tank
- Position the Tank: Lower the tank into the opening, ensuring it fits snugly without forcing it.
- Secure the Tank: Use mounting brackets attached to the tank. Screw them into the trailer floor or walls. Be sure that the tank is secured to prevent movement during travel.
Step 5: Connect Plumbing and Electrical Systems
This step greatly varies based on the tank’s role (whether for waste or water). Follow these general guidelines:
For Waste Systems
- Attach the waste line from the toilet or sink to the inlet of the holding tank using PVC tubing and appropriate fittings.
- Ensure each connection is sealed with appropriate sealant to prevent leaks.
| Component | Connection Type |
|---|---|
| Toilet | 3″ PVC Pipe |
| Sink | 1.5″ PVC Pipe |
For Fresh Water Systems
- Connect the water supply line (if applicable) to the inlet on the tank.
- Use flexible tubing for easy routing.
Step 6: Add Ventilation
Proper ventilation is necessary to avoid pressure build-up and odor issues:
- Install a vent pipe that leads to the exterior of the trailer. Ensure it is fitted with a cover to prevent entry of foreign objects.
Step 7: Seal Connections and Permutations
Double-check all fittings, connections, and junctions for leaks. Use a waterproof sealant, and allow it to cure as per manufacturer’s instructions.
Step 8: Testing the Installation
Before hitting the road, it’s essential to test the installation:
- Fill the tank with water (if it’s a freshwater tank).
- Inspect for leaks at all connection points.
- Flush the toilet (if applicable) to ensure proper waste flow and ventilation.
Maintenance Tips for Holding Tanks
To ensure longevity and optimal functionality, regular maintenance is essential:
- Regular Inspections: Check connections, seals, and tanks for any visible wear and tear.
- Cleaning: Utilize holding tank deodorizer and cleaners to prevent build-up and odors.
- Monitoring: Keep an eye on the tank’s fill level; never exceed recommended capacities.
- Winterizing: If you’re storing the trailer in colder months, ensure the tank has been properly drained and winterized to prevent damage from freezing temperatures.
Troubleshooting Common Issues
Problem: Persistent Leaks
- Check all fittings and connectors for tightness.
- Inspect hoses for cracks or wear.
Problem: Odors Inside the Trailer
- Ensure venting pipes are properly installed and clear.
- Regularly clean and flush the tank.
Problem: Tank Fill Level Issues
- Ensure that the level indicator (if installed) is functioning correctly.
Conclusion
Installing a holding tank in a cargo trailer transforms it into a multifunctional space, accommodating the needs of those on the go. By following the steps detailed in this guide and adhering to maintenance protocols, we ensure not only a successful installation but also a prolonged lifespan for your holding tank system. Whether you’re embarking on a weekend adventure or setting up a long-term mobile solution, a well-installed holding tank enhances your cargo trailer’s utility.
Equipped with the right knowledge and tools, the installation process can be seamless, providing you with the freedom to explore with all your essential amenities at hand.


